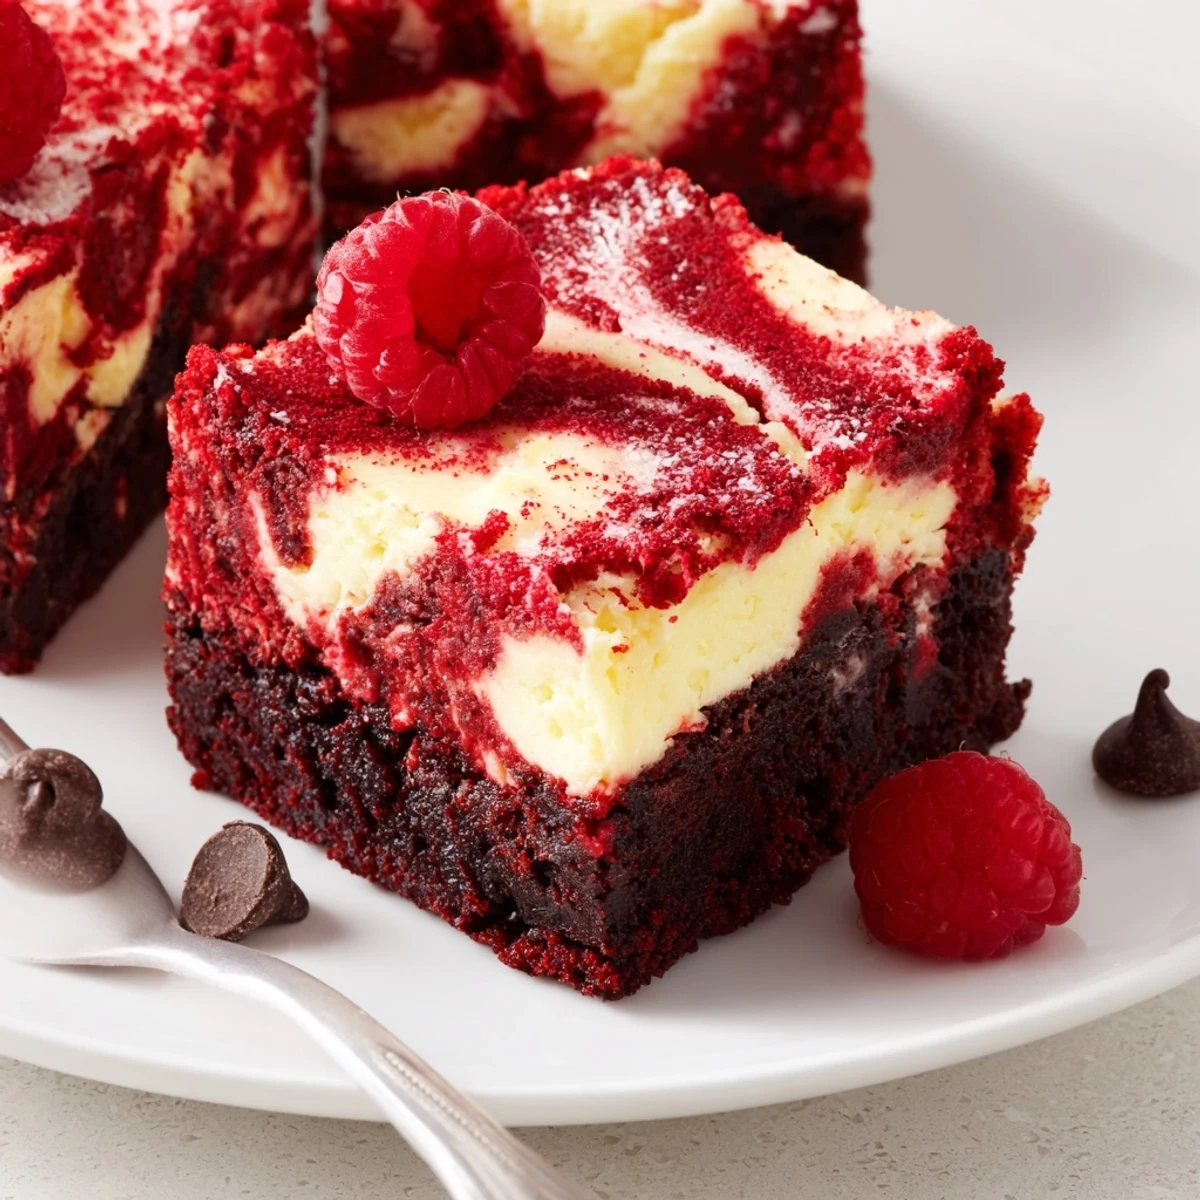
 Save to Pinterest
 Make a fudgy red velvet batter, spread three-quarters into an 8-inch square pan, then blend a smooth cream cheese mixture and pour atop. Dollop remaining batter and swirl for a marbled top. Bake 33–37 minutes, cool fully, then chill at least 1 hour before slicing. For deeper color use gel food coloring; add chocolate chips for extra richness.
When I first attempted these red velvet brownies with a cheesecake layer, it wasn't for a big event—just a rainy afternoon when my kitchen needed a little brightness. I remember the hum of the oven and the jewel-toned batter swirling under my spatula, so vibrant it looked almost unreal. The scent of cocoa and vanilla wafted through my apartment, a kind of comfort that felt more earned on days spent indoors. There was something satisfying in watching those two distinct batters become one beautiful dessert.
I once brought a just-baked batch of these brownies to a friend's movie night, and the room got oddly quiet as everyone took their first bite. Someone mumbled with their mouth full that they tasted like red velvet cake and cheesecake had a fancy baby—since then, the recipe gets requested for any gathering that needs sweetening up. The slight chill from the fridge made the contrast between the dense brownie and creamy cheesecake even more delicious. I always end up leaving with an empty pan and a half-dozen texts asking for the recipe.
Ingredients
- Unsalted butter: Use melted butter for maximum fudginess in the brownie layer—it also helps keep the edges moist instead of crunchy.
- Granulated sugar: Sweetens both layers and gives that shiny, crackly brownie top I always cross my fingers for.
- Large eggs: Bring structure and richness; I always let them come to room temperature for easier mixing.
- Vanilla extract: A tiny ingredient, but it ties together the cocoa and the cheesecake flavors seamlessly.
- Red food coloring: Go for gel if you want the batter boldly bright; be careful, a little goes a long way (don't wear your favorite shirt!).
- All-purpose flour: Measured carefully with a spoon and level method, or the brownies turn out dense.
- Unsweetened cocoa powder: Even though it's a red velvet brownie, the cocoa gives depth and that classic flavor.
- Salt: Just a pinch brings out all the chocolate notes.
- Cream cheese: Softened to room temp for lump-free cheesecake—I forgot once and spent ages chasing stubborn bits.
- Extra granulated sugar (for cheesecake): Helps the cheesecake layer set up sweet and tangy.
- Egg (for cheesecake): Pulls the cheesecake together into a luscious, sliceable layer.
Instructions
- Prep the pan:
- Line your square baking pan with parchment, letting the edges hang over for an easy brownie lift after cooling.
- Whisk the brownie base:
- Melt the butter and whisk it with sugar until glossy, then add eggs, vanilla, and all the brilliant red food coloring—it's like making edible paint.
- Make the batter:
- Sift in flour, cocoa, and salt and fold gently, watching the batter thicken and darken; spread most of it into the pan and set some aside for swirling.
- Whip the cheesecake layer:
- Beat softened cream cheese and sugar until smooth and fluffy, then blend in egg and vanilla for a silky pourable mixture.
- Layer and swirl:
- Pour the cheesecake batter over the brownie base, then dollop the rest of the brownie mix on top and use a skewer to swirl lovely marbled patterns.
- Bake to perfection:
- Bake until set but still a tiny bit wobbly at the center; your kitchen will smell like heaven at this point.
- Cool and chill:
- Let the brownies cool completely, then refrigerate for at least an hour before slicing for those clean layered squares.
 Save to Pinterest
 There&aposs something quietly magical about sneaking the first bite of a cold, creamy brownie straight from the fridge the next morning. I remember pouring coffee and savoring that fudgy tang alongside the quiet, knowing there were still a few hidden pieces for later in the day. Recipes like these become more than dessert—they turn into little rituals that sweeten up the regular rhythm of life.
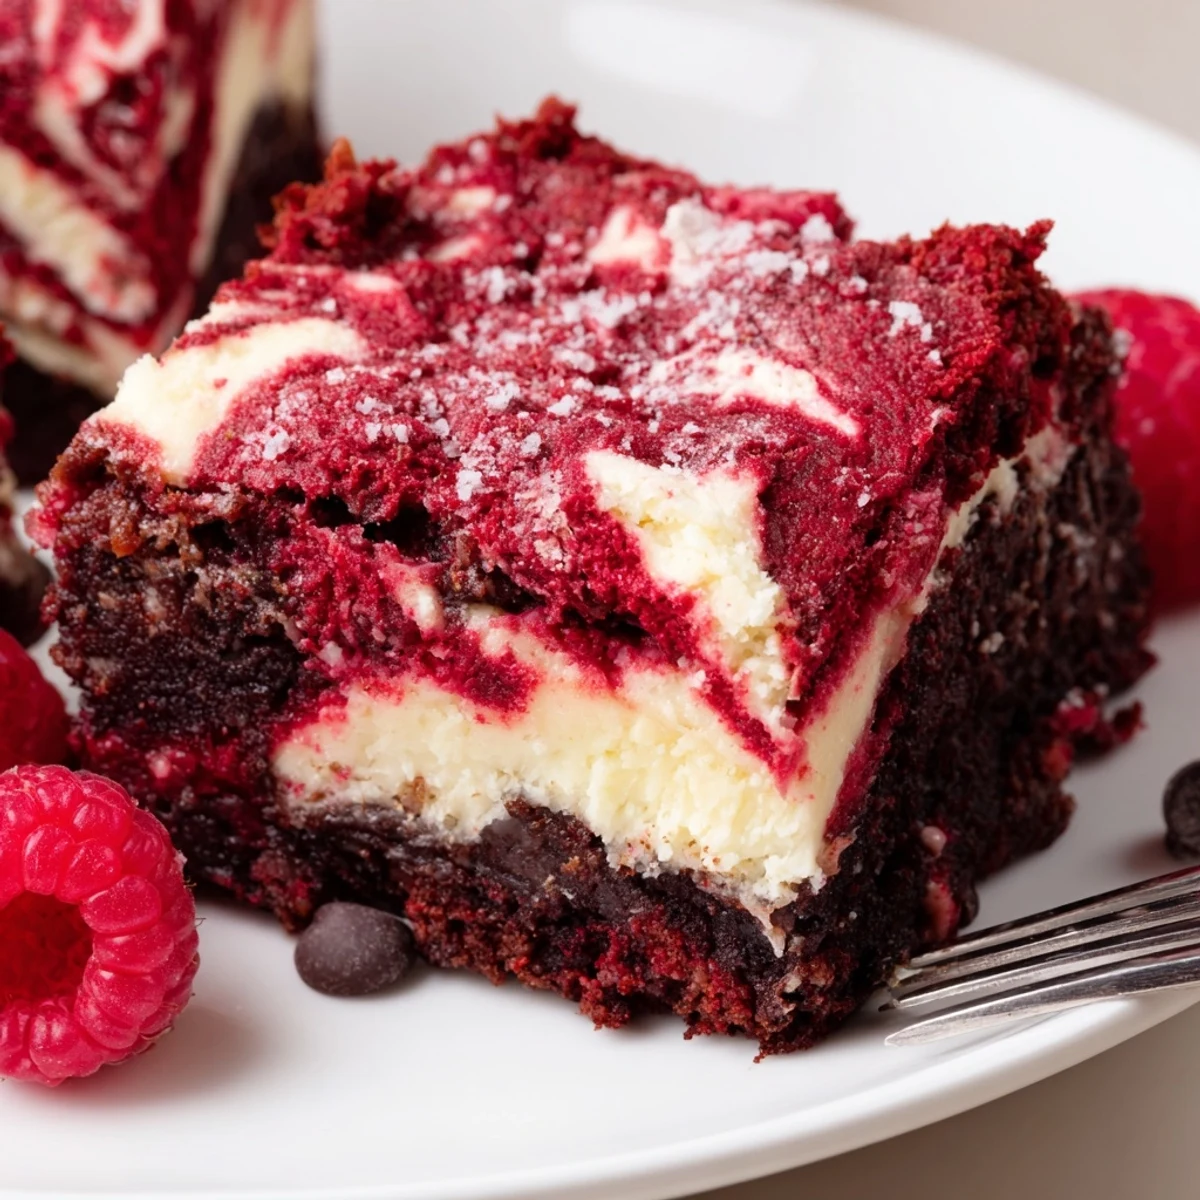
Getting the Swirl Just Right
I learned the hard way that crisscrossing with a knife produces the prettiest marbled effect—just drag the tip through the batter in loops, but don&apost go wild. Less really is more. It&aposs tempting to overdo it but resist, and your brownies will look bakery-worthy.
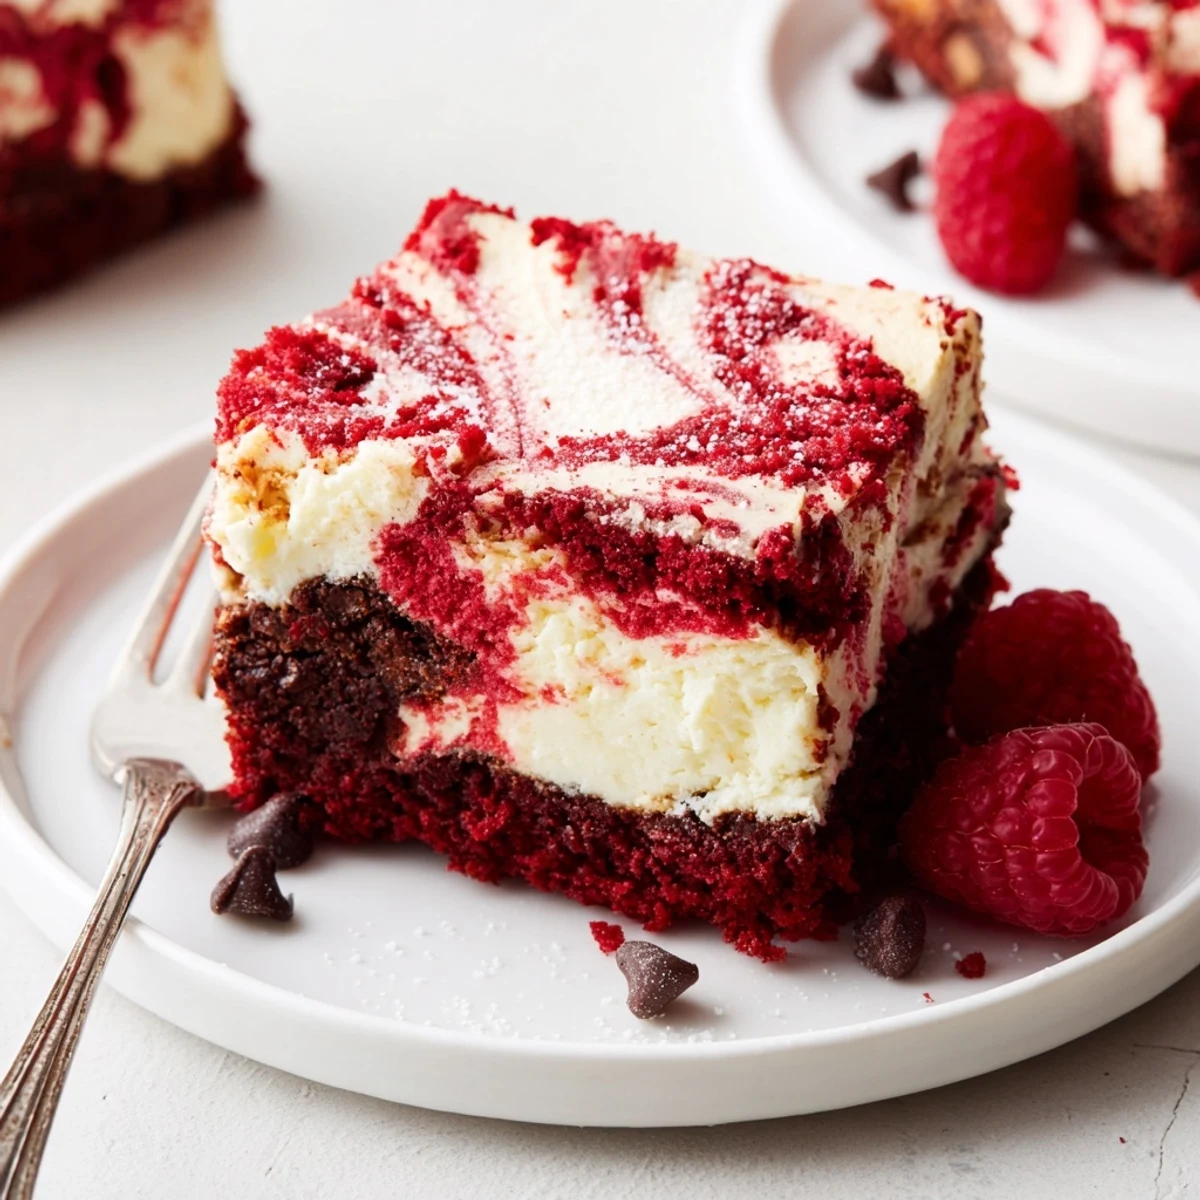
Chill Time Isn&apost Just for Texture
The refrigerator step isn&apost just a suggestion—the extra chill gives those rich fudgy flavors time to settle. I once served them warm out of the pan and realized the layers blurred together, which still tasted good but missed the wow factor. Letting them get ice-cold makes slicing easy and gives the cheesecake a creamy bite.
Variations and Serving Fun
Try sprinkling chocolate chips or chopped white chocolate between layers for surprise bites of extra richness. A handful of fresh berries brightens each square and looks beautiful, too. If you want to switch things up, orange zest added to the cheesecake brings a subtle citrus note that lifts the cocoa flavors perfectly.
- Use an offset spatula for smooth, even layers.
- Don&apost skip the parchment paper—it makes removing the brownies a breeze.
- A dusting of powdered sugar right before serving adds an elegant finish.
 Save to Pinterest
 These red velvet brownies always find a way to brighten up my day no matter how many times I make them. Here&aposs hoping your kitchen fills with as much joy and irresistible aroma as mine does every time they come from the oven.
Recipe Questions & Answers
- → How do I tell when the bars are done?
-
Insert a toothpick into the center; a few moist crumbs indicate the right fudgy texture. Avoid a completely dry toothpick to prevent overbaking.
- → Can I use gel food coloring instead of liquid?
-
Yes. Gel coloring gives a deeper hue with less added liquid—start with a small amount and increase until you reach the desired shade.
- → How can I prevent the cheesecake layer from cracking?
-
Bring cream cheese to room temperature, mix until just smooth, and avoid overbeating. Do not overbake; cool gradually and chill before slicing to help the layer set without cracks.
- → Is it possible to freeze the cooled bars?
-
Yes. Wrap slices tightly in plastic or place in an airtight container and freeze up to 2 months. Thaw in the refrigerator before serving for best texture.
- → What pan size should I use for the correct thickness?
-
An 8 x 8 inch (20 x 20 cm) square pan yields the intended thickness and layered effect. A larger pan will produce thinner layers and shorter bake time.
- → Any tips for achieving a clear marbled swirl?
-
Dollop the reserved red batter on top of the cheesecake layer and use a knife or skewer to make gentle, short swirls. Stop once you see defined veins to keep the contrast.
