 Save to Pinterest
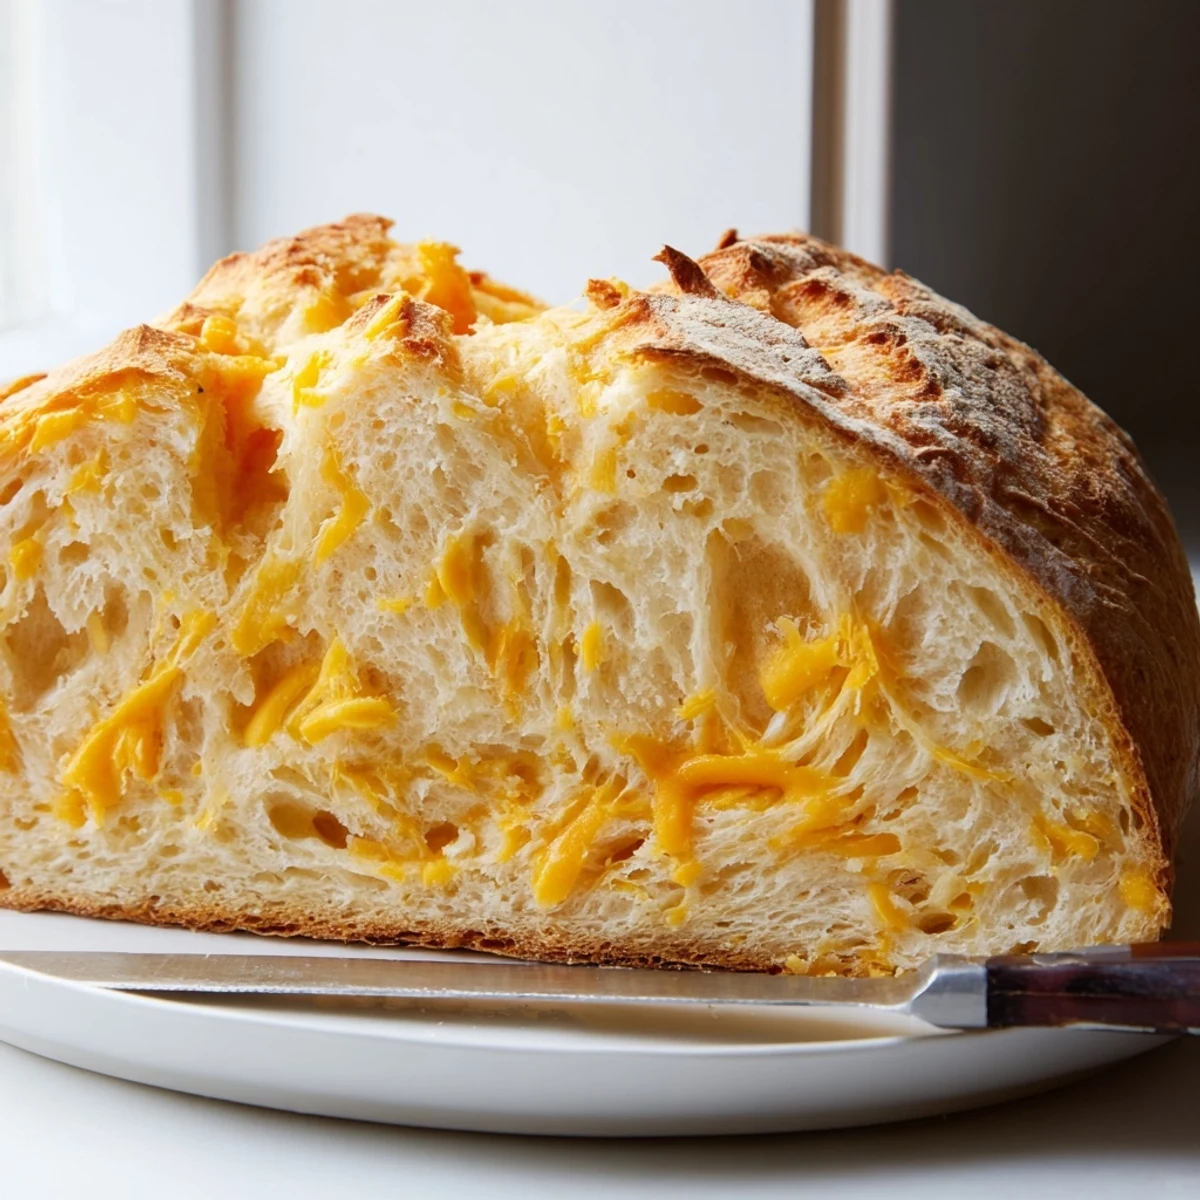
 Create a bakery-style cheddar loaf at home with zero kneading. This straightforward method combines flour, salt, yeast, and sharp cheddar into a shaggy dough that rises hands-free for 3-4 hours. Bake in a preheated Dutch oven for that professional crackling crust and golden exterior. The result is a tender, cheesy interior perfect for morning toast, sandwich building, or dunking into hearty soups.
The smell of cheddar hitting a hot skillet will always stop me in my tracks, but there's something magical about that same aroma wafting through the entire house when bread bakes. My first attempt at no-knead bread ended in a sad, flat disk because I couldn't resist peeking under the lid every five minutes. Now I know better—the patience pays off in ways that store-bought bread never could.
Last winter, during that week where it snowed for three days straight, my neighbor texted asking if I had any bread. I sent over a warm slice of this cheddar loaf, and she showed up at my door twenty minutes later with her own soup pot. We ended up having an impromptu dinner party that neither of us had planned.
Ingredients
- All-purpose flour: This creates the structure without making the bread too dense, and the protein content helps develop those nice air pockets during the long rise
- Salt: Don't skip this—even with all that cheese, you need salt to balance the flavors and help the yeast work properly
- Instant yeast: No proofing needed here, it goes straight into the flour and wakes up when it meets the water
- Sharp cheddar cheese: The sharper the better, honestly—it needs to stand up to the flour and water, and mild cheese tends to disappear into the background
- Lukewarm water: Think bathwater temperature, anything hotter might kill your yeast and anything colder will make the rise take forever
Instructions
- Mix the dry base:
- Whisk flour, salt, and yeast in a large bowl until everything's evenly distributed—those clumps of salt will ruin someone's day if they bite into one
- Add the cheese:
- Toss the grated cheddar into the flour mixture and use your fingers to separate any sticky clumps so every bite gets cheese, not just the lucky sections
- Bring it together:
- Pour in the water and stir with a wooden spoon until it forms this shaggy, sticky mess that looks wrong but is exactly what you want—resist the urge to add more flour
- Let it work:
- Cover the bowl tight with plastic wrap and walk away for 3 to 4 hours until it's doubled and bubbly on top
- Heat your pot:
- Preheat oven to 450°F and put your Dutch oven inside for at least 30 minutes—that pot needs to be screaming hot
- Shape the loaf:
- Turn dough onto a floured surface, gently fold edges toward the center to make a round, and place it on parchment paper
- Final rest:
- Let it sit covered with a towel for 20 to 30 minutes while the oven finishes heating
- Transfer carefully:
- Lift the parchment with the dough and lower it into that blazing hot pot—this is where oven mitts become your best friend
- Bake covered:
- Put the lid on and bake for 30 minutes to create steam that gives you that incredible crust
- Finish it off:
- Remove the lid and bake another 10 to 15 minutes until deep golden and the loaf sounds hollow when you tap it
- Cool completely:
- Let it rest on a wire rack for at least 30 minutes—if you cut too soon, the steam escapes and you'll end up with a gummy crumb
 Save to Pinterest
 My mom used to say bread was too much work for everyday cooking, but this recipe changed her mind completely. Now she keeps a bag of grated cheddar in the freezer just so she can throw this together whenever the mood strikes.
Making It Your Own
Fresh herbs transform this into something completely different—chives in summer, rosemary in fall, or thyme whenever you need a little earthiness. I've also added minced garlic to the dough along with the cheese, which makes the house smell absolutely ridiculous while it bakes.
Serving Ideas That Work
This bread shines alongside tomato soup, but honestly, a thick slice toasted with butter is breakfast gold. The cheese gets these crispy edges where it hits the crust, and that's the part everyone fights over at my table.
Storage And Make-Ahead Tips
The dough actually develops more flavor if you mix it up the night before and let it rise slowly in the refrigerator. Just bring it to room temperature for about an hour before shaping and baking.
- Wrap leftovers tightly at room temperature for up to 2 days
- Slice and freeze individual pieces for quick toast later
- Revive day-old bread in a 350°F oven for 5 to 10 minutes
 Save to Pinterest
 There's nothing quite like tearing into a warm loaf and finding those melted cheese pockets waiting inside. Simple, satisfying, and completely worth the wait.
Recipe Questions & Answers
- → Why use a Dutch oven for baking?
-
A Dutch oven traps steam during baking, creating a professional bakery-style crust. The enclosed environment allows the loaf to rise fully while developing that signature crispy, golden exterior and tender interior.
- → Can I use pre-shredded cheese?
-
Freshly grated cheddar works best as pre-shredded varieties contain anti-caking agents that prevent proper melting. Block cheese melts evenly throughout the crumb, creating those delicious cheesy pockets.
- → How do I know when the bread is done?
-
The crust should appear deep golden brown, and the loaf will sound hollow when tapped on the bottom. An instant thermometer inserted into the center should read 190-200°F for fully baked bread.
- → Can I add mix-ins to the dough?
-
Absolutely. Fresh herbs like rosemary, thyme, or chives complement cheddar beautifully. You can also add diced jalapeños, garlic powder, or swap in smoked cheese for extra depth of flavor.
- → How should I store leftovers?
-
Wrap tightly at room temperature for up to 2 days. For longer storage, slice and freeze in an airtight bag. Toast frozen slices directly from the freezer for best results.
- → What if I don't have a Dutch oven?
-
Any heavy oven-safe pot with a tight-fitting lid works well. A cast iron pot, heavy ceramic baker, or even a stainless steel pot with foil cover can achieve similar crust results.
