 Save to Pinterest
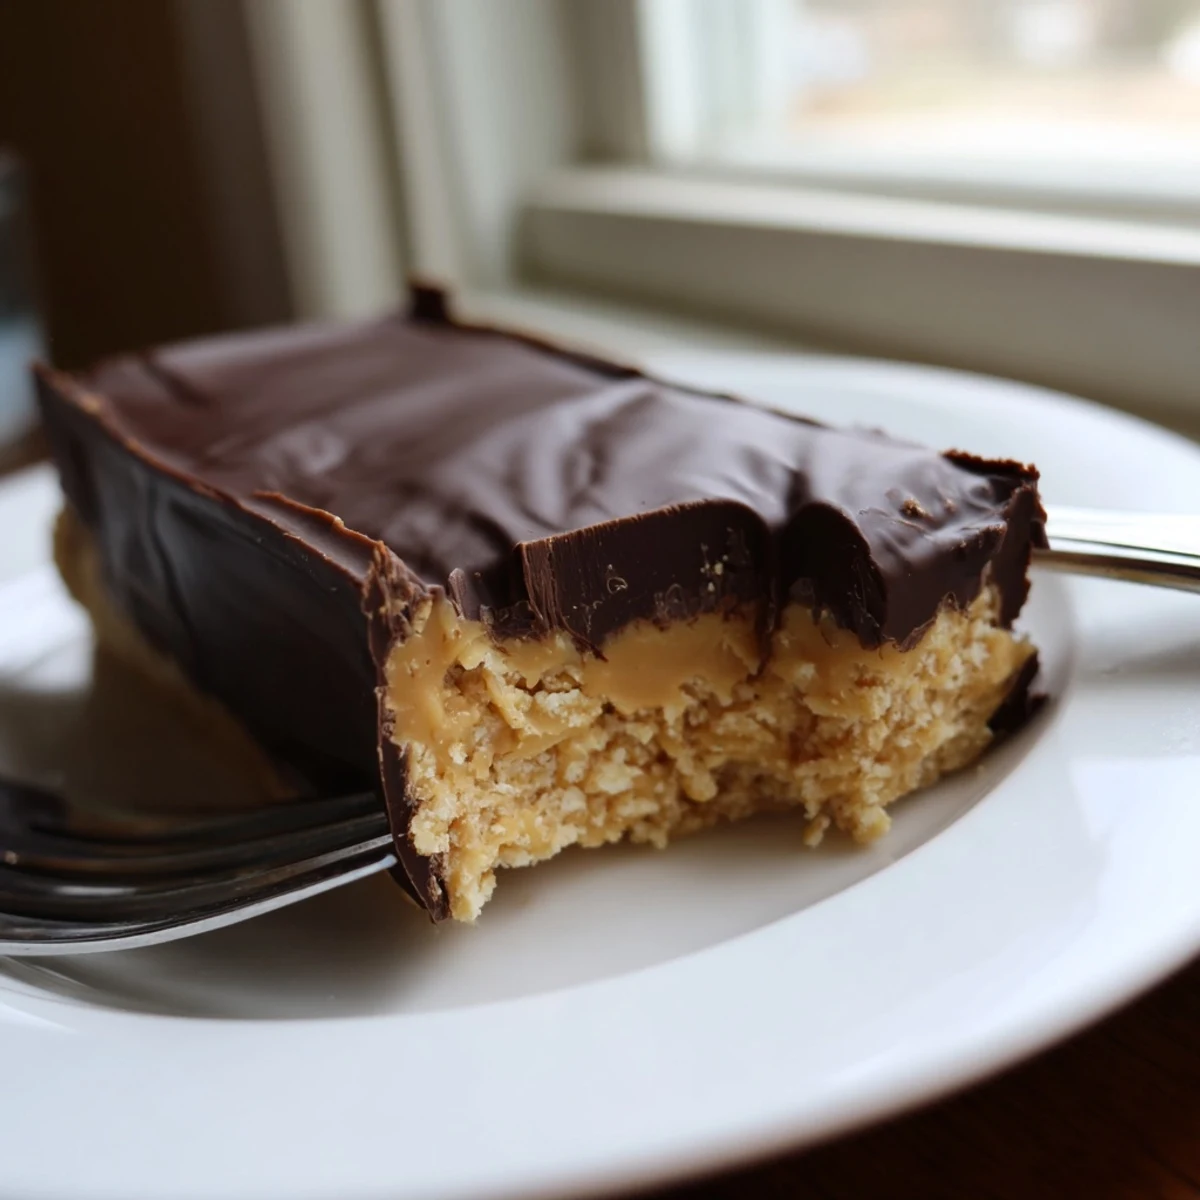
 These indulgent peanut butter bars feature a luscious, creamy base made with melted butter, smooth peanut butter, powdered sugar, and buttery graham cracker crumbs. The crowning glory is a velvety layer of melted semisweet chocolate blended with additional peanut butter for ultimate richness. Simply press the crumbly mixture into a pan, top with the glossy chocolate layer, and chill until firm. The result is 16 perfectly portioned bars with a satisfying texture—slightly crunchy base yielding to silky chocolate. Store chilled for the best consistency and enjoy this crowd-pleasing treat at gatherings or as an everyday sweet indulgence.
My kitchen smelled like a candy factory the afternoon I threw these bars together for a potluck I had nearly forgotten about. Panicked and short on time I grabbed peanut butter and chocolate chips and somehow created the dessert everyone asked about for months. No oven no fuss just pure reckless baking luck.
My neighbor Dave stopped by the next day asking if I had any leftovers and I had to confess we ate every last square standing around the kitchen island at midnight.
Ingredients
- Creamy peanut butter: Use the regular shelf stable kind not the natural stirring type because the oils in natural peanut butter can make the base too greasy and soft.
- Unsalted butter melted: Melting it first ensures the base mixes together smoothly without any cold pockets.
- Powdered sugar sifted: Sifting is nonnegotiable here since lumps will show up as ugly white streaks in your finished bars.
- Graham cracker crumbs: These give the base its cookie like structure and a subtle honey sweetness that pairs perfectly with peanut butter.
- Semisweet chocolate chips: Semisweet strikes the right balance so the topping does not become cloying on top of an already sweet base.
- Extra peanut butter for the topping: Stirring a little into the melted chocolate keeps it from cracking when you cut the bars into squares.
Instructions
- Prep your pan:
- Line a 9 by 9 inch baking dish with parchment paper leaving enough overhang on the sides to lift the whole thing out later like a sling.
- Build the base:
- Stir melted butter and one cup of peanut butter together until completely smooth then fold in the powdered sugar and graham cracker crumbs until you get a thick dough that holds together when you press it.
- Press it in:
- Transfer the dough to your lined pan and press it down firmly and evenly using a spatula or the back of a spoon to get a perfectly flat surface.
- Melt the topping:
- Combine chocolate chips and the remaining quarter cup of peanut butter in a microwave safe bowl and heat in twenty second bursts stirring between each one until the mixture is glossy and pourable.
- Spread and chill:
- Pour the chocolate over the base and spread it edge to edge then pop the whole pan into the refrigerator for at least two hours until everything is firm and set.
- Cut and serve:
- Grab the parchment overhang to lift the slab out of the pan and set it on a cutting board before slicing into sixteen neat squares with a sharp knife.
 Save to Pinterest
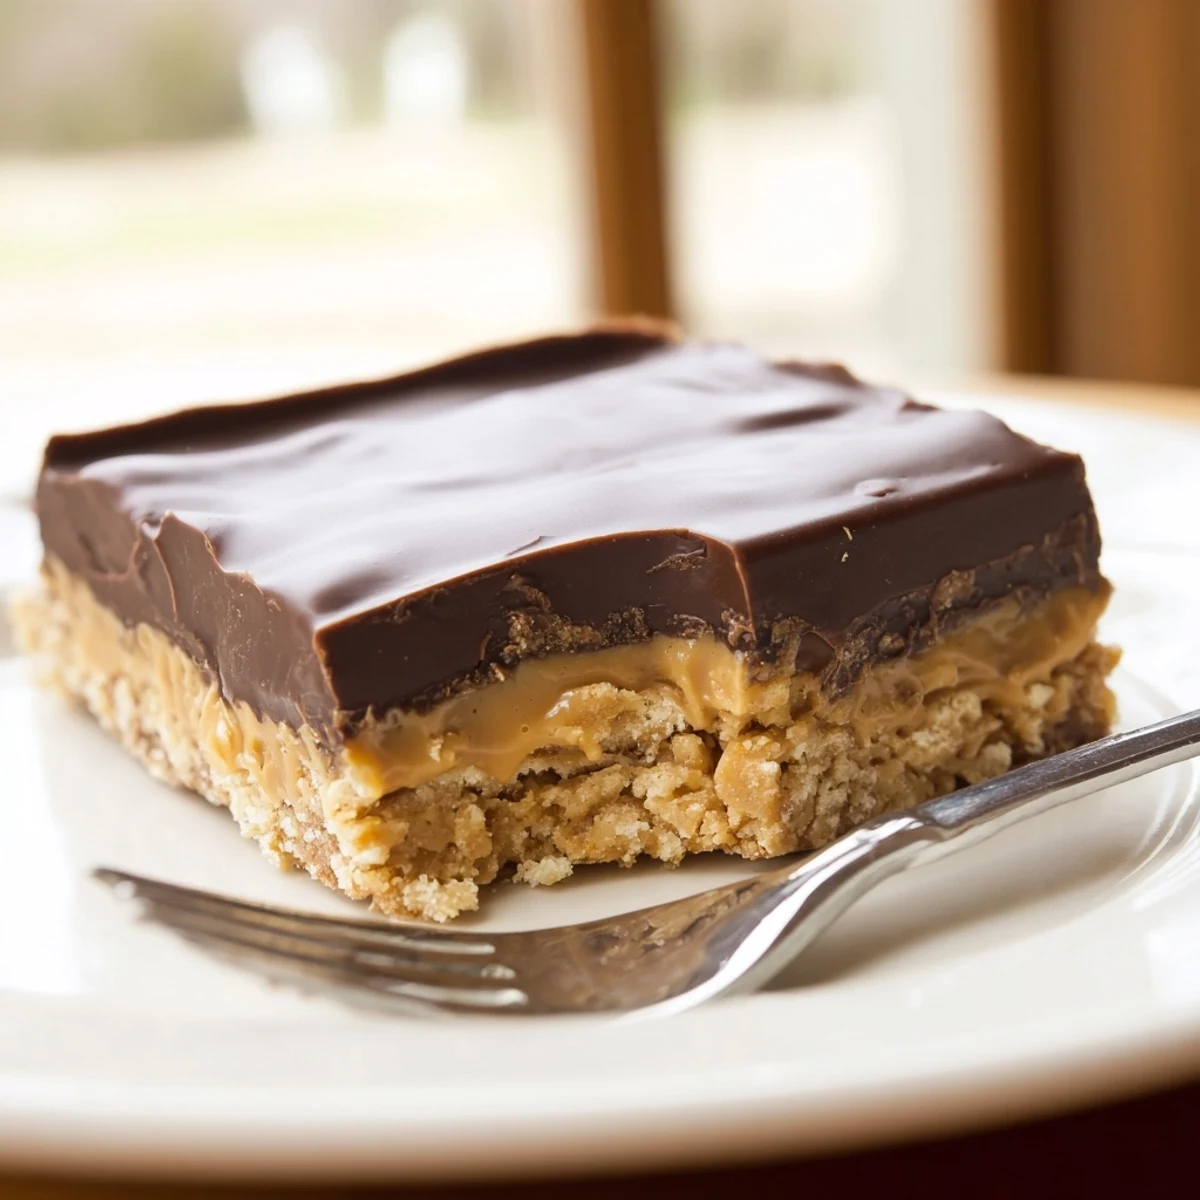
 These bars have become my go-to contribution for school bake sales and birthday parties and somehow they always disappear before the fancier desserts even get touched.
Making It Your Own
Swap in chunky peanut butter if you want a satisfying crunch running through every bite or fold in a handful of chopped roasted peanuts for even more texture. Crushed digestive biscuits or gluten free cookies work beautifully in place of graham crackers and I actually prefer the slightly maltier flavor of digestives.
A Note on Storage
Keep these bars in an airtight container in the refrigerator and they will stay fresh for up to a week though honestly they never last that long in my house. You can also freeze them layered between sheets of parchment for up to three months which is a dangerous thing to know when late night cravings strike.
Little Things That Make a Difference
A generous sprinkle of flaky sea salt on top of the wet chocolate layer transforms these from great to absolutely unforgettable. The salt cuts through the sweetness and wakes up the peanut flavor in a way that makes people close their eyes when they take the first bite.
- Let the bars sit at room temperature for ten minutes before cutting so the chocolate does not shatter.
- Use a plastic knife for cleaner cuts through the sticky peanut butter layer.
- Double the recipe and use a 9 by 13 inch pan because one batch simply will not be enough.
 Save to Pinterest
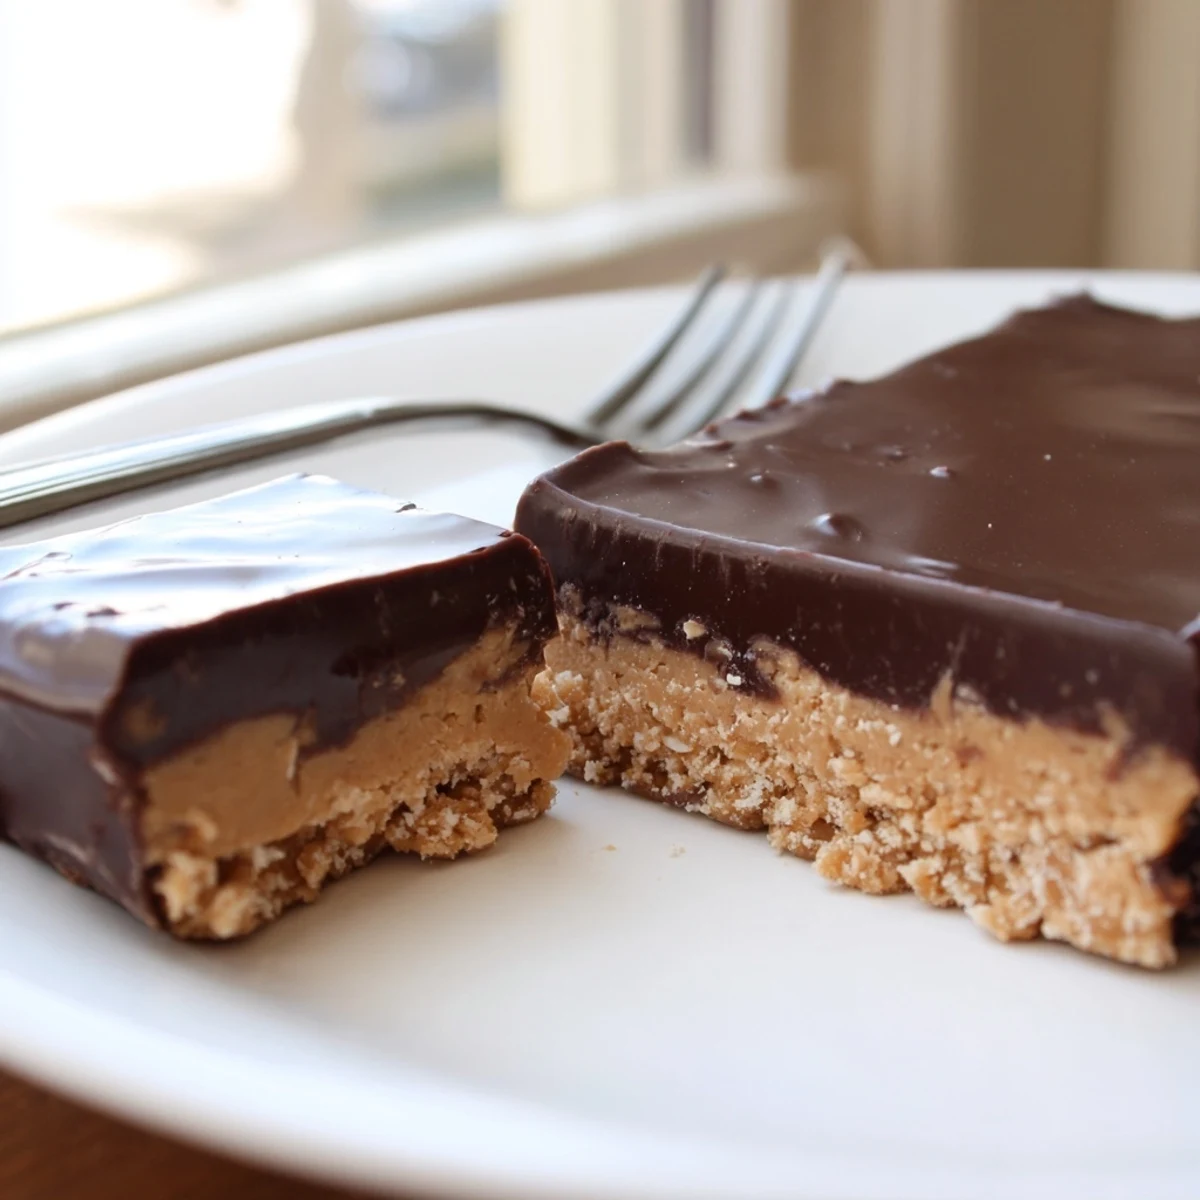
 These peanut butter bars are proof that the simplest desserts often leave the biggest impression. Make one batch and watch them vanish.
Recipe Questions & Answers
- → How long do these peanut butter bars need to chill?
-
Refrigerate the bars for at least 2 hours until completely firm before cutting. This allows the layers to set properly so you get clean squares when slicing. For even easier cutting, you can chill overnight—the texture becomes perfectly fudgy.
- → Can I freeze these chocolate peanut butter bars?
-
Yes, these freeze beautifully. Wrap the uncut slab tightly in plastic and foil, or freeze individual squares in an airtight container. They'll keep for up to 3 months. Thaw in the refrigerator for a few hours before serving.
- → What can I use instead of graham cracker crumbs?
-
Digestive biscuits work wonderfully as a substitute, offering a similar buttery crunch. For gluten-free options, crush gluten-free vanilla cookies or use crushed gluten-free graham-style crackers. The flavor and texture remain excellent.
- → Why add peanut butter to the chocolate topping?
-
The peanut butter in the chocolate layer creates a more cohesive, fudgy topping that won't crack when cut. It also intensifies the peanut butter flavor throughout and helps the chocolate set to a perfect creamy consistency.
- → Can I make these with natural peanut butter?
-
Natural peanut butter will work, though the texture may be slightly softer due to the oil separation. For best results, stir the peanut butter thoroughly and consider reducing the melted butter slightly. The bars may need extra chilling time to firm up properly.
- → How should I store these bars?
-
Keep the bars refrigerated in an airtight container, layered between parchment paper to prevent sticking. They'll stay fresh for up to one week. The cold temperature maintains the ideal texture—soft and creamy rather than overly soft at room temperature.
