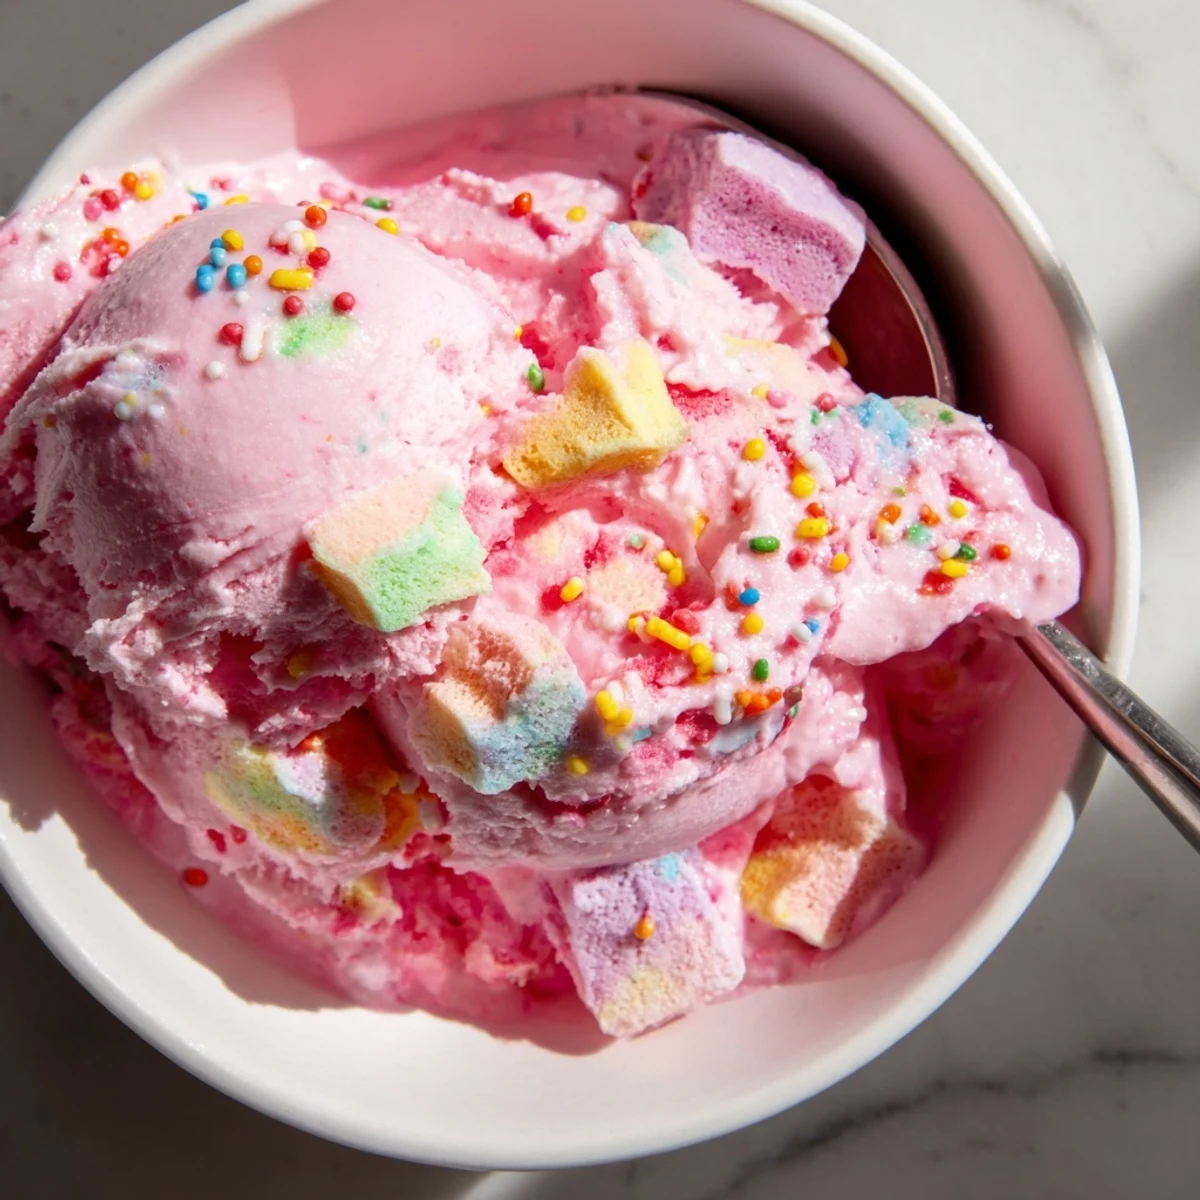
 Save to Pinterest
 Whip up nostalgic bubblegum ice cream without any special equipment. This no-churn method combines sweetened condensed milk with whipped heavy cream for a velvety smooth texture. Customize with pink or blue food coloring and fold in chopped bubblegum candies for extra bursts of flavor. Perfect for birthday parties, summer gatherings, or whenever you crave a taste of childhood.
The blue streak across my white kitchen towel gave it away immediately. My seven-year-old had decided we needed ice cream in the middle of a Tuesday afternoon, and somehow bubblegum flavoring seemed like the perfectly logical choice to him. I stirred that electric pink mixture wondering if this was actually going to work, or if I'd be cleaning sticky spots off the freezer shelves for weeks. But that first scoop stopped me cold somewhere between skepticism and pure childhood joy.
My niece Lila literally squealed when she saw the container, then proceeded to ask me approximately 47 questions about how the pink happened. We ate it on the back porch steps while summer fireflies started blinking in the dusk, both of us with bubblegum colored tongues and sticky fingers. Sometimes the most ridiculous looking desserts create the most ordinary magical moments.
Ingredients
- Heavy whipping cream: Cold cream whips faster and holds air better, so pop it in the freezer for 10 minutes before you start
- Sweetened condensed milk: This magical ingredient does all the heavy lifting for texture and sweetness without any ice cream machine gymnastics
- Bubblegum flavoring: A tiny bit goes incredibly far, and I learned the hard way that adding more than half a teaspoon tastes like perfume
- Gel food coloring: Gel creates those vibrant circus colors without watering down your mixture like liquid drops can
- Bubblegum candies: Chopping them into smaller pieces means you get bubblegum in every bite instead than three giant chunks
Instructions
- Whip the cream into submission:
- Beat that cold heavy cream until stiff peaks form, which means when you lift those beaters the cream stands up at attention and doesnt flop over at all
- Create your flavor canvas:
- Whisk the sweetened condensed milk with vanilla, bubblegum flavoring, and food coloring until you have something that looks like it came straight from a 1950s soda fountain
- The marriage of textures:
- Fold the whipped cream into your flavored milk mixture using that gentle figure eight motion, taking your time so you dont knock all that precious air out
- Add the surprise element:
- Fold in your chopped bubblegum candies leaving some pockets of white so every bite feels like discovering hidden treasure
- Patience is the hardest part:
- Smooth everything into your container, top with extra candies and sprinkles if you're feeling extra, then let the freezer work its magic for at least six hours
- The final moment:
- Let it soften on the counter for just a few minutes before scooping, because rock hard bubblegum ice cream is basically a sad frosty brick
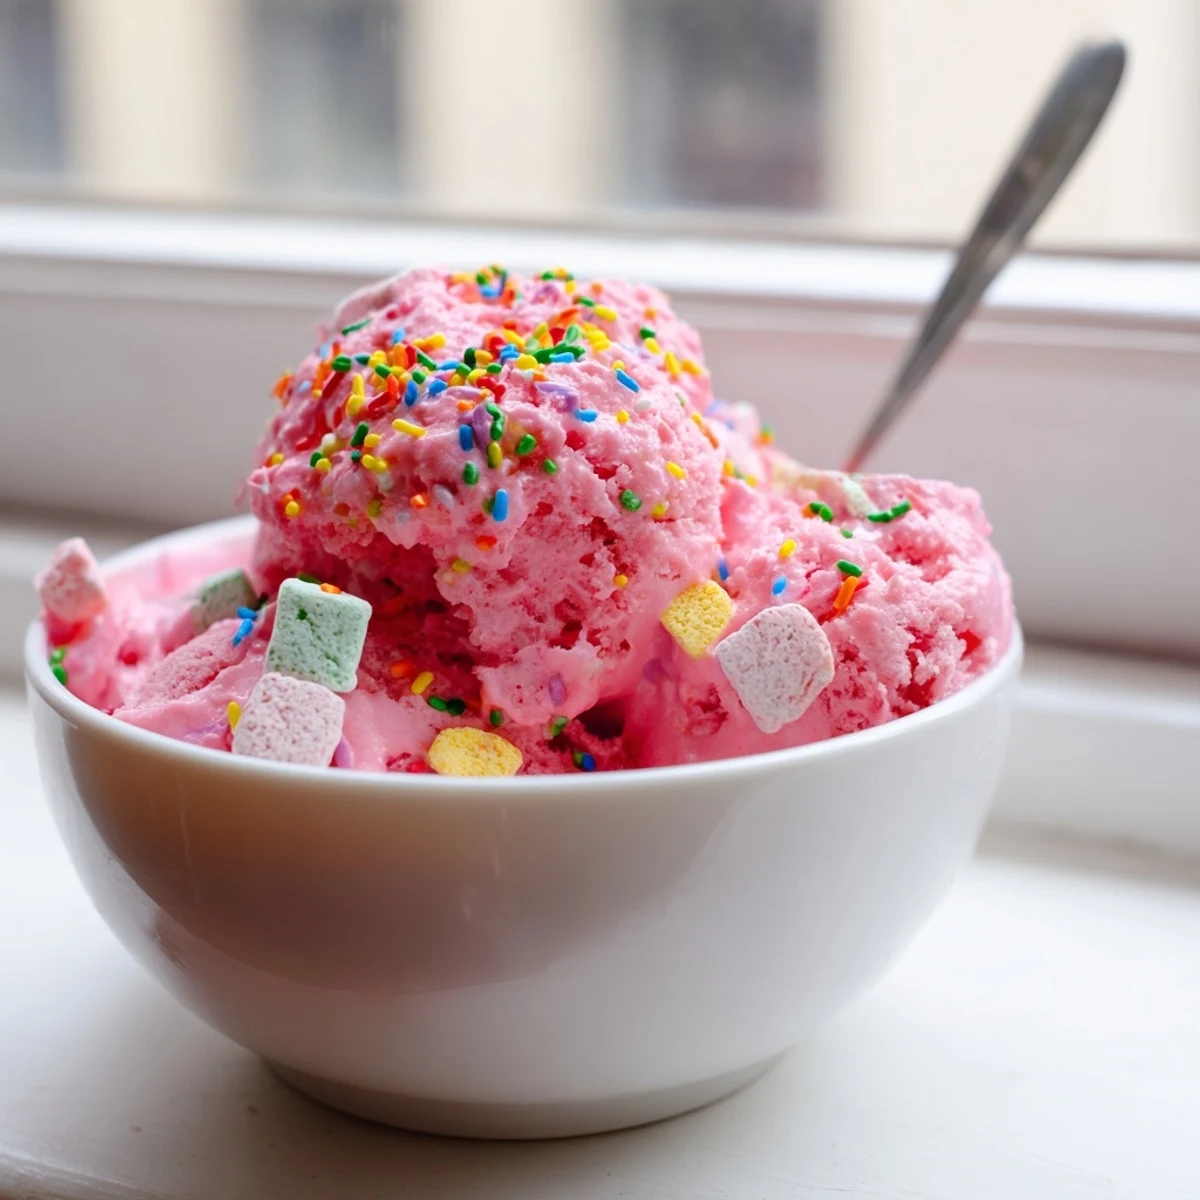 Save to Pinterest
 My neighbor's kids actually started a petition asking me to make this for every block party, which is either a compliment or a very polite way of saying they're tired of my usual chocolate chip cookies. Either way, seeing adults with blue teeth laughing on patio furniture is worth every minute of the stirring and the waiting.
Swirling Magic
I've discovered that dropping tiny dots of both pink and blue food coloring into the base, then giving it just two or three lazy folds instead of fully mixing, creates those gorgeous ribbon effects throughout. Don't overthink it or overmix, because somehow the messy approach looks the most professional.
The Freezer Container Situation
Metal containers freeze ice cream faster and more evenly than plastic, which I learned after three batches of mysteriously icy edges and mushy centers. If you only have plastic, just accept that you might need an extra hour of freezing time, and honestly nobody needs perfect ice cream that badly.
Serving Ideas That Actually Work
This ice cream transforms completely when sandwiched between two soft chocolate cookies, something about the chocolate and artificial bubblegum flavor combination being unexpectedly sophisticated somehow. I also serve it in waffle cones that I've painted stripes of food coloring inside before baking, because why commit to just one color when you can have five.
- Warm crushed graham crackers sprinkled over the top add this incredible salty crunch contrast
- A drizzle of sweetened condensed milk right before serving creates this gooey ribbon that people will ask about
- Keep your scooper in hot water between dips for those picture perfect round balls instead of sad jagged chunks
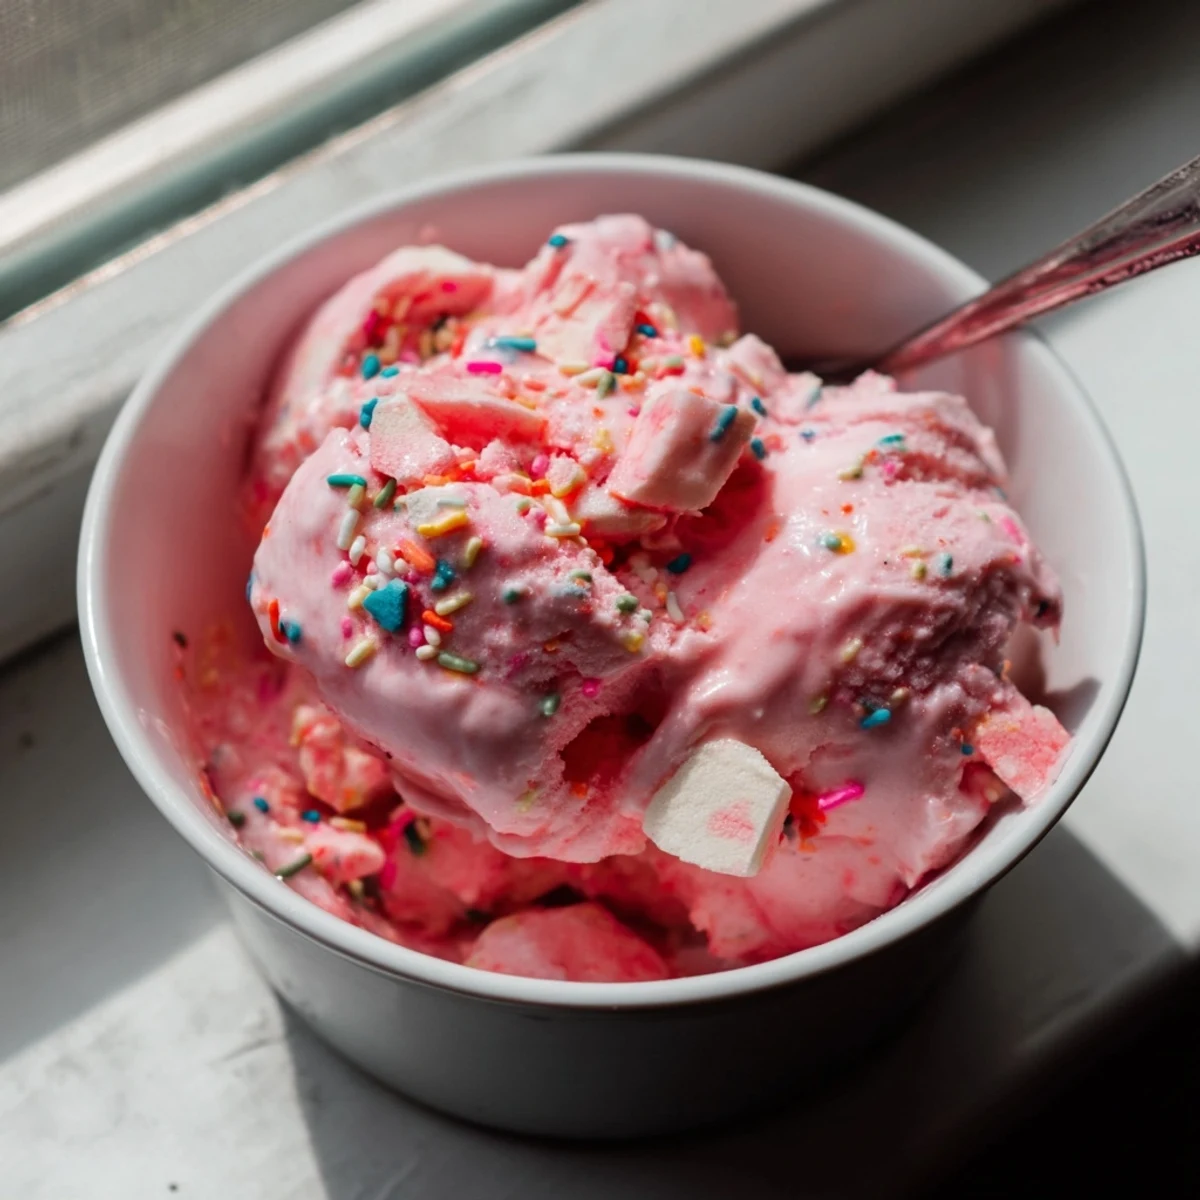 Save to Pinterest
 Sometimes the recipes that make you raise your eyebrows become the ones that make you smile the widest, usually with sticky fingers and a slightly blue tongue.
Recipe Questions & Answers
- → Do I need an ice cream maker for this?
-
No, this no-churn method eliminates the need for an ice cream maker. The combination of whipped cream and sweetened condensed milk creates a smooth, creamy texture without any special equipment.
- → Where can I find bubblegum flavoring?
-
Bubblegum flavoring is available at baking supply stores, craft stores with baking sections, or online retailers. You can also substitute with cotton candy or strawberry flavoring for a similar sweet profile.
- → How long does this need to freeze?
-
The ice cream needs to freeze for at least 6 hours, but overnight freezing yields the best texture. Plan accordingly when preparing for a specific event or gathering.
- → Can I make this without food coloring?
-
Absolutely! The food coloring is purely optional and won't affect the flavor. The natural color will be off-white from the cream and condensed milk, but the bubblegum flavor will still shine through.
- → What other mix-ins work well?
-
Try mini marshmallows, white chocolate chips, colorful sprinkles, or crushed gummy candies. For a different twist, add chopped chocolate-covered pretzels for a sweet and salty contrast.
