 Save to Pinterest
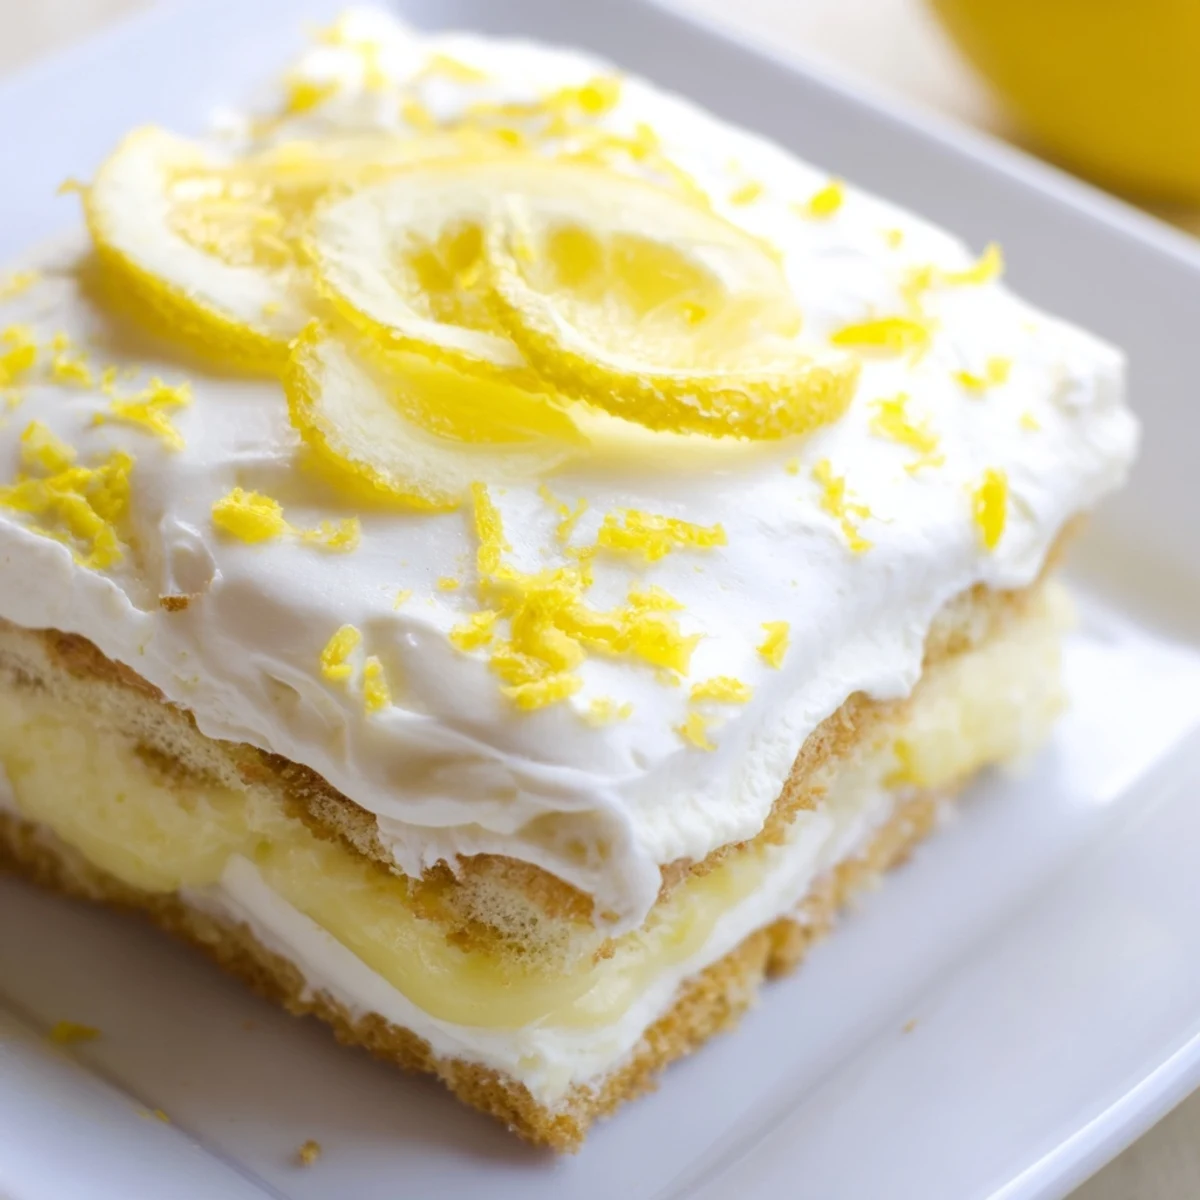
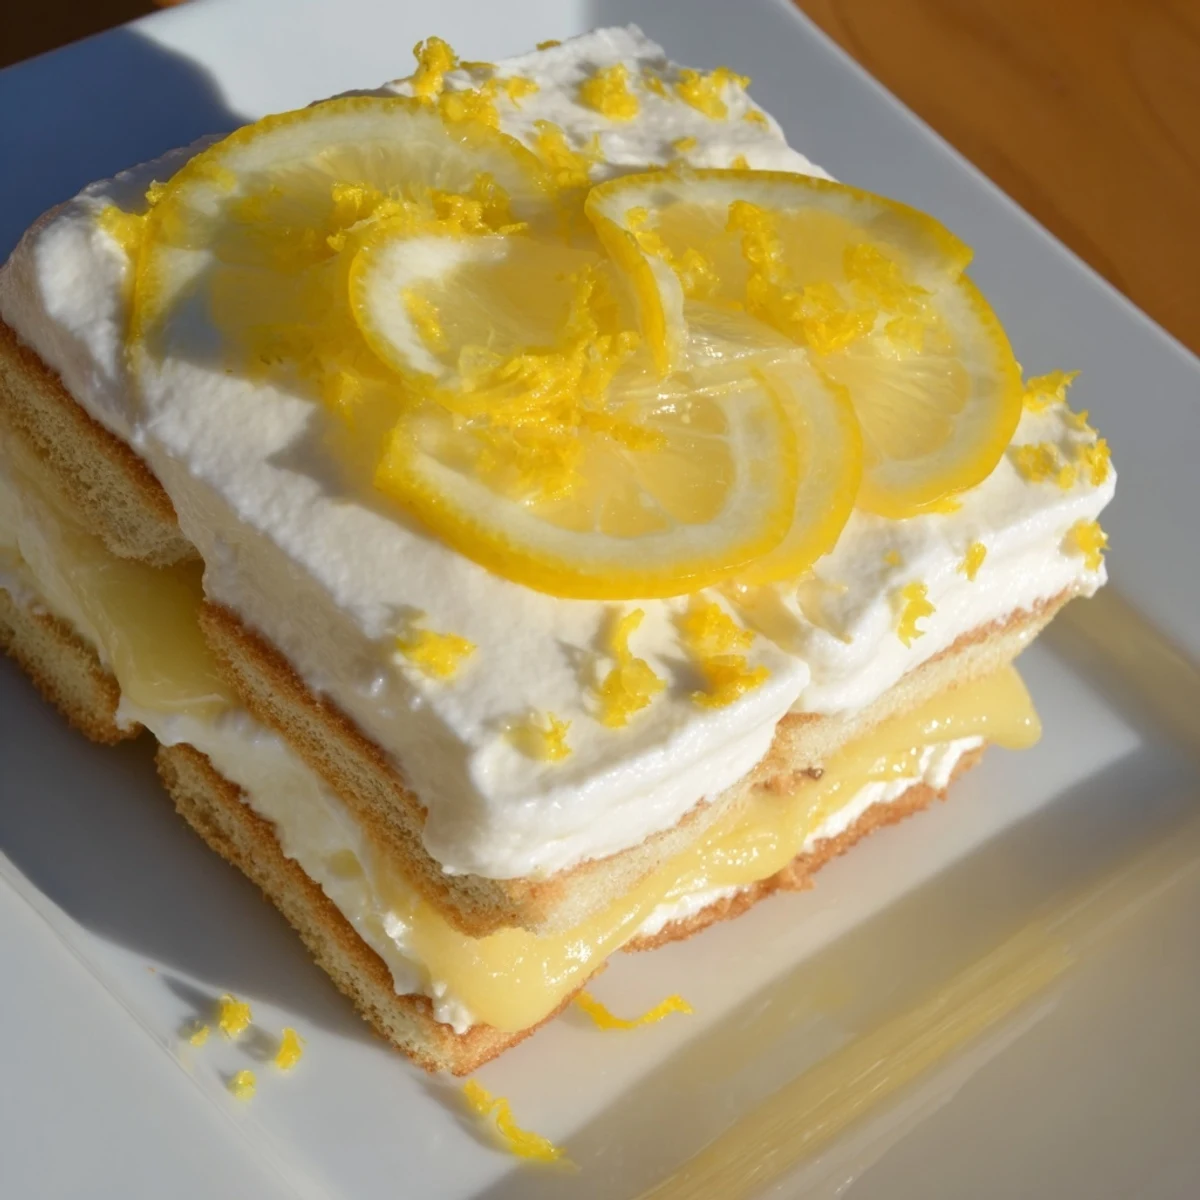
 This no-bake lemon tiramisu combines delicate ladyfingers soaked in a zesty lemon syrup with a creamy mascarpone filling whipped to light perfection. The dessert is assembled in layers, then chilled for several hours to meld the bright citrus flavors with the rich, velvety cream. A fresh twist ideal for spring and summer occasions, it delivers a refreshing balance of tang and sweetness without any baking required.
The moment I first pulled this lemon tiramisu from the fridge, something about those bright yellow flecks against the snowy cream made me pause. My friend Sarah had been raving about her grandmother's citrus twist on the Italian classic for months, and I finally understood the obsession when that first spoonful hit my tongue—light, tangy, and somehow both elegant and utterly comforting. Now it's become my go-to for summer dinner parties, mostly because nobody believes something this impressive takes zero oven time.
Last summer, I made this for my sister's birthday dinner and accidentally forgot to add the limoncello kick to the syrup—everyone still went silent after the first bite, which I've learned is the highest compliment a dessert can receive. My dad, who usually claims to not like 'fancy desserts,' asked for the recipe before he even finished his plate, and now requests it every time he visits.
Ingredients
- Water: This forms the base of your syrup—use filtered water if possible since you'll really taste the difference in something so simple.
- Granulated sugar: Dissolves beautifully to create just enough sweetness to balance the lemon's natural acidity without overpowering it.
- Lemon juice: Fresh is absolutely non-negotiable here—bottled juice lacks that bright, almost floral quality that makes this dessert sing.
- Lemon zest: Those tiny flecks of zest are where all the aromatic lemon oils live, and they're what makes each bite smell as amazing as it tastes.
- Heavy cream: Needs to be ice cold from the fridge to whip up properly—trust me, room temperature cream will never give you those stiff peaks you need.
- Powdered sugar: Smoothly incorporates into the cream without the graininess that granulated sugar would cause here.
- Mascarpone cheese: Let it sit on the counter for about 30 minutes before using—cold mascarpone can turn grainy when you try to mix it.
- Vanilla extract: Just a teaspoon adds this warm background note that ties everything together and keeps the lemon from being one-dimensional.
- Ladyfinger cookies: These need to be the crisp Italian savoiardi, not the soft cake-like ones, or they'll completely fall apart when dipped.
Instructions
- Whisk up your lemon syrup:
- Combine the water, sugar, lemon juice, and lemon zest in a small saucepan over medium heat, stirring until the sugar completely disappears into the liquid—this usually takes about 3-4 minutes. Set it aside to cool completely because hot syrup will start melting your mascarpone mixture and nobody wants a soupy dessert.
- Whip the cream until it stands tall:
- Using an electric mixer, beat that cold heavy cream with powdered sugar until you can lift the beaters and the cream holds its shape in firm peaks—overmixing will turn it into butter, which I learned the hard way once. In another bowl, gently beat the softened mascarpone with vanilla and lemon zest just until smooth, then fold in your whipped cream using a rubber spatula, being careful not to deflate all that air you just worked so hard to incorporate.
- Build your layers:
- Working quickly so the ladyfingers don't absorb too much liquid, dip each cookie into the cooled syrup just long enough to coat—literally one second per side—and arrange half of them in a single layer in your 9x9 dish. Spread half of that gorgeous mascarpone cream over the ladyfingers, then repeat with another layer of dipped cookies and the remaining cream, using your spatula to create those pretty swoops on top.
- Let the magic happen in the fridge:
- Cover your dish with plastic wrap and refrigerate for at least 4 hours, though overnight is even better—the flavors need time to become friends and the texture transforms from slightly loose to this perfect, pudding-like consistency. When you're ready to serve, maybe add some thin lemon slices on top if you're feeling fancy, but honestly, it's beautiful just as is.
 Save to Pinterest
 What I love most about watching people try this for the first time is how they pause after that first bite, almost surprised by how something so simple can taste so complex. It's become my signature bring-along for summer potlucks because it travels well, serves a crowd, and somehow makes me look like I spent hours in the kitchen when I really just spent 20 minutes assembling ingredients.
Making It Ahead
This dessert actually improves with time, which is rare in the dessert world. I've made it up to 24 hours in advance, and the flavors deepen and meld together beautifully—the lemon becomes a bit more mellow and the cream sets into this perfect, sliceable texture that still melts in your mouth. If you're making it for a dinner party, just have everything ready to go the night before and you can focus entirely on your main course instead of stressing about dessert timing.
Ingredient Swaps That Work
Sometimes I'll use blood oranges or Meyer lemons when they're in season for a slightly different flavor profile that feels extra special. If you want to lighten it up, swapping half the mascarpone for Greek yogurt works surprisingly well, though the texture will be a bit less luxurious. I've even made a version with orange blossom honey instead of sugar in the syrup for this subtle floral note that makes people ask 'what's that secret ingredient?'
Serving Suggestions
A chilled glass of Prosecco or Moscato alongside each serving makes this feel like a proper Italian dessert experience, though honestly, it's just as satisfying with a cup of afternoon tea. I like to serve it in small, clear glass bowls so you can see those beautiful layers, but family-style straight from the dish works perfectly too—just make sure everyone gets some of that top layer with the extra zest.
- Sprinkle a little extra fresh zest right before serving for that burst of lemon aroma.
- If you're feeling fancy, candied lemon peels make an elegant garnish.
- Let it sit at room temperature for 10 minutes before serving for the creamiest texture.
 Save to Pinterest
 There's something almost meditative about assembling the layers, and I've found that the simple act of creating something beautiful and delicious is its own reward. Hope this becomes your summer go-to just like it's become mine.
