 Save to Pinterest
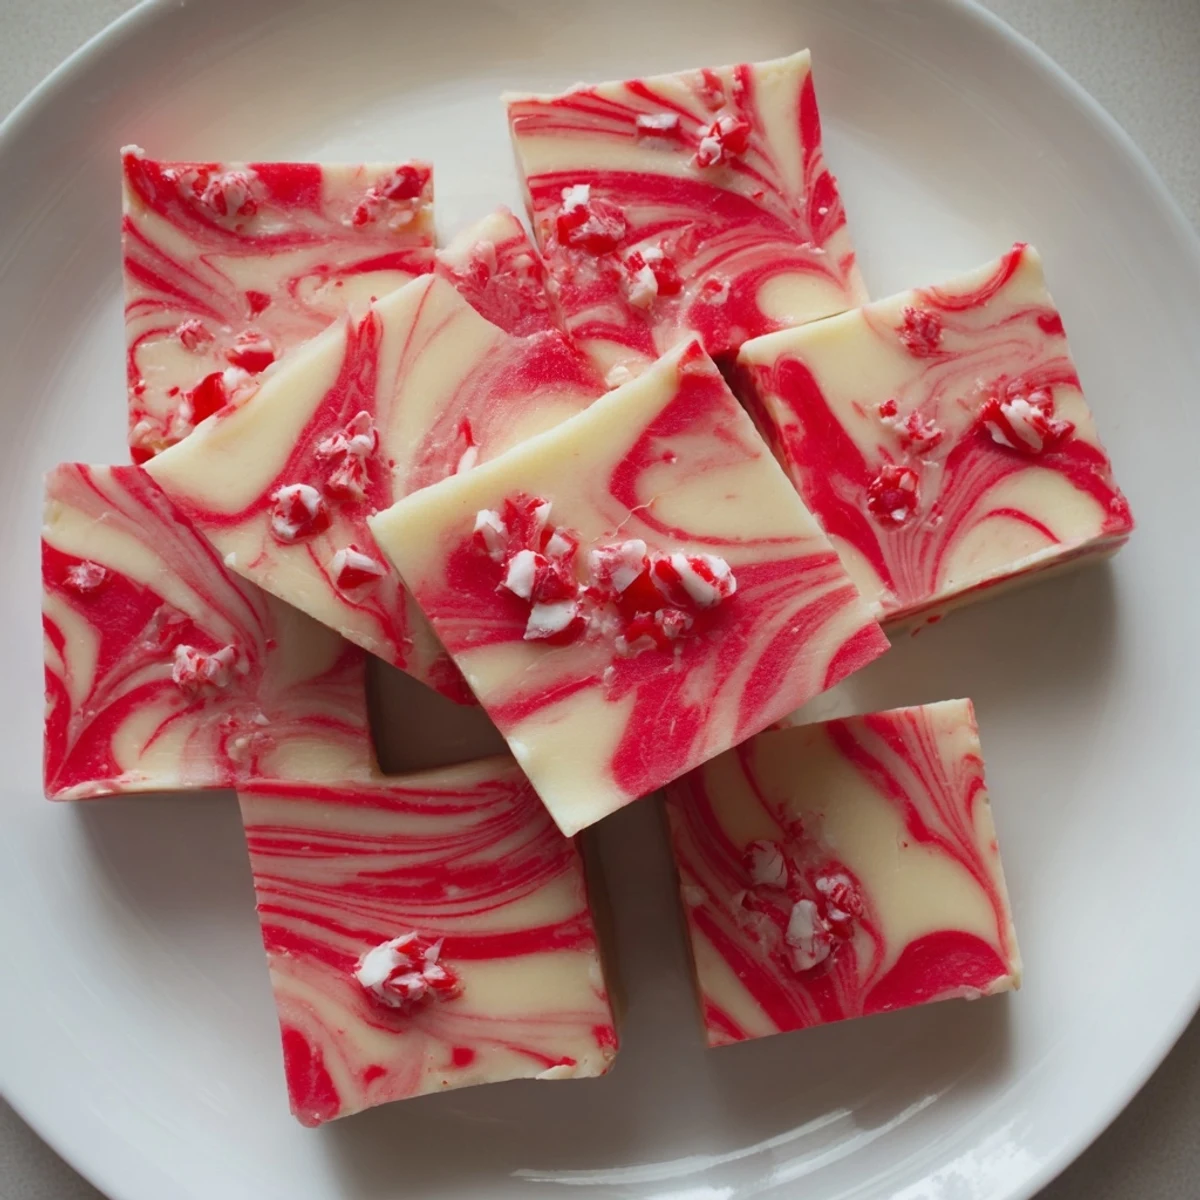
 This indulgent fudge combines smooth white chocolate with refreshing peppermint flavor. The marble swirl effect creates a stunning presentation, while crushed candy canes add festive crunch. Ready in just 25 minutes of active prep time, this treat sets in the refrigerator for an impressive holiday dessert that's naturally gluten-free and vegetarian.
The kitchen still smells like winter mint when I think about the year my sister and I decided we needed our own holiday tradition. We were tired of the same old cookies everyone brought to gatherings, so we spent a snowy Saturday afternoon attempting fancy fudge. The first batch turned into a sticky disaster, but by the third try, we had something magical happening on the counter. Now this peppermint swirl fudge makes an appearance at every family gathering, and people actually ask for it specifically.
Last Christmas, my neighbor's daughter spotted the fudge cooling on my counter and immediately asked if she could help with the swirling part. Her eyes went wide when she saw the red and white marble patterns forming under her knife. I gave her the first piece once it set, and she told me it tasted like Christmas morning in candy form. Now she stops by every December to help make a fresh batch.
Ingredients
- 2 cups white chocolate chips: Good quality matters here since white chocolate is the star of the show. I have learned that cheaper brands can seize up and become grainy.
- 1 can sweetened condensed milk: This is what creates that impossibly smooth fudge texture. Do not try substituting regular milk, it will not work the same way.
- 2 tbsp unsalted butter: Adds just enough richness to help the fudge set properly while keeping it soft enough to bite into easily.
- ½ tsp peppermint extract: Start here and adjust to your taste. Some years I add a tiny bit more for extra mint intensity.
- Red gel food coloring: Gel coloring works better than liquid because it will not throw off the fudge consistency. A little goes a long way.
- ¼ cup crushed peppermint candies: The topping adds perfect crunch and makes each piece look festive. I crush mine right before using so they stay fresh.
Instructions
- Prepare your pan:
- Line an 8x8 inch baking pan with parchment paper and let the edges hang over the sides. This trick makes removing the fudge so much easier later.
- Melt the base:
- Combine the white chocolate chips, sweetened condensed milk, and butter in a medium saucepan over low heat. Stir constantly and do not walk away, white chocolate can scorch quickly.
- Add the peppermint:
- Once everything is melted and smooth, remove from heat and stir in the peppermint extract. The smell will hit you immediately and it is absolutely wonderful.
- Create the layers:
- Pour about three quarters of the mixture into your prepared pan and spread it evenly. Leave the rest in the saucepan for the red swirl.
- Make the swirl:
- Add a few drops of red gel coloring to the remaining fudge and stir until combined. Drop spoonfuls over the white layer and use a knife to gently marble them together.
- Add the crunch:
- Sprinkle the crushed peppermint candies over the top and press them in gently so they stick. Refrigerate for at least 2 hours until completely firm.
- Cut and serve:
- Lift the fudge out using the parchment paper overhang. Cut into small squares and try not to eat them all yourself.
 Save to Pinterest
 My dad, who claims he does not have much of a sweet tooth, started taking two pieces of this fudge with his coffee every morning during the holidays. He says it is not really dessert if it is before noon. I caught him sneaking an extra piece last year and just pretended not to notice.
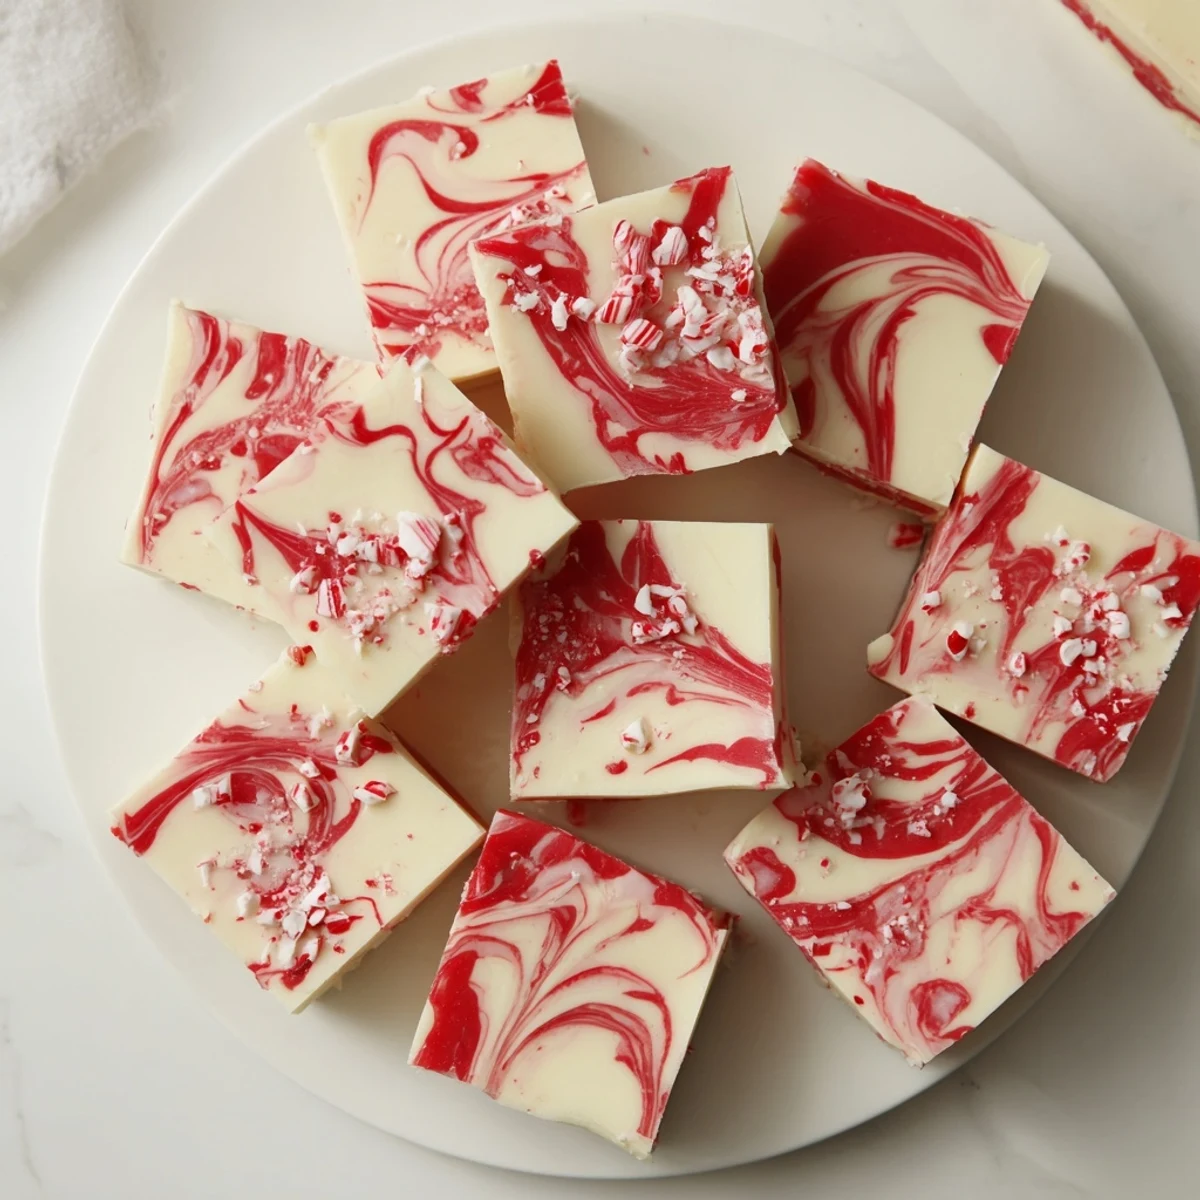
Getting That Perfect Swirl
The first time I tried marbling fudge, I overdid it and ended up with pink fudge instead of a beautiful swirl pattern. The trick is to drag your knife through the drops just a few times in random patterns, not circles. Less is definitely more here. Each piece ends up looking like a tiny edible work of art with its own unique pattern.
Make It Your Way
While this white and red version is classic for Christmas, I have experimented with different color combinations throughout the year. A pastel version works beautifully for Easter, and orange swirls make fantastic Halloween treats. The peppermint flavor can also be swapped for other extracts depending on the season.
Storage and Gifting
This fudge keeps remarkably well in the refrigerator, which is fortunate because it makes a large batch. I often package small boxes for neighbors, teachers, and coworkers during the holidays. The candy cane topping starts to soften after a few days, so if you are gifting it, try to add the crushed candies right before packaging.
- Layer pieces between wax paper in an airtight container
- Bring to room temperature for 15 minutes before serving for the best texture
- Wrap individual pieces in clear bags with ribbon for an easy homemade gift
 Save to Pinterest
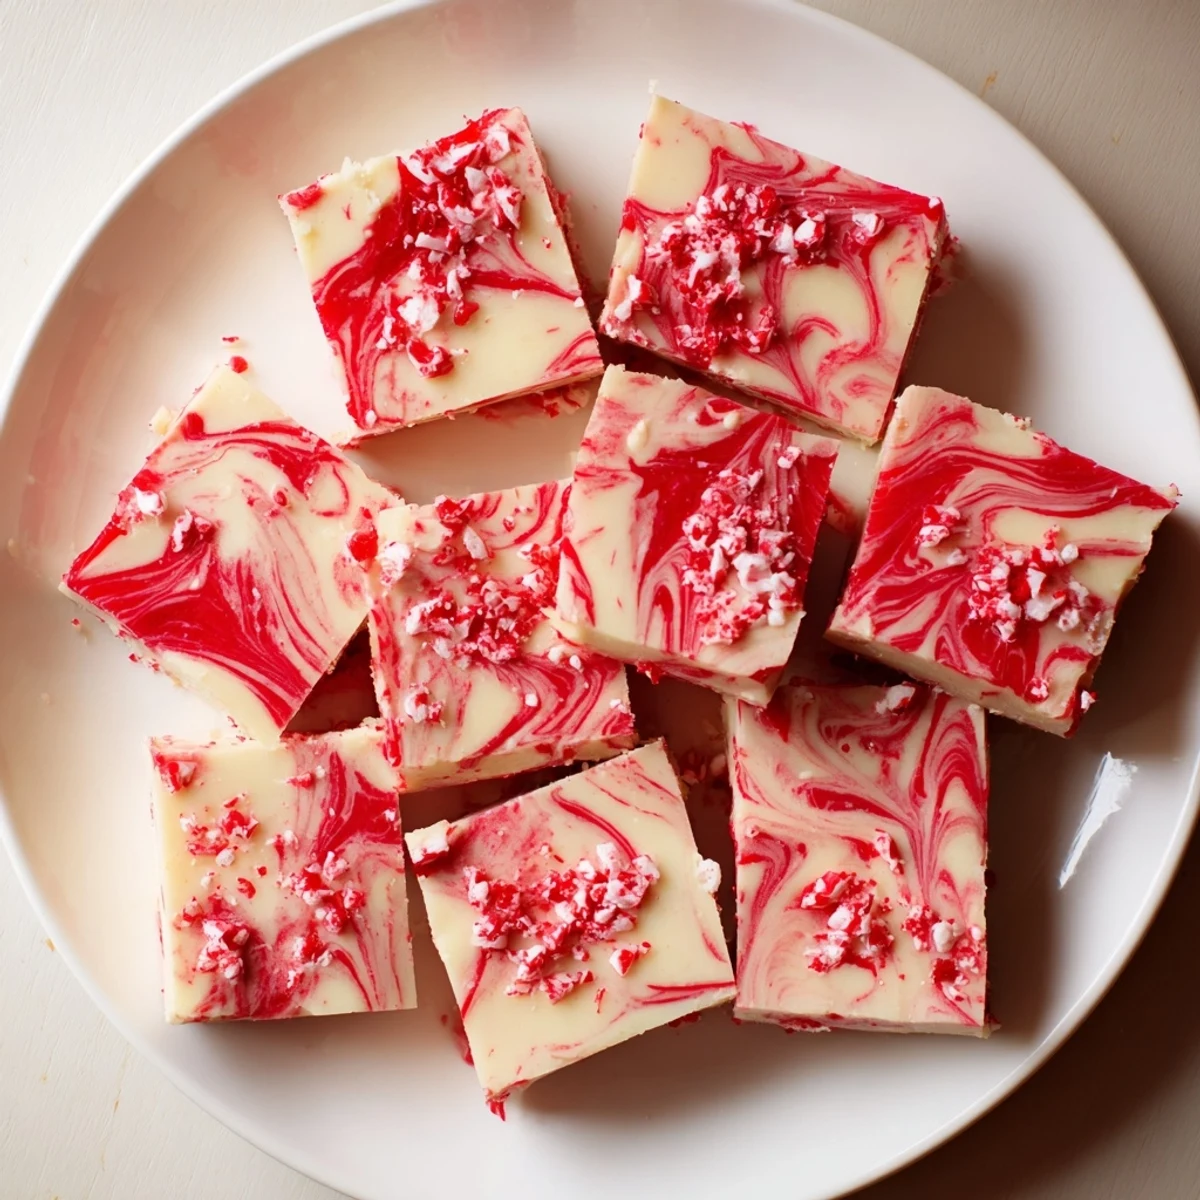
 There is something genuinely satisfying about pulling that perfectly set block of fudge from the refrigerator and seeing those beautiful swirl patterns you created. It never fails to make me feel like I actually know what I am doing in the kitchen, even for just a moment.
Recipe Questions & Answers
- → How long does peppermint fudge need to set?
-
Refrigerate for at least 2 hours until completely firm. For best results, let it set overnight before cutting into clean squares.
- → Can I use peppermint oil instead of extract?
-
Yes, peppermint oil works well but is much more concentrated. Use only 1/4 to 1/2 teaspoon of oil compared to the 1/2 teaspoon of extract called for.
- → How should I store this fudge?
-
Keep in an airtight container in the refrigerator for up to 2 weeks. Place wax paper between layers to prevent sticking.
- → Can I make this ahead for holiday gifts?
-
Absolutely. This fudge keeps beautifully for weeks when refrigerated, making it ideal for preparing several days before gifting or serving.
- → What if my white chocolate seizes while melting?
-
Maintain very low heat and stir constantly. If seizing occurs, add 1 tablespoon of coconut oil or butter while warm and stir vigorously until smooth again.
- → Can I use different colors for the swirl?
-
Certainly. Try green for a minty look, or combine red and green swirls for Christmas. Blue works beautifully for winter themes.
