 Save to Pinterest
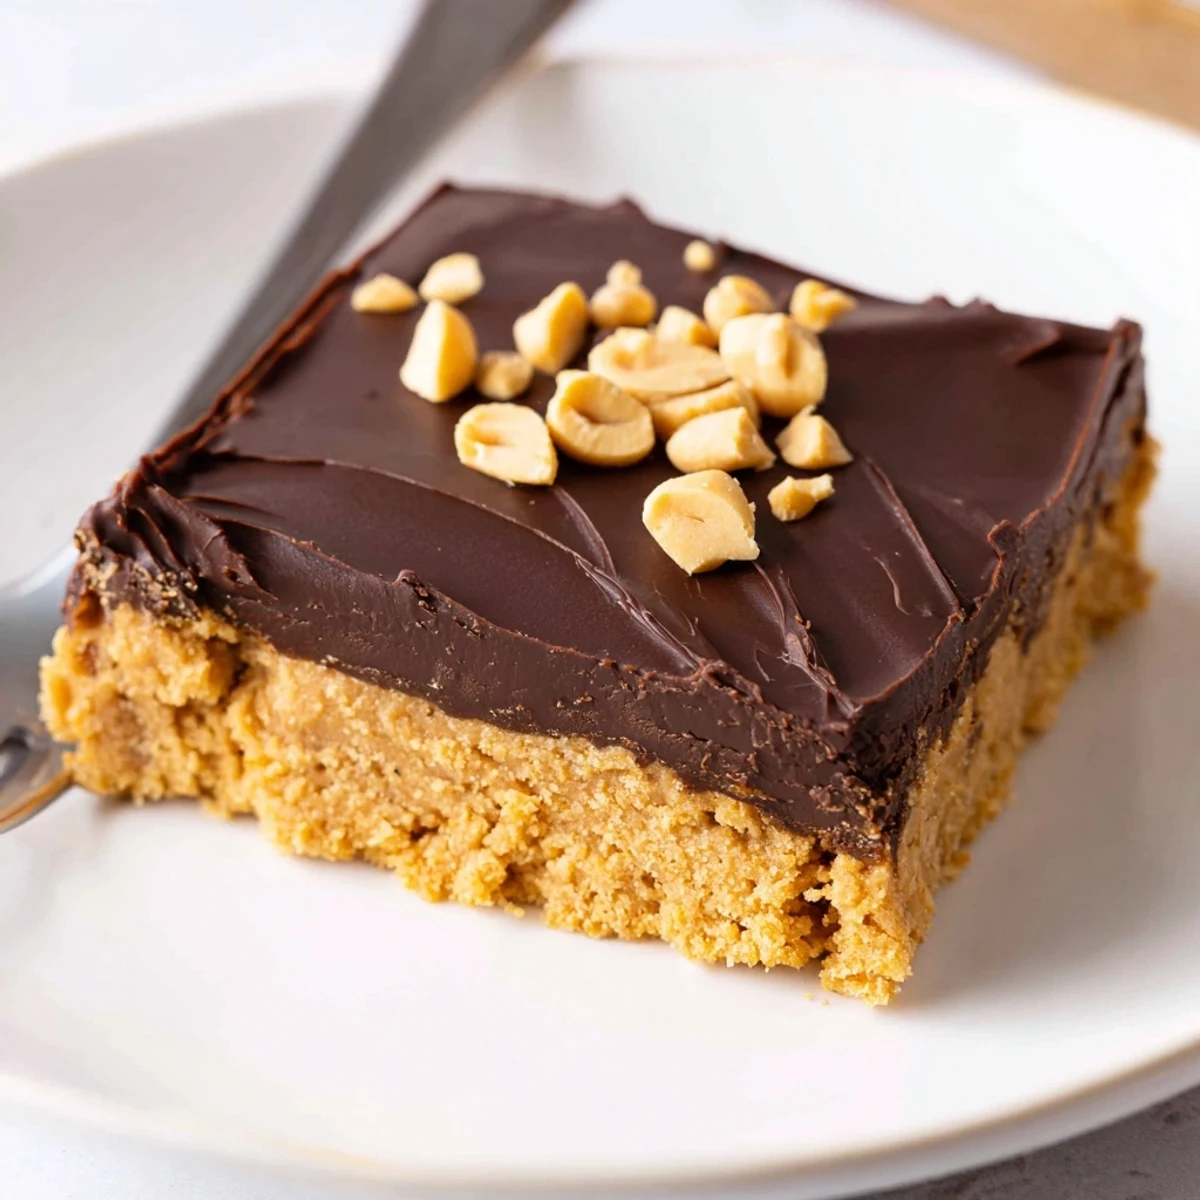
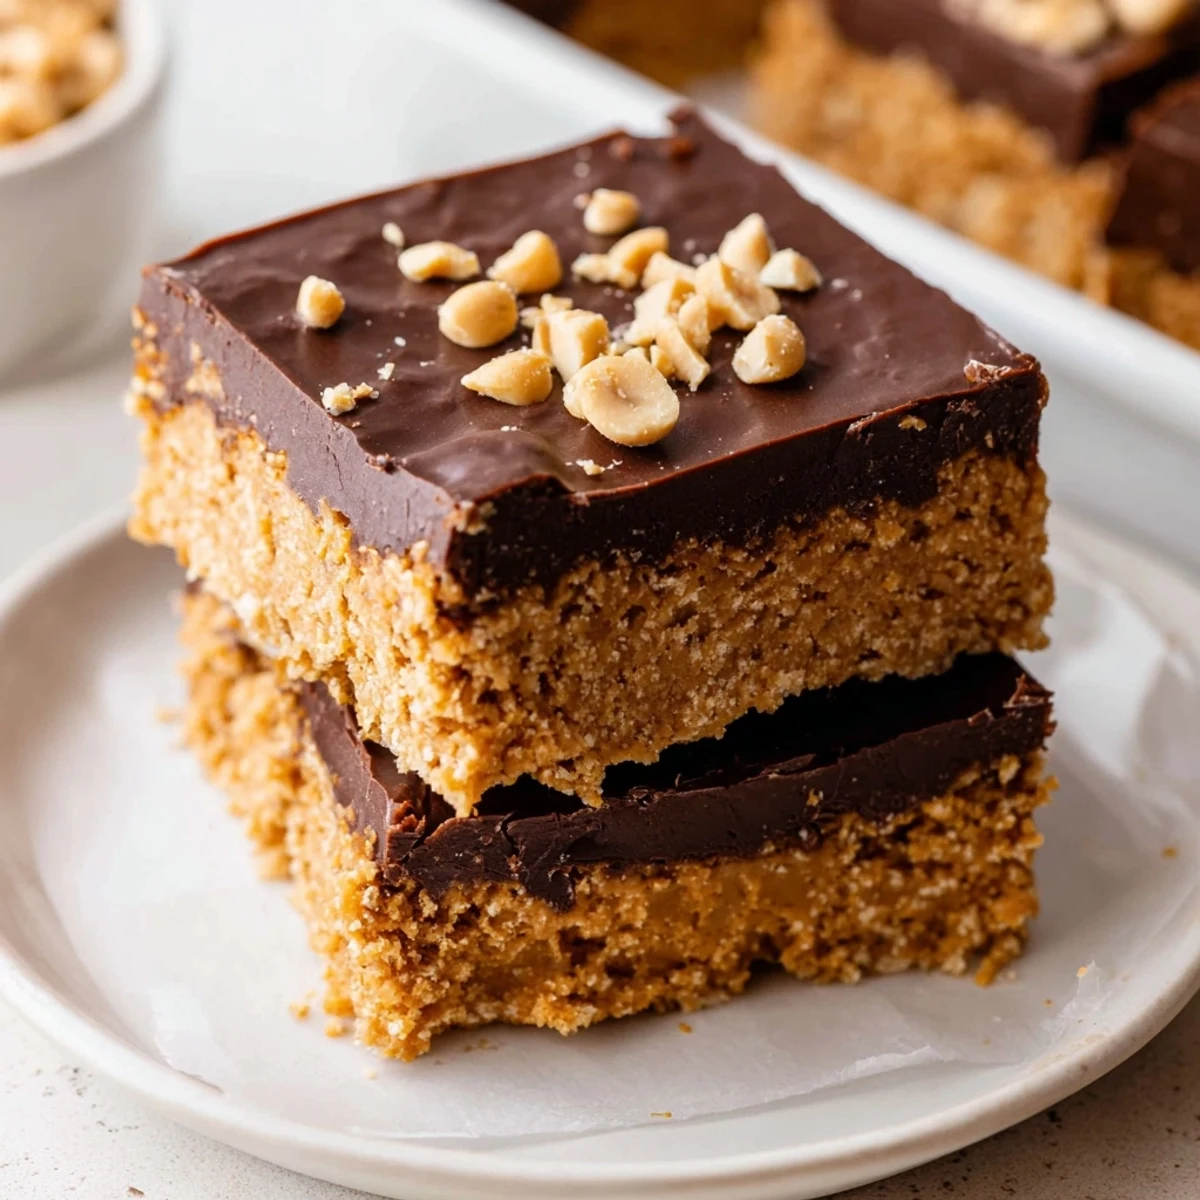
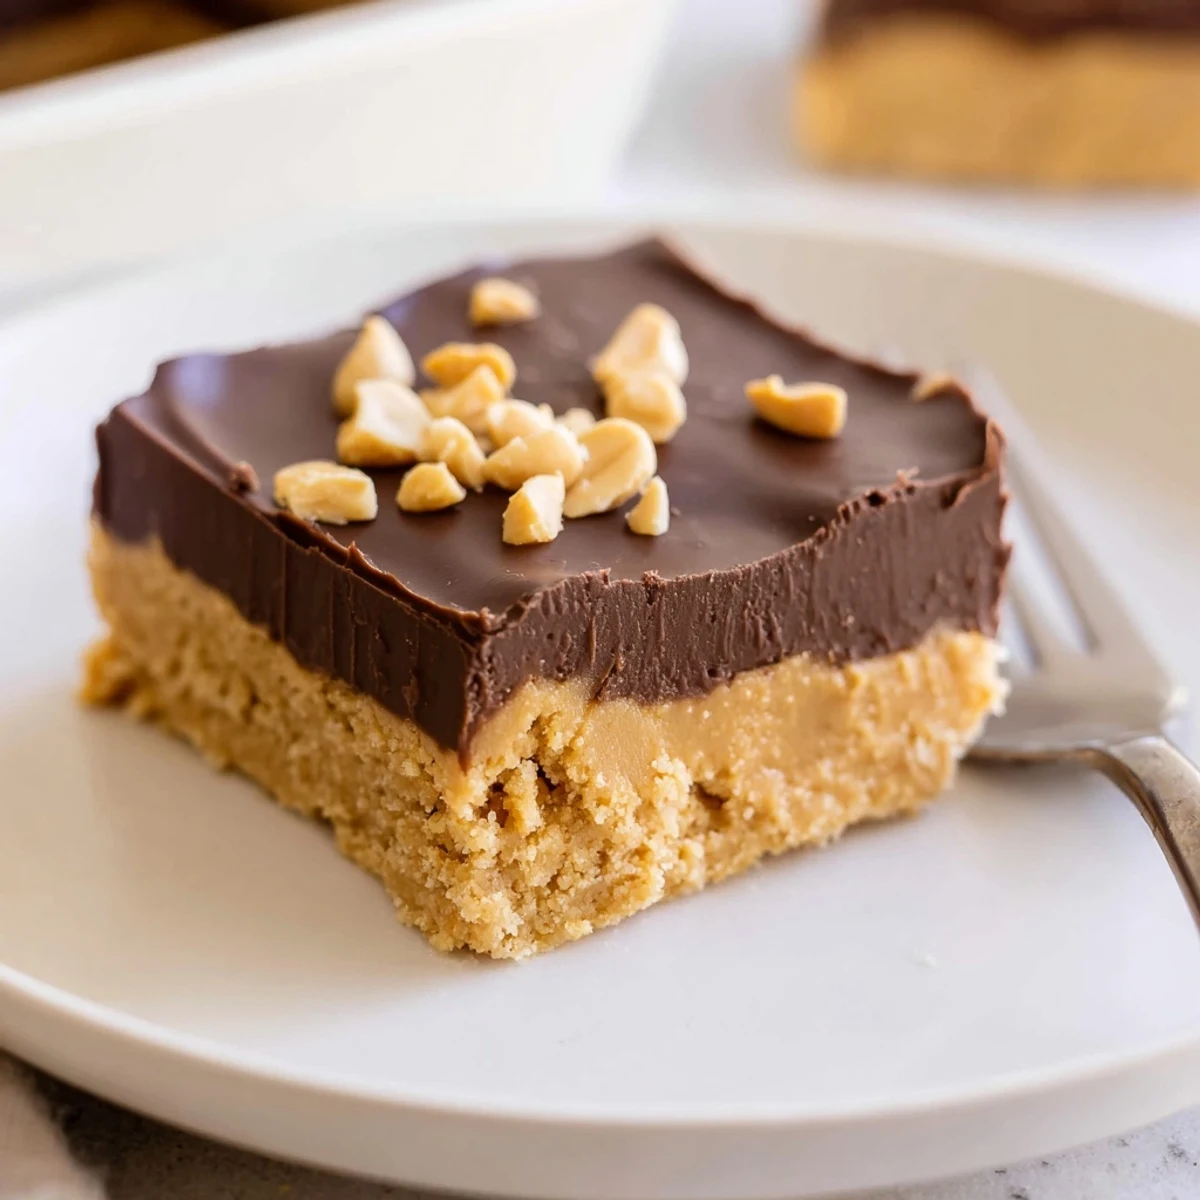
 These chewy, no-bake peanut butter bars combine creamy peanut butter, melted butter, graham-cracker crumbs and powdered sugar pressed into a pan, then finished with a semi-sweet chocolate and peanut butter glaze. Press the base firmly, pour the chocolate, and chill about 2 hours until set. Cut into 16 bars; fold in chopped roasted peanuts for added crunch. Store chilled up to a week or freeze for several months.
The summer I turned twenty three my roommate left a jumbo jar of peanut butter on the counter with a sticky note that read make something incredible. Three hours later we were sitting on the kitchen floor eating peanut butter bars straight from the pan with two forks and zero regrets.
I have brought these bars to office parties, road trips, and one memorable camping weekend where they survived three days in a cooler and still tasted perfect.
Ingredients
- Creamy peanut butter (1 cup, 240 g): Use a brand where peanuts are the only ingredient for the deepest flavor.
- Unsalted butter (1/2 cup, 115 g), melted: Melting it first helps everything come together without any gritty pockets.
- Graham cracker crumbs (2 cups, 200 g): Crushing your own from whole crackers gives a more rustic texture than store bought crumbs.
- Powdered sugar (2 cups, 240 g): Sift it if it has been sitting in your pantry a while to avoid lumps in the base.
- Semi sweet chocolate chips (1 1/2 cups, 270 g): Semi sweet balances the sweetness of the base better than milk chocolate.
- Creamy peanut butter for topping (1/4 cup, 60 g): This small addition makes the chocolate layer softer and easier to cut once chilled.
Instructions
- Prep the pan:
- Line a 9 by 13 inch baking dish with parchment paper, leaving enough overhang on the sides to lift the bars out later.
- Blend the base:
- Stir the peanut butter and melted butter together in a large bowl until you get a silky, uniform mixture.
- Build the crust:
- Add the graham cracker crumbs and powdered sugar, then stir until every crumb is coated and the mixture looks like thick cookie dough.
- Press it in:
- Firmly press the base into your prepared dish using a spatula or the back of a spoon, getting it as flat and even as you can.
- Melt the topping:
- Combine the chocolate chips and remaining peanut butter in a microwave safe bowl and heat in 30 second bursts, stirring between each, until glossy and smooth.
- Spread and chill:
- Pour the chocolate layer over the base and spread it edge to edge with a spatula, then refrigerate for at least two hours until completely set.
- Cut and serve:
- Lift the whole slab out using the parchment overhang, set it on a cutting board, and slice into sixteen squares with a sharp knife.
 Save to Pinterest
 The night my friend Sarah tried one of these she closed her eyes, shook her head slowly, and whispered that they were dangerous.
Storing and Freezing
These bars keep beautifully in the refrigerator for up to a week if you can make them last that long. For longer storage, layer them between sheets of parchment in an airtight container and freeze for up to three months.
Allergen Notes
This recipe contains peanuts, dairy, wheat, and possibly soy depending on your chocolate brand. Always scan ingredient labels carefully if you are serving these to anyone with food sensitivities.
Customizing Your Bars
Once you master the basic recipe you can play around with add ins and substitutions freely. Fold half a cup of chopped roasted peanuts into the base for welcome crunch. Swap graham crackers for digestive biscuits if that is what your pantry offers.
- A sprinkle of flaky sea salt on the wet chocolate layer elevates the whole thing.
- Dark chocolate chips work beautifully if you prefer a less sweet topping.
- Let the bars sit at room temperature for ten minutes before slicing for cleaner cuts.
 Save to Pinterest
 Keep a batch in your freezer and you will never show up empty handed to a gathering again.
Recipe Questions & Answers
- → Can I use crunchy peanut butter instead of creamy?
-
Yes. Crunchy peanut butter will add texture to the base; reduce any additional mix-ins for balance. The bars will be slightly more rustic in bite.
- → How do I make the bars firmer?
-
Press the base firmly into the pan to compact the crumbs and chill for the full 2 hours or longer. Slightly more powdered sugar or a touch less butter will also yield a firmer texture.
- → What gluten-free swap works for graham crackers?
-
Use gluten-free graham-style crumbs or crushed gluten-free digestive biscuits. Toasting the crumbs lightly enhances flavor and helps the base bind.
- → Can I melt the chocolate on the stovetop instead of the microwave?
-
Yes. Use a double boiler over simmering water and stir until smooth, then whisk in the peanut butter. Keep the heat gentle to avoid seizing.
- → How should I store and freeze the bars?
-
Layer bars between parchment in an airtight container and refrigerate up to one week. Freeze in a single layer for several hours, then stack with parchment; keep frozen up to three months.
- → How can I add extra crunch or variation?
-
Fold in chopped roasted peanuts, toasted coconut, or chopped pretzels into the base. You can also swirl in caramel under the chocolate topping for a different flavor profile.
