 Save to Pinterest
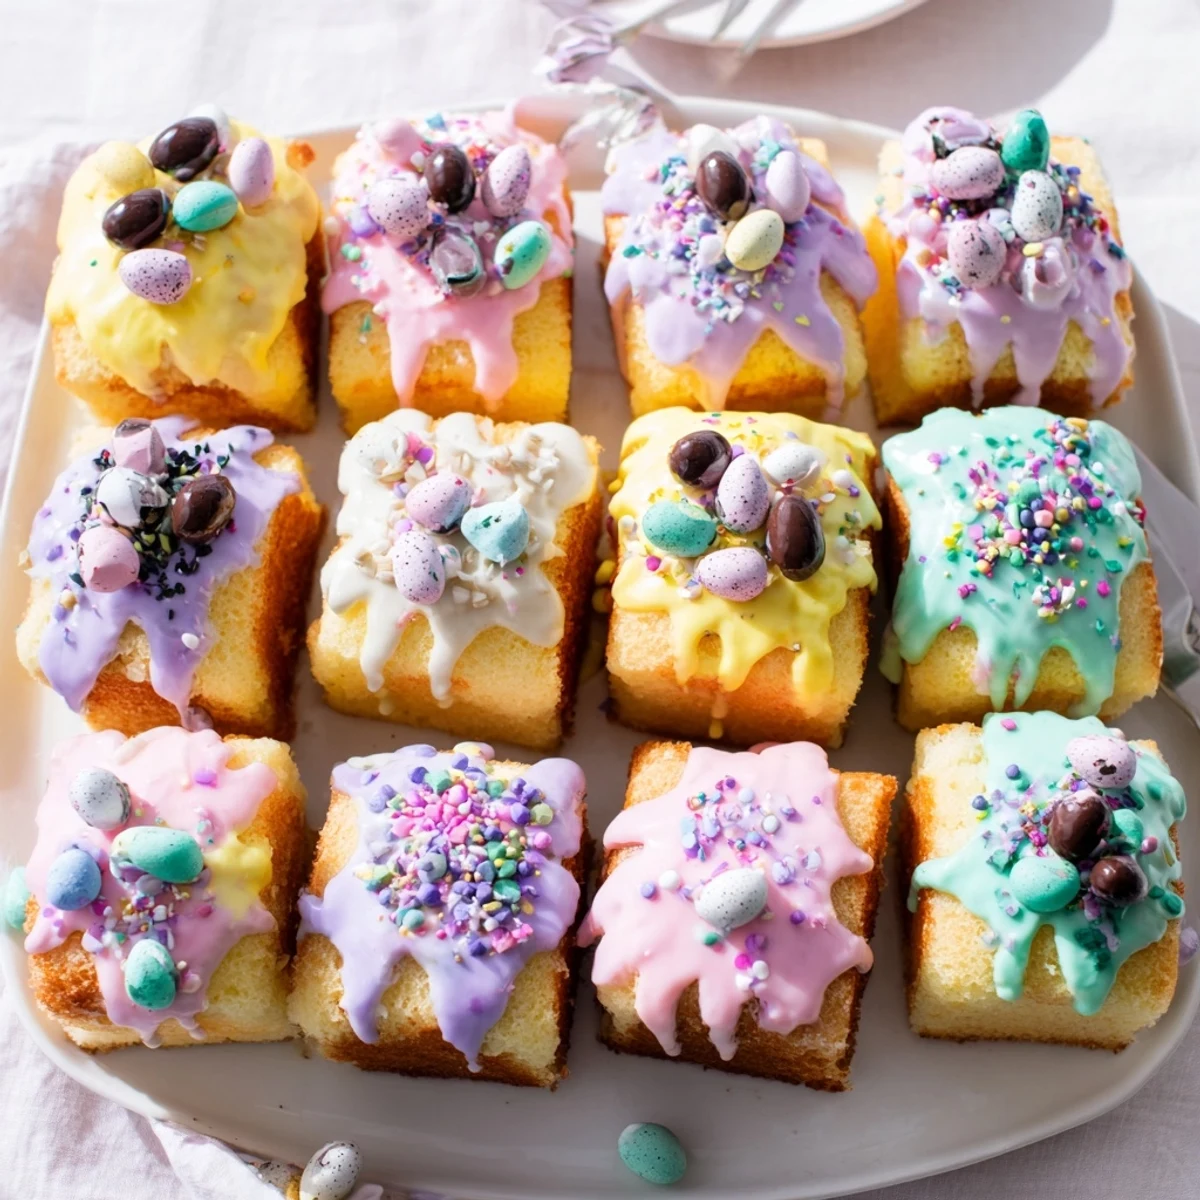
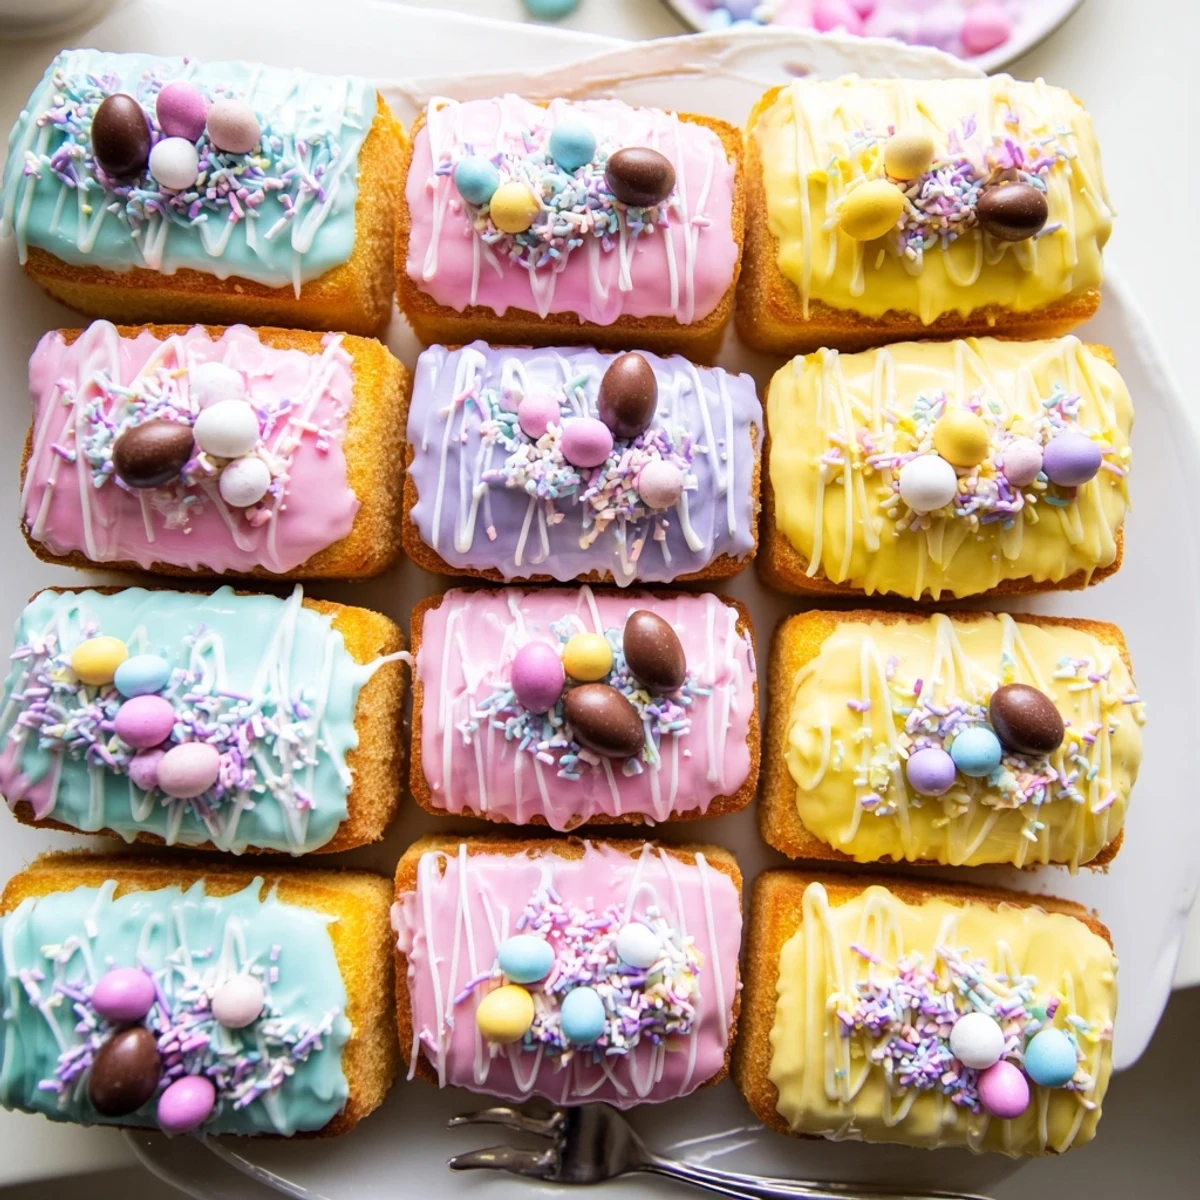
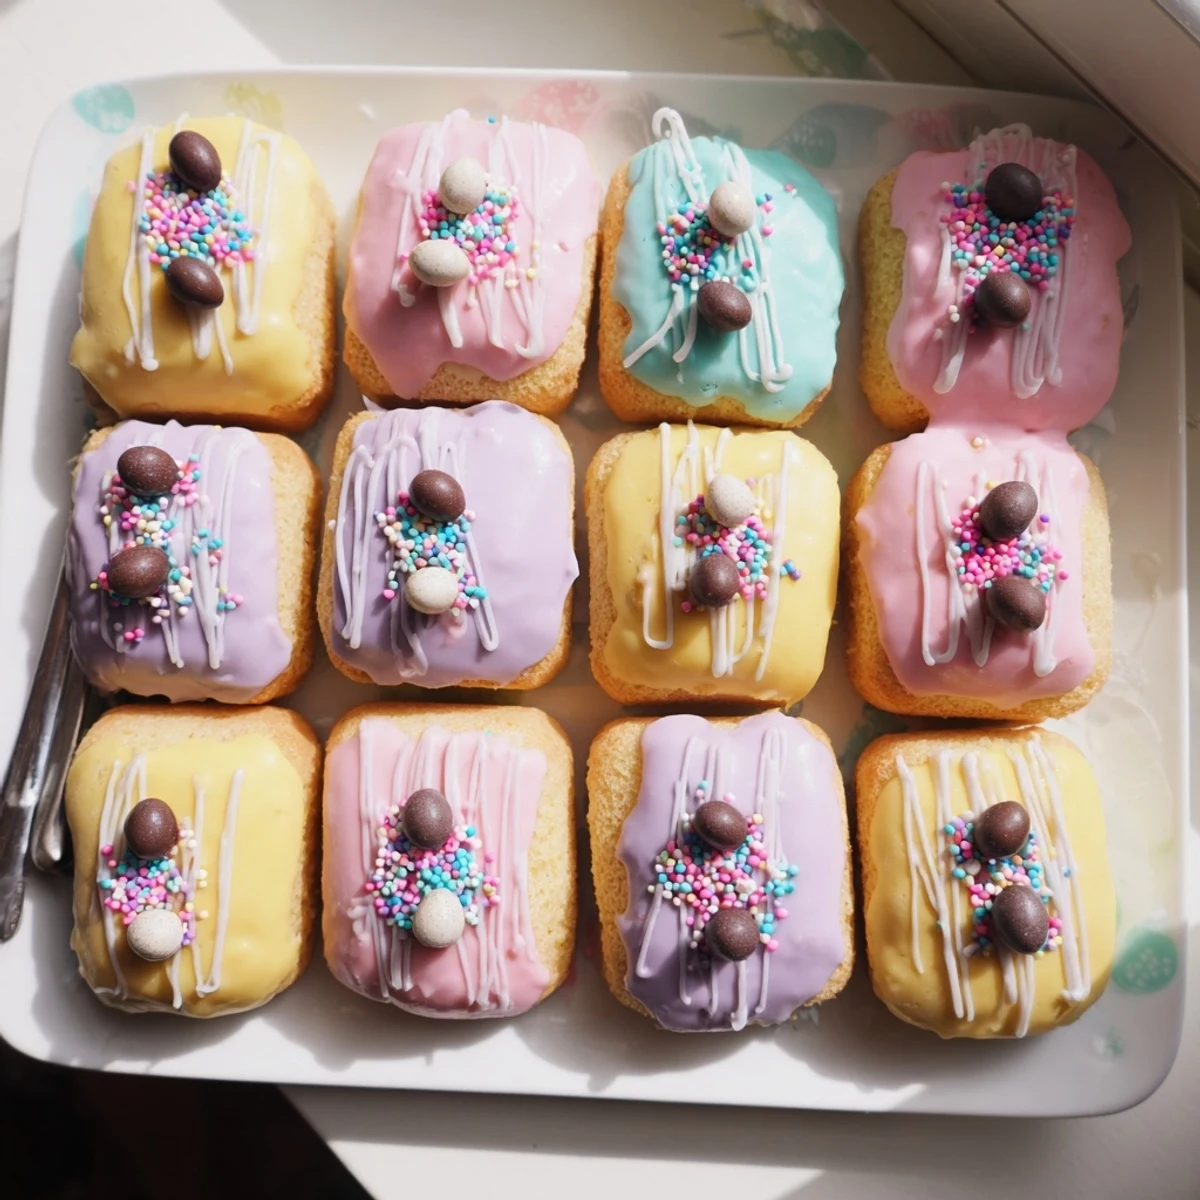
 These charming individually-sized sponge cakes bring festive cheer to any spring gathering. The light, fluffy vanilla batter bakes into tender treats that pair beautifully with vibrant pastel icing. Each cake becomes a canvas for creative decoration using mini chocolate eggs, edible flowers, or colorful sprinkles. The simple preparation makes them accessible for bakers of all skill levels, while the impressive presentation delights guests young and old alike.
Last spring, my kitchen became an explosion of pastel food coloring and powdered sugar. I was testing these mini cakes for a neighborhood Easter gathering, and my daughter kept sneaking spoonfuls of the uncolored frosting when she thought I wasn't looking. By the time we finished decorating, our hands were stained pink and blue, but the sight of those twelve little cakes lined up like colorful jewels made every sticky surface worth it.
My neighbor asked for the recipe after taking just one bite. She said the texture reminded her of the bakery treats her grandmother bought special for Easter Sunday. I printed it out for her on the spot, because something that brings back that kind of memory deserves to be shared.
Ingredients
- 1 cup (125 g) all-purpose flour: The backbone of these tender cakes, measure by spooning into your cup and leveling off for accuracy
- 1 tsp baking powder: Gives them their perfect rise without making them taste like a science experiment
- 1/4 tsp salt: Just enough to wake up the vanilla and make the sweetness sing
- 1/2 cup (115 g) unsalted butter, softened: Leave it out for an hour, the texture difference is worth the planning
- 2/3 cup (135 g) granulated sugar: Creates that tender crumb we're chasing
- 2 large eggs, room temperature: Cold eggs can make the butter seize, so plan accordingly
- 1 tsp vanilla extract: Use the good stuff here, it's the backbone flavor
- 1/3 cup (80 ml) milk: Whole milk creates the richest result
- 1 1/2 cups (180 g) powdered sugar, sifted: Sifting prevents lumpy frosting disasters
- 2-3 tbsp milk: Add one tablespoon at a time until you reach that pourable consistency
- Assorted food coloring: Gel colors give more vibrant pastels than liquid drops
- Mini chocolate eggs or sugar decorations: The crowning glory that makes them unmistakably Easter
- Edible flowers or sprinkles: Purely for joy, though flowers add such an elegant touch
Instructions
- Prep your space and warm the oven:
- Preheat to 350°F (175°C) and grease your 12-cup muffin tin, though paper liners make cleanup ridiculously easy later
- Whisk the dry team together:
- Combine flour, baking powder, and salt in a bowl, giving it a quick whisk to aerate everything
- Cream butter and sugar until fluffy:
- Beat them together for about 3 minutes, until the mixture looks pale and you can no longer feel sugar grains when you rub a bit between your fingers
- Add eggs one at a time:
- Beat thoroughly after each addition, then mix in the vanilla until everything is smooth and glossy
- Gently fold in the dry ingredients:
- Add half the flour mixture, mix gently, pour in the milk, then fold in the remaining flour just until combined
- Fill and bake:
- Divide batter among muffin cups about two-thirds full and bake for 18-20 minutes, until a toothpick comes out clean
- Cool completely before frosting:
- Let them rest in the pan for 5 minutes, then move to a wire rack because warm cakes melt frosting right off
- Make the pastel frosting:
- Whisk powdered sugar with milk until smooth and thick but pourable, then divide into bowls and color each with pastel food coloring
- Decorate:
- Spoon the colored icing over each cooled cake and immediately top with decorations before it sets
 Save to Pinterest
 My niece helped decorate these last year and insisted every cake needed exactly three chocolate eggs. The symmetry pleased her immensely, and honestly, she was right about the presentation.
Getting That Perfect Texture
The secret is beating the butter and sugar longer than you think necessary. Those air bubbles create the light crumb that makes these feel special, not dense like a muffin.
Frosting Like a Pro
Spoon the frosting over the center of each cake and let gravity do the work. The natural drips look more charming than trying to spread it perfectly smooth with a knife.
Make Ahead Magic
These freeze beautifully unfrosted for up to a month. Wrap them individually in plastic and thaw on the counter overnight before decorating.
- Add citrus zest to the batter for a bright spring variation
- Swap mini eggs for fresh berries after the hunt is over
- Keep unfrosted cakes in an airtight container for two days
 Save to Pinterest
 These little cakes have become my go-to for spring celebrations, mostly because they make people smile before they even take a bite. Sometimes that's exactly what dessert should do.
Recipe Questions & Answers
- → How far in advance can I make these?
-
The unfrosted cakes stay fresh for up to 2 days when stored in an airtight container at room temperature. Frost and decorate within 24 hours of serving for the best texture and appearance. You can also freeze undecorated cakes for up to 3 months.
- → Can I use natural food coloring?
-
Absolutely! Options include beet juice for pink, turmeric for yellow, spirulina for green, and blueberry juice for purple. These natural alternatives produce soft, muted shades perfect for the pastel aesthetic while avoiding artificial ingredients.
- → What's the best way to achieve smooth icing?
-
Sift the powdered sugar before mixing to eliminate lumps. Start with 2 tablespoons of milk and gradually add more until you reach the desired consistency. The icing should flow slowly from a spoon but hold its shape on the cake without running off completely.
- → Can I make these gluten-free?
-
Yes! Substitute an equal amount of gluten-free all-purpose flour blend for the regular flour. Look for a blend that includes xanthan gum for best results. The texture remains tender, though the crumb may be slightly denser than the traditional version.
- → How do I store decorated cakes?
-
Once decorated, place the cakes in a single layer in an airtight container. Store at room temperature for up to 24 hours. If your kitchen is warm or you used dairy-heavy decorations, refrigerate them and bring to room temperature 30 minutes before serving for optimal flavor.
- → Can I make these as full-sized cupcakes?
-
Certainly! Use a standard muffin tin and fill each cup about 2/3 full. The baking time increases to 20-24 minutes. You'll get about 8-10 regular-sized cupcakes instead of 12 minis. Adjust the icing quantity accordingly to frost the larger surface area.
