 Save to Pinterest
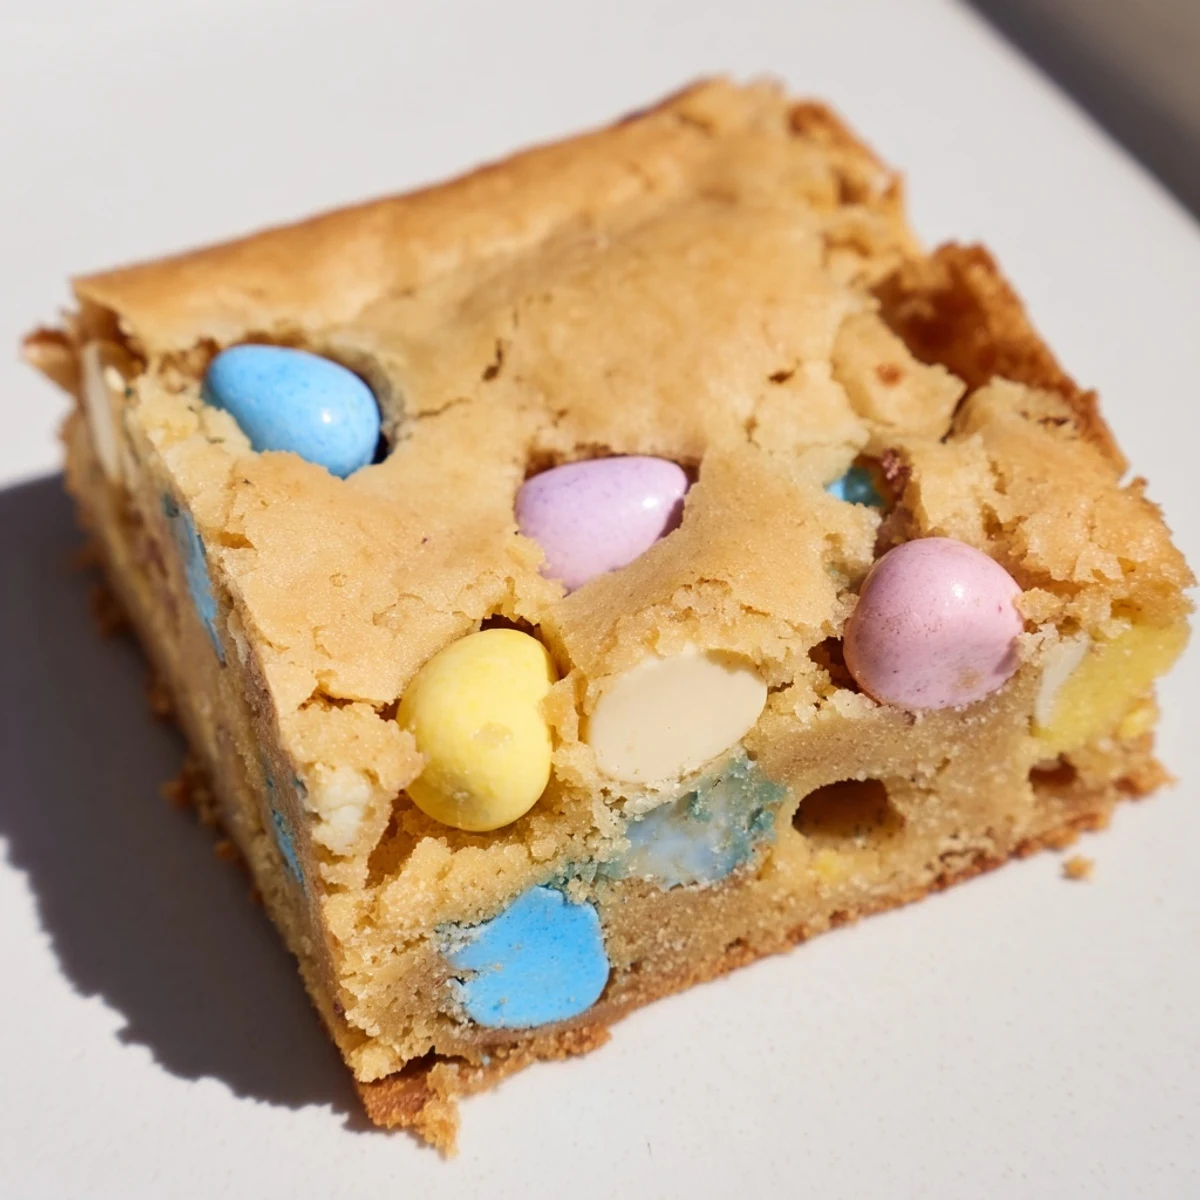
 These chewy golden blondies combine rich white chocolate chunks with colorful Mini Cadbury Easter Eggs for a festive spring treat. The batter comes together quickly with melted butter and brown sugar, creating a fudgy texture that balances sweet vanilla notes with crunchy candy pieces. Bake until golden with moist crumbs for the perfect chewy center.
Top with reserved Mini Eggs for visual appeal and extra crunch. Serve warm with vanilla ice cream for an indulgent dessert, or store for up to four days in an airtight container.
Last spring my neighbor dropped off a bag of leftover Mini Cadbury Eggs and challenged me to make something better than just eating them straight from the bag. I hesitated because blondies can be tricky—too cakey, too dense, never quite that perfect middle ground. That afternoon I threw these together, and honestly, the smell of buttery caramelized sugar filling my kitchen made me forget all my doubts about the recipe.
My youngest claimed the entire corner batch as her own because those pieces had the most Easter Eggs crowning the top. Now she asks me to hide some whole candies throughout the batter so every square gets at least one surprise bite.
Ingredients
- All-purpose flour: Creates the tender crumb foundation—measure by weight for the most consistent blondies
- Baking powder: Just enough lift to keep them from becoming dense bricks
- Salt: Cuts through all that sweetness and wakes up the chocolate flavors
- Unsalted butter: Melting it first creates that gorgeous crackly top we all want
- Light brown sugar: The molasses gives you chewiness and deeper caramel notes
- Granulated sugar: Balances the brown sugar and helps form that shiny crust
- Large eggs: Room temperature eggs incorporate better into the melted butter mixture
- Vanilla extract: Pure extract makes a noticeable difference in the background flavor
- Mini Cadbury Easter Eggs: Roughly chopped creates pockets throughout—leave some whole for extra fun
- White chocolate chips: Creamy contrast to the crisp candy shells
Instructions
- Get your oven ready:
- Preheat to 350°F and line an 8x8 pan with parchment paper—the overhang will save you later when lifting the whole batch out.
- Mix the dry base:
- Whisk flour, baking powder, and salt in a medium bowl, then set it aside while you handle the wet ingredients.
- Make the buttery foundation:
- Whisk melted butter with both sugars until completely smooth—this takes about a minute of serious whisking.
- Add the eggs:
- Pour in eggs and vanilla, whisking until everything disappears into a glossy mixture.
- Combine everything gently:
- Fold the dry ingredients into the wet with a spatula—stop as soon as the flour streaks vanish.
- Add all the chocolate:
- Stir in chopped Mini Eggs and white chocolate chips, keeping back a handful to press onto the top.
- Spread and top:
- Even the batter into your prepared pan and scatter those reserved candies across the surface for maximum visual appeal.
- Bake to golden perfection:
- Bake 23 to 26 minutes until golden—a toothpick should come out with moist crumbs, never clean.
- Patience pays off:
- Cool completely in the pan before slicing into squares—warm blondies are delicious but they cut messy.
 Save to Pinterest
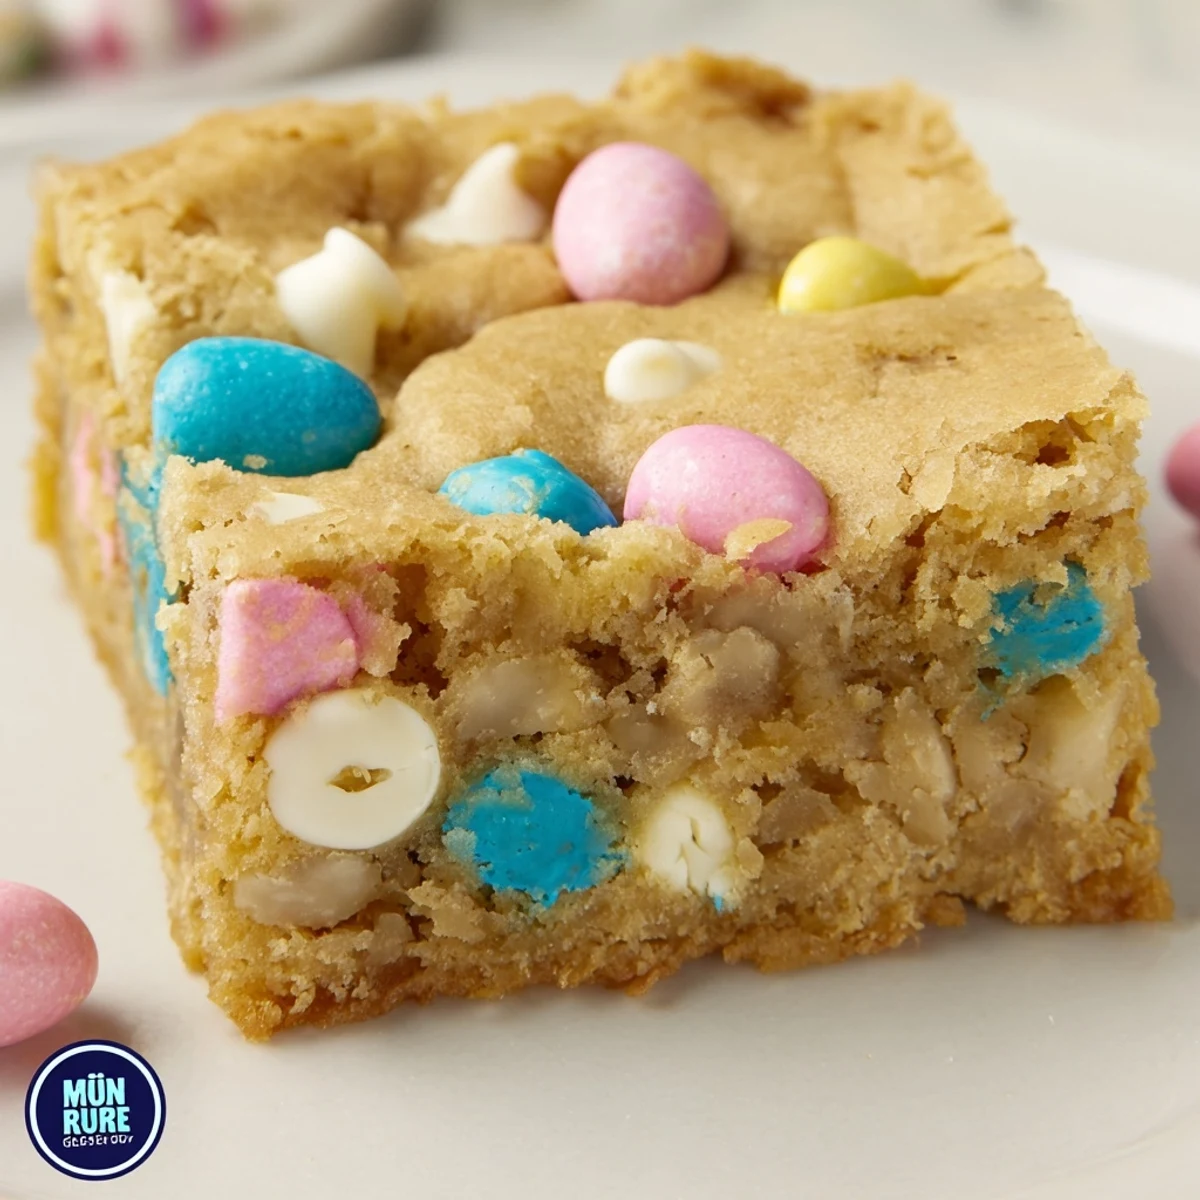
 My sister took these to a spring potluck and texted me before she even got home that three people had already demanded the recipe. There is something about the combination of white chocolate and past candy shells that feels festive without being complicated.
Getting the Texture Right
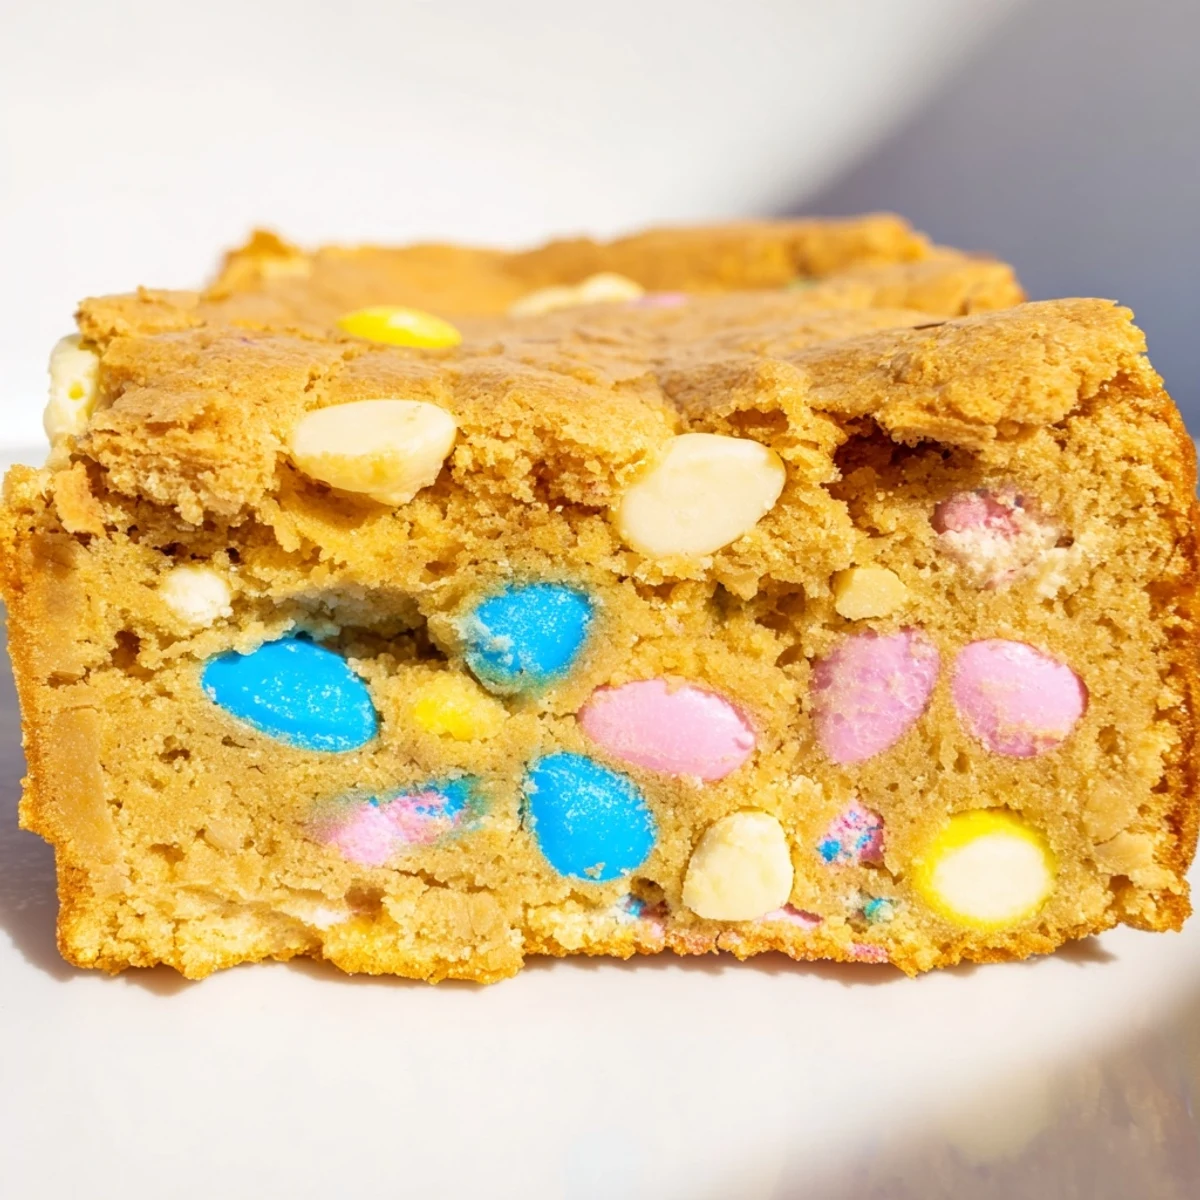
Underbaking slightly is the secret to that fudgy, chewy center people love in blondies. The edges will set first while the middle continues cooking as it cools, creating that perfect texture gradient from crispy to tender.
Customizing the Candy Mix
Beyond Easter, swap the Mini Eggs for chopped Robin Eggs, M&Ms, or even broken chocolate sandwich cookies. White chocolate pairs beautifully with almost anything crunchy and colorful, making this a year-round template for whatever candy season brings.
Storage and Serving
These actually improve on day two as the flavors meld and the texture becomes even more fudgy. Store them in an airtight container with parchment paper between layers to prevent sticking.
- Warm individual squares for 10 seconds in the microwave
- Top with vanilla ice cream while still warm
- Wrap individually in parchment for lunchbox treats
 Save to Pinterest
 These have become my go-to for spring gatherings because they look impressive but come together in under an hour. Hope they become a favorite in your kitchen too.
Recipe Questions & Answers
- → Can I make these blondies ahead of time?
-
Yes, these blondies store beautifully in an airtight container for up to 4 days at room temperature. The flavors actually develop and improve after a day, making them perfect for preparing ahead of spring gatherings or Easter celebrations.
- → What's the best way to chop Mini Cadbury Eggs?
-
Use a sharp knife to roughly chop the Mini Eggs on a cutting board. Some pieces will be smaller chunks while others remain larger—this variety creates nice texture throughout. Leave a few whole for the prettiest topping presentation.
- → How do I know when blondies are done baking?
-
Insert a toothpick into the center—it should come out with a few moist crumbs rather than completely clean. The edges should look golden and slightly set, while the center may still appear slightly soft. This ensures a fudgy, chewy texture rather than dry.
- → Can I substitute the white chocolate chips?
-
Absolutely. Milk chocolate, dark chocolate, or even butterscotch chips work well. The creamy white chocolate balances the candy shell sweetness, but dark chocolate adds nice depth while milk chocolate enhances the classic Cadbury flavor profile.
- → Why should butter be melted and cooled?
-
Melted butter creates denser, fudgier blondies compared to creamed butter. Cooling it slightly prevents the eggs from cooking when mixed, ensuring proper emulsification. This technique delivers that irresistibly chewy texture blondie lovers crave.
- → Can I freeze these Easter blondies?
-
Yes, freeze individual squares wrapped tightly in plastic wrap and placed in a freezer bag for up to 3 months. Thaw at room temperature for 2-3 hours or microwave briefly for that fresh-baked warmth. The candy shells may lose some crunch but flavors remain excellent.
