 Save to Pinterest
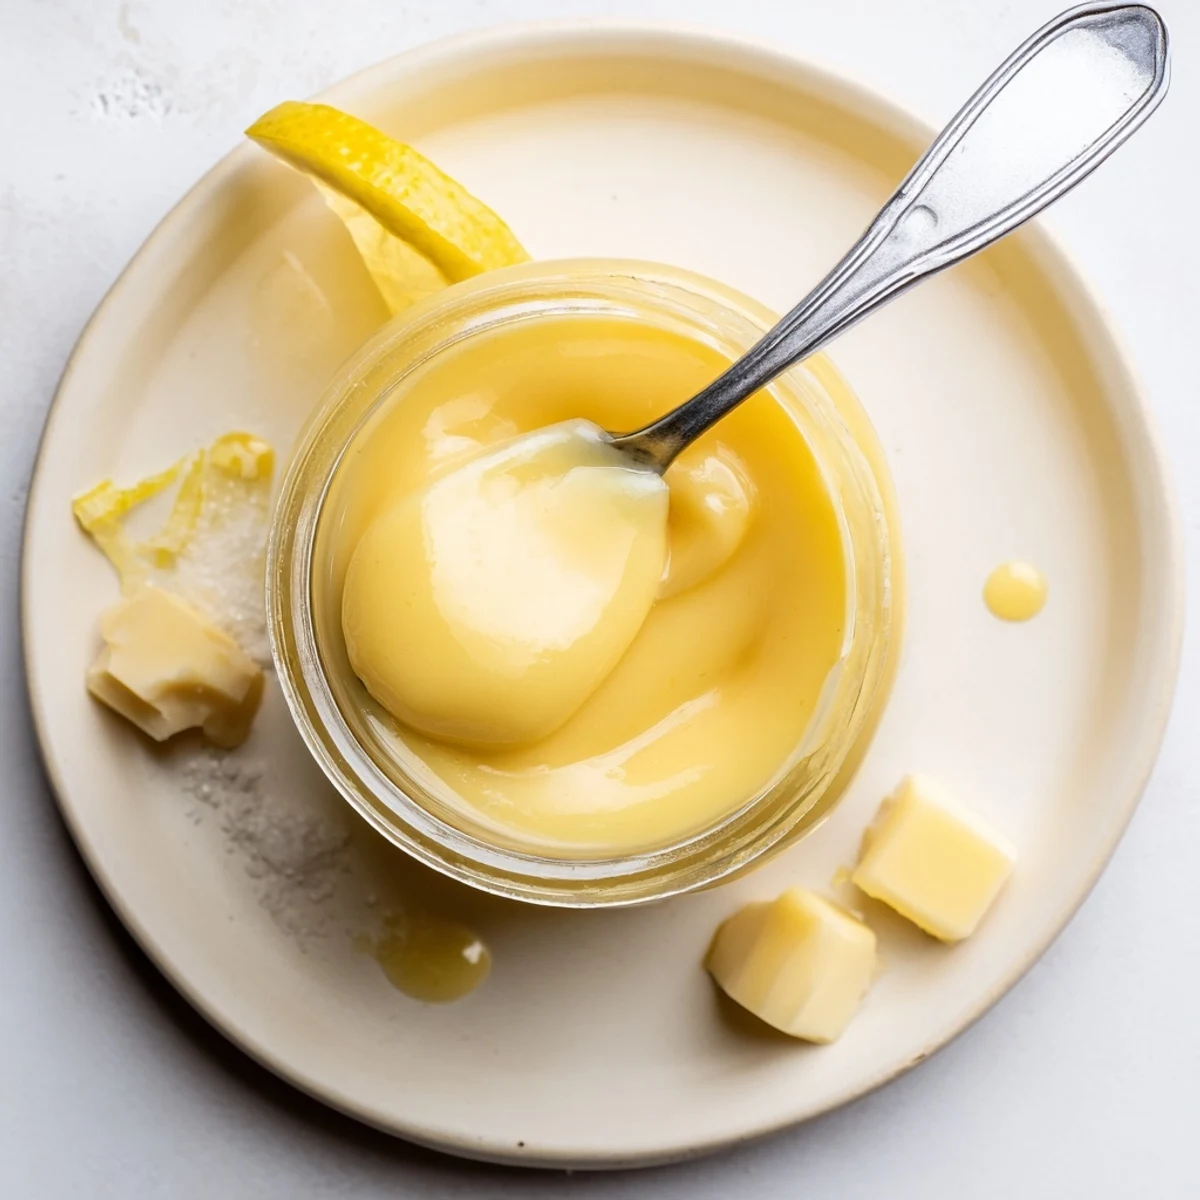
 Whisk eggs and sugar until smooth, then stir in lemon zest and juice. Cook gently in a double boiler, whisking until the mixture thickens and coats the back of a spoon (about 8–10 minutes). Remove from heat and whisk in cubed butter until silky, then strain for extra smoothness. Cool and jar. Yields ~2 cups; refrigerate up to 2 weeks. Excellent as a spread, filling, or stirred into yogurt.
The zing of fresh lemons never fails to spark a little excitement in my kitchen, especially when they’re destined for a silky lemon curd. The first time I made this, a burst of citrus aroma filled the air and I knew I was onto something so bright and irresistible. Somewhere between whisking and watching the butter melt in, I felt like a magician conjuring sunshine into a bowl. Even now, I find the process surprisingly therapeutic no matter how many times I make it.
I once prepped this lemon curd for a weekend brunch, and my friends gathered in the kitchen, drawn like moths to the lemony steam curling over the saucepan. We snuck spoonfuls while arranging pastries, laughing about how no jar would ever last a full two weeks in our fridge. It’s become our go-to excuse for group breakfasts ever since.
Ingredients
- Large eggs: They provide structure, richness, and that gorgeous creamy body—just be sure they’re at room temperature for smooth whisking.
- Unsalted butter, cubed: Folded in last for an extra-silky finish; using cold butter helps cool the curd faster and makes it glossy.
- Lemons (zest and juice): The heart of the recipe—a mix of zest and juice layers both bright and deep citrus notes; zest with care to avoid bitterness.
- Granulated sugar: Balances the tartness and gives the curd just the right set; I’ve tried superfine sugar too but classic works best.
Instructions
- Whisk the eggs and sugar:
- Crack the eggs into a heatproof bowl and add the sugar, whisking until the mixture is pale and well combined—look for a light ribbony texture.
- Add the lemon zest and juice:
- Pour in the zest and juice, and whisk again; you’ll see the tiny flecks of zest swirling and smell that sharp citrus hit.
- Cook over gentle heat:
- Set the bowl over a pot of gently simmering water, making sure the bowl doesn’t touch the water, and whisk nonstop—watch for steam and keep the movement brisk.
- Thicken it up:
- After 8 to 10 minutes, the mixture will thicken and coat the back of a spoon; be patient, the transformation happens quickly at the end.
- Whisk in the butter:
- Remove from the heat and add the butter cubes right away, whisking until each cube is melted and the curd is silky smooth and shiny.
- Strain and cool:
- Pour the curd through a fine sieve into a clean bowl to catch any cooked bits, then let it cool before spooning into jars.
- Store:
- Seal in sterilized jars and keep in the refrigerator for up to two weeks—but mine always disappears long before then.
 Save to Pinterest
 I’ll never forget watching a friend close her eyes after a bite, grinning as if she’d just eaten a spoonful of summer. That’s when I realized lemon curd isn’t just a condiment—it turns ordinary moments into little celebrations.
Letting Lemons Shine
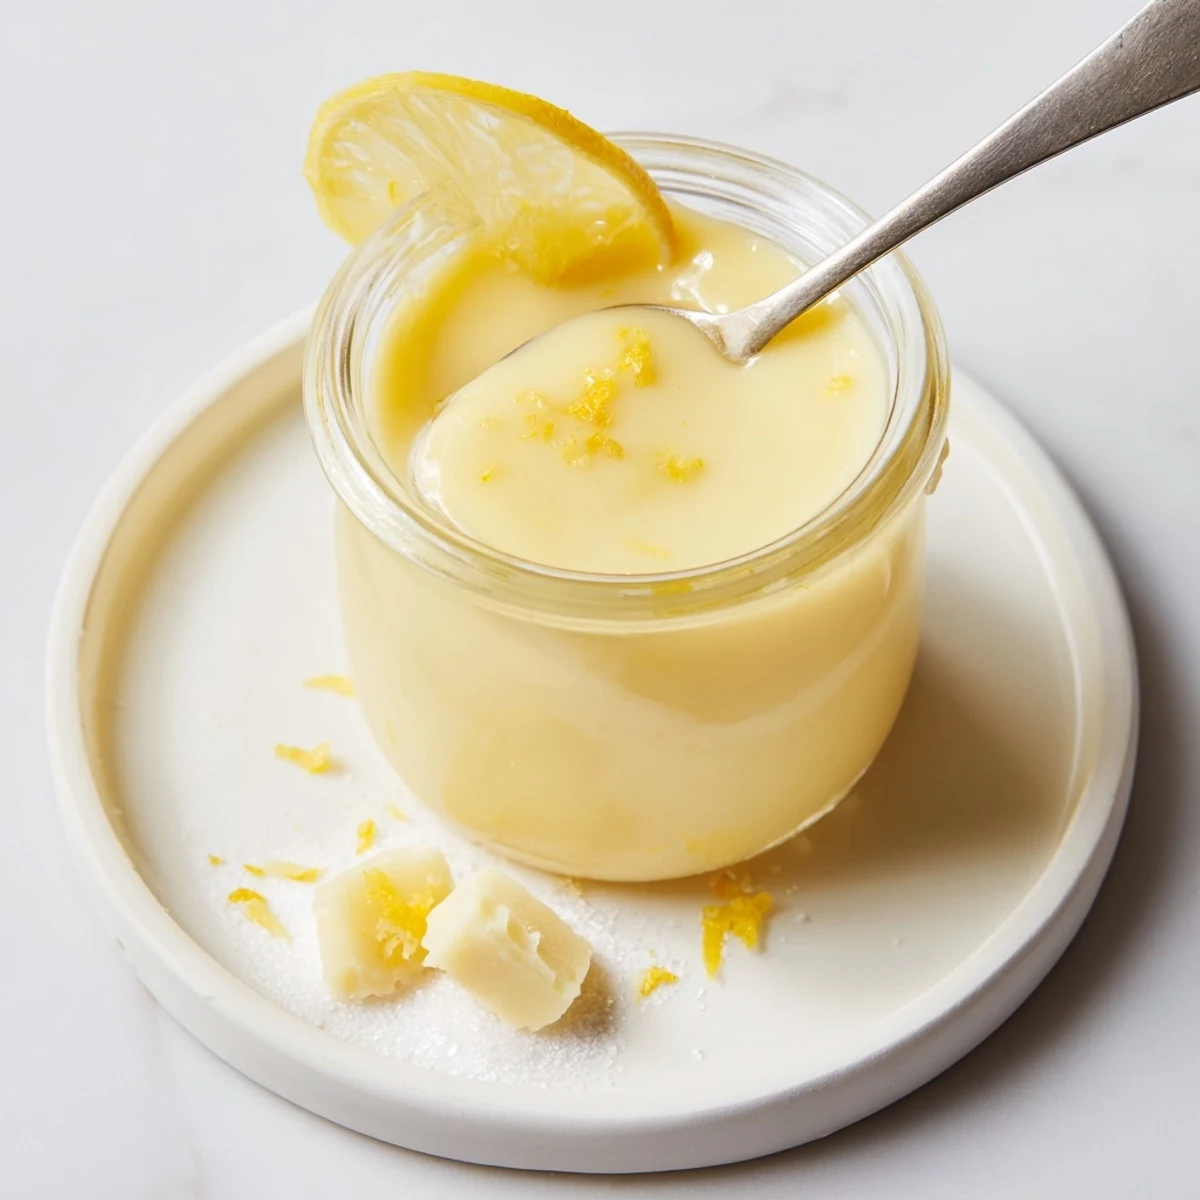
Choosing ripe, heavy lemons makes all the difference for both juice and zest. If you roll the lemons on the counter first, you’ll get more juice and release more essential oils, amplifying that fresh flavor in each spoonful.
Serving Inspiration
Beyond spreading on scones, I’ve swirled this curd into yogurt, layered it in trifles, and even dolloped it over pancakes on lazy Saturdays. It’s also the secret layer in my favorite lemon tart—turns basic desserts into something special with zero fuss.
Simple Swaps & Last Minute Fixes
I’ve experimented with plant-based butter for friends with allergies—still delicious and creamy. A quick second strain will guarantee silky perfection if your curd seems a bit lumpy after cooking.
- If you overcook the curd, quickly whisk in a splash of cold lemon juice to loosen it.
- For an extra-bright flavor, add an extra teaspoon of zest before cooling.
- Always let the curd cool completely before sealing for best texture.
 Save to Pinterest
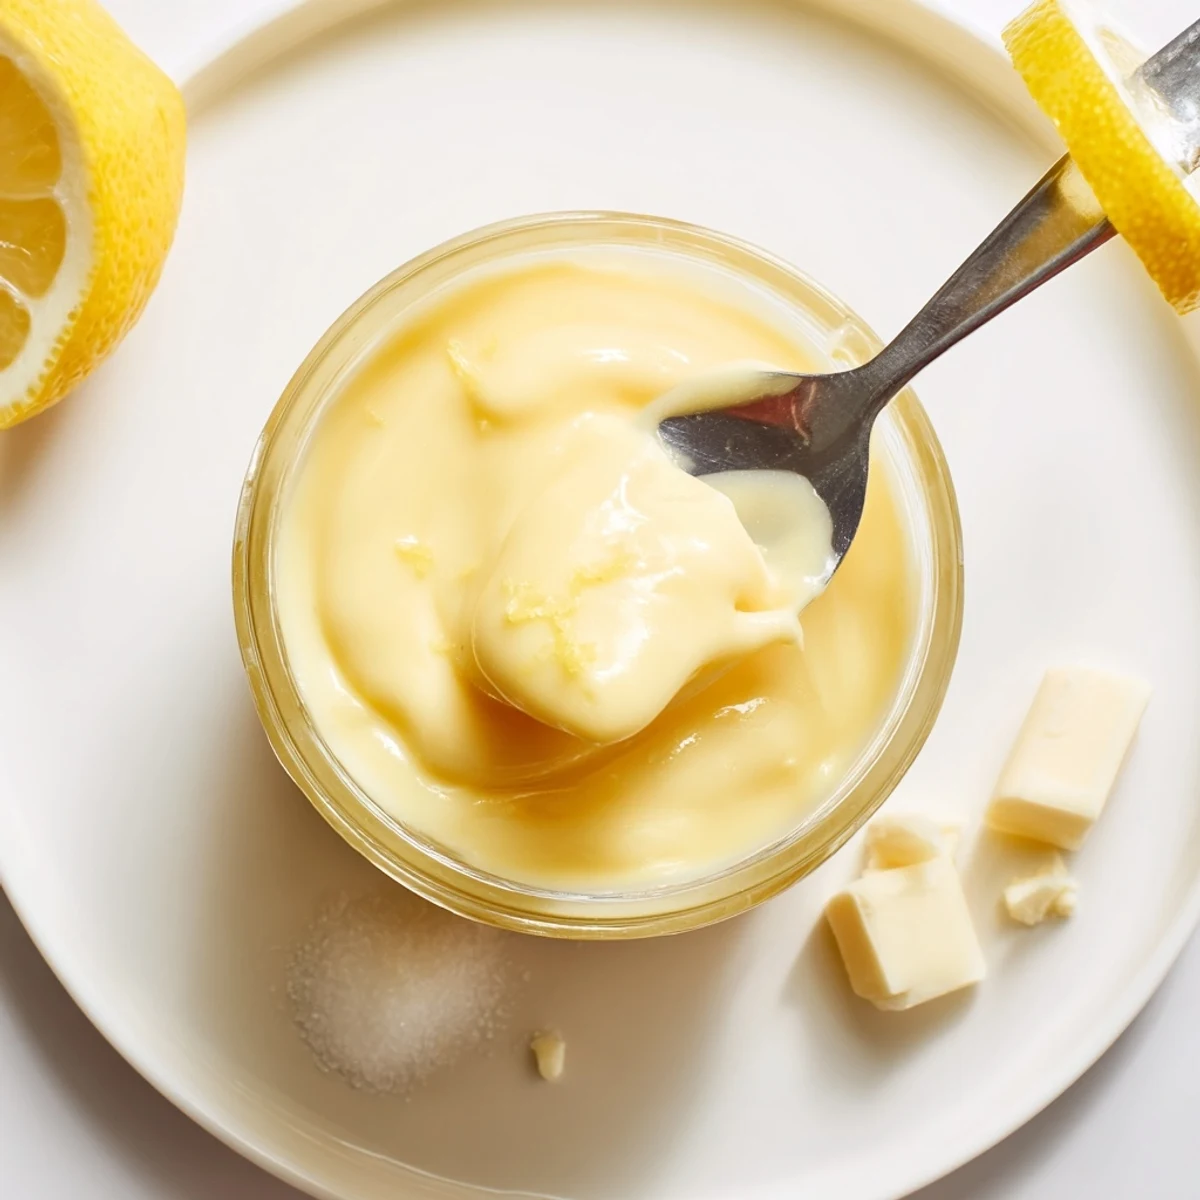
 There’s a special satisfaction in popping open a homemade jar of lemon curd for a midday treat. Trust me, it’s worth every whisk and squeeze of lemon you put in.
Recipe Questions & Answers
- → How can I tell when the curd is done?
-
It’s ready when it thickly coats the back of a spoon and leaves a clear line when you run a finger through it. Expect about 8–10 minutes over gently simmering water; it will firm further as it cools.
- → How do I prevent the eggs from curdling?
-
Use a double boiler and keep the water at a gentle simmer so the bowl’s bottom never touches the water. Whisk constantly and moderate heat to avoid scrambling. Straining after cooking removes any tiny cooked bits.
- → Can I make a dairy-free version?
-
Yes—substitute a neutral plant-based butter or margarine and finish as usual. Texture and flavor may vary slightly; coconut-based spreads add a hint of coconut aroma, while blends keep a more neutral profile.
- → How should I store it and how long does it keep?
-
Transfer to sterilized jars while cooled, seal, and refrigerate. Stored cold, it keeps up to two weeks. For longer storage, freeze in airtight containers for up to three months; thaw in the fridge before use.
- → Is fresh lemon juice necessary?
-
Fresh lemons deliver brighter flavor and essential zest oils that bottled juice lacks. Bottled juice works in a pinch but expect a less vibrant citrus note and reduced zest aromatics.
- → How can I achieve extra-smooth curd?
-
Pass the finished curd through a fine-mesh sieve, and for ultra-smooth texture, strain a second time. Whisking in cold butter gradually also helps create a silky, emulsified finish.
