 Save to Pinterest
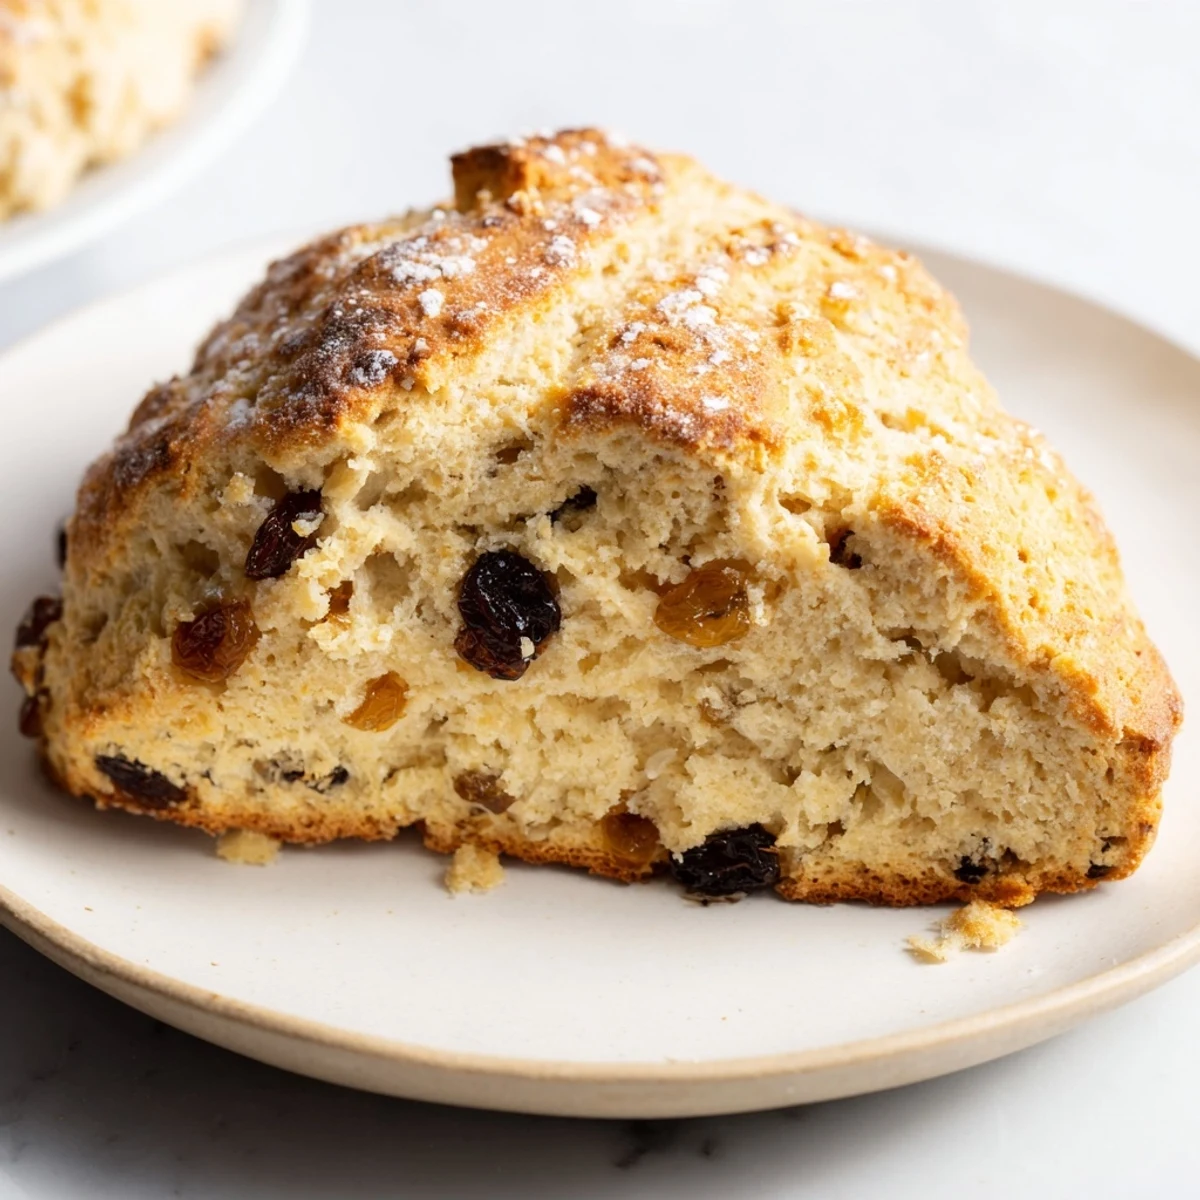
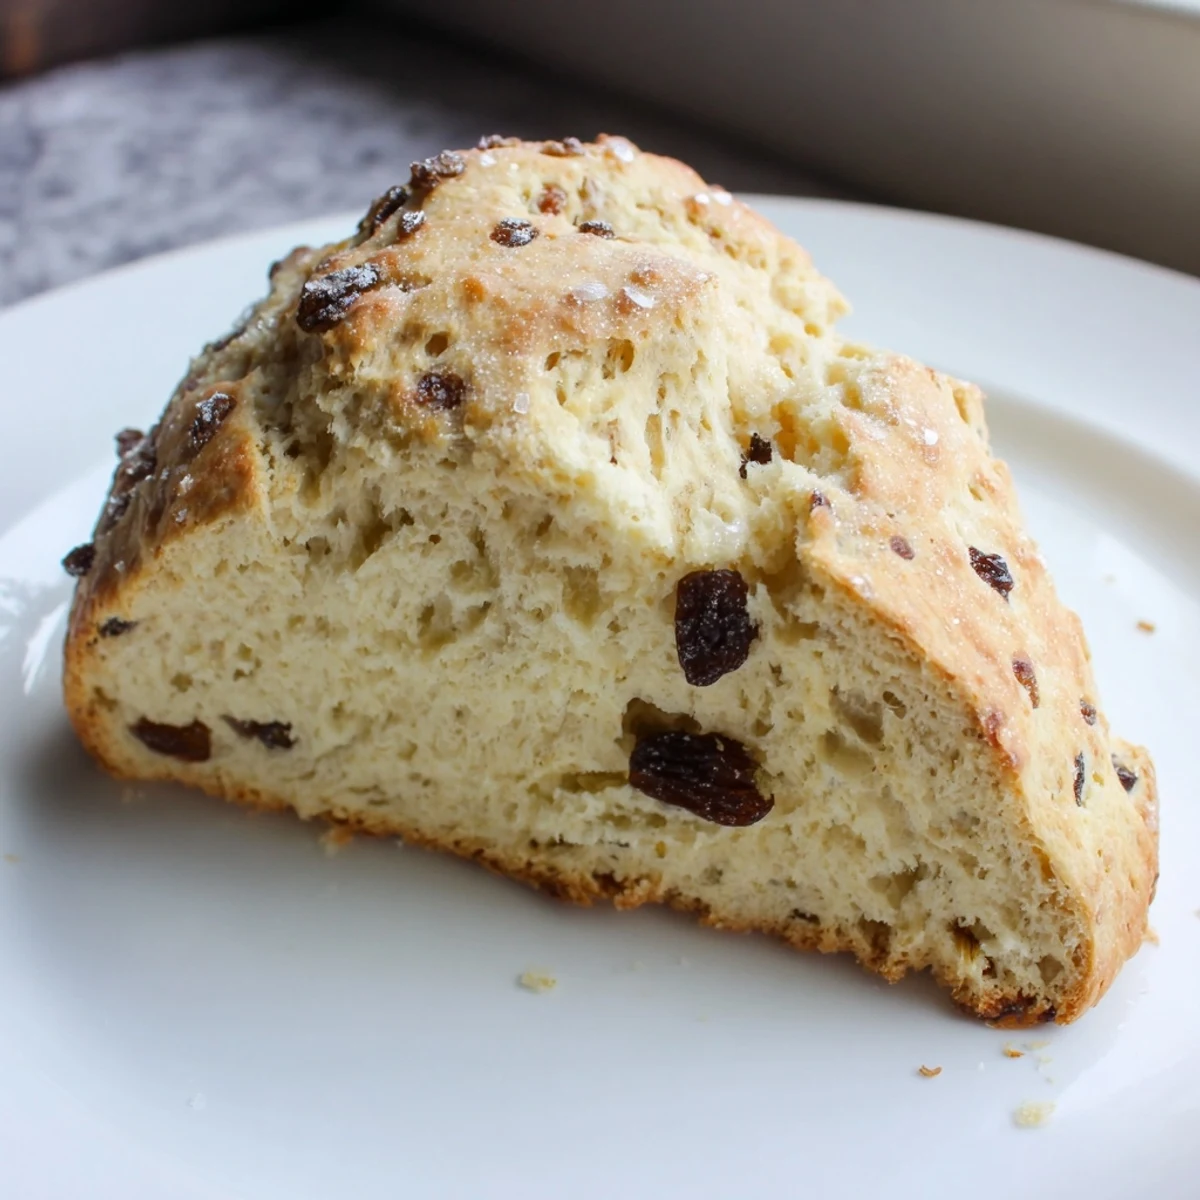
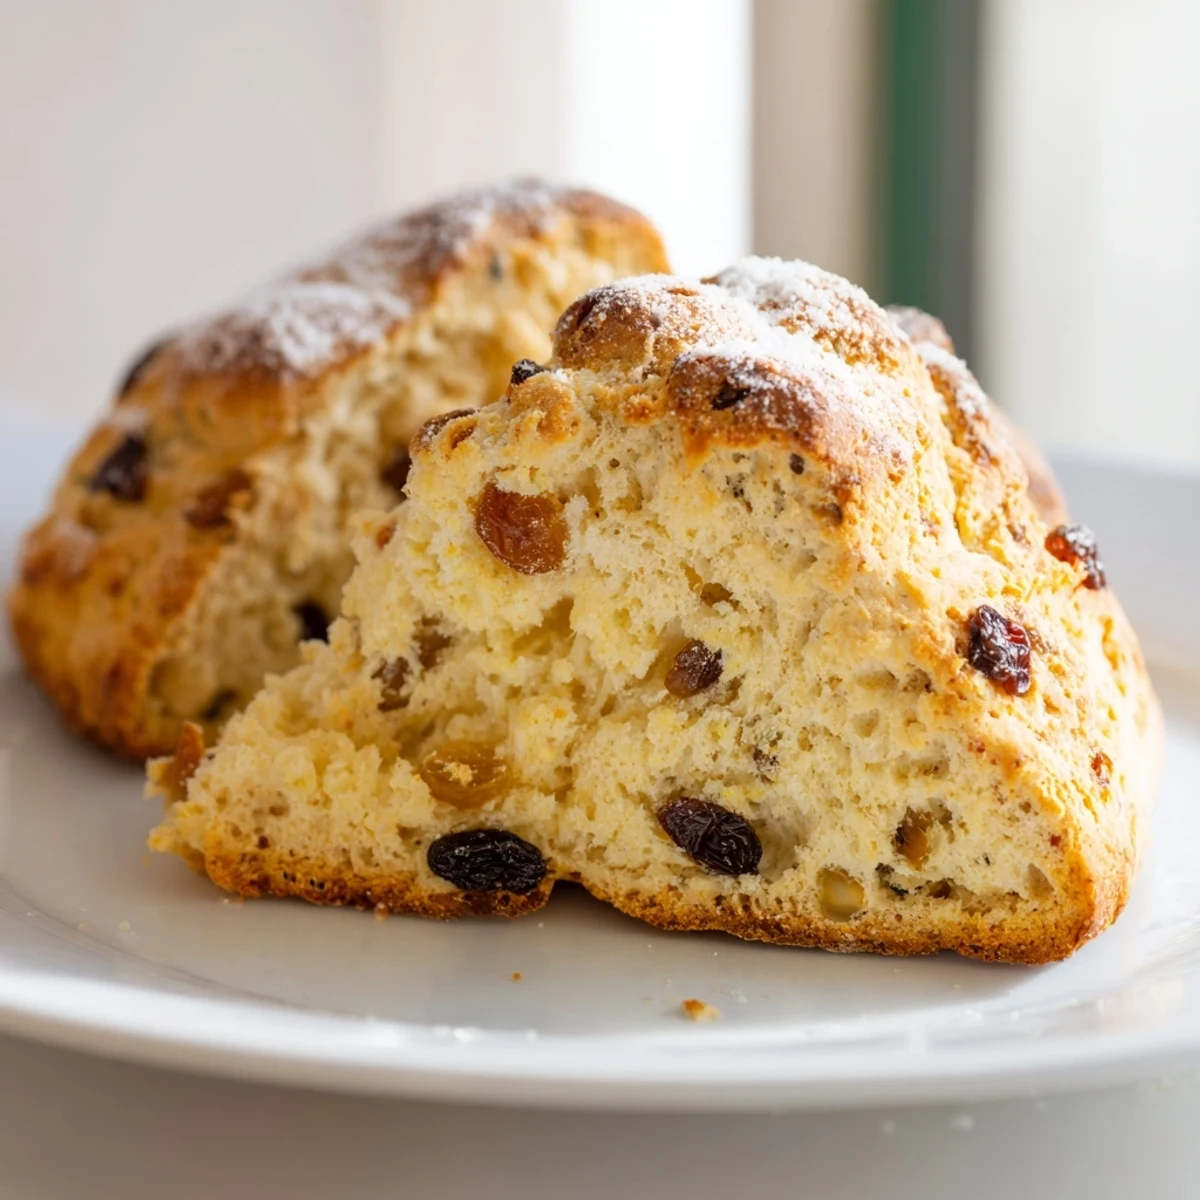
 These tender Irish soda bread scones boast a golden crust with a light, crumbly interior, enhanced by raisins and optional caraway seeds. Combining all-purpose and whole wheat flours with buttermilk and baking soda, the dough comes together quickly and bakes to a perfect golden brown in under 20 minutes. Ideal for breakfast or teatime, they deliver a rustic, satisfying flavor that can be made savory or sweet with simple tweaks like herbs or cheese. Serve warm alongside butter and jam for a delightful treat.
The first time I made Irish soda bread, I was rushing to get something on the table for unexpected guests. Since then, I've been experimenting with that same quick bread chemistry but shaped into scones for easier serving and sharing. These little wedges have become my go to when I want something that feels special but doesn't require hours of attention.
Last spring my neighbor smelled these baking through our open kitchen window and actually knocked on the door to ask what I was making. We ended up sitting on the back porch with warm scones and tea while the afternoon light faded, talking about everything and nothing. Sometimes the simplest recipes create the best moments.
Ingredients
- All purpose flour: The foundation that gives structure while keeping things light
- Whole wheat flour: Just enough for that rustic character and nutty depth
- Granulated sugar: Balances the tangy buttermilk without making these too sweet
- Baking soda: Reacts with the buttermilk for that signature rise and airy texture
- Baking powder: Extra lift for a taller, lighter scone
- Fine sea salt: Enhances all the flavors and balances sweetness
- Raisins or currants: Little pockets of sweetness throughout every bite
- Caraway seeds: Optional but adds that authentic Irish soda bread flavor
- Buttermilk: Cold is key here, it activates the leavening and keeps the dough tender
- Egg: Adds richness and helps bind everything together
- Melted butter: Cooled slightly so it doesn't cook the egg, brings incredible flavor
- Extra buttermilk for brushing: Creates that beautifully bronzed top
- Coarse sugar: Optional crunch on top for a bakery style finish
Instructions
- Get your oven ready:
- Preheat to 400°F and line a baking sheet with parchment paper so nothing sticks
- Whisk the dry ingredients:
- Combine both flours, sugar, baking soda, baking powder, and salt in a large bowl until everything is evenly distributed
- Add the extras:
- Toss in your raisins or currants and caraway seeds if you're using them
- Mix the wet ingredients:
- In a separate bowl, whisk together the cold buttermilk, egg, and cooled melted butter until smooth
- Bring it together:
- Pour the wet mixture into the dry ingredients and fold gently with a fork just until combined, the dough should look shaggy and rough
- Shape the dough:
- Turn onto a lightly floured surface and pat into a circle about 1 inch thick, handle it minimally for tender results
- Cut and position:
- Slice into 8 wedges and arrange on your prepared baking sheet with space between them
- Add the finishing touches:
- Brush tops with buttermilk and sprinkle with coarse sugar if you want that extra crunch
- Bake until golden:
- Bake for 16 to 18 minutes until deeply golden and a toothpick comes out clean from the center
- Cool and serve:
- Let them rest on a wire rack for a few minutes, then serve warm with butter and jam
 Save to Pinterest
 My grandmother always said that soda bread tastes better when you're not rushing, but I've found that the act of making these slows me down regardless. There's something about the simplicity of the process that feels like taking a deep breath.
Making Them Your Own
Skip the sugar and raisins, add sharp cheddar and fresh herbs, and you've got the most incredible savory scones. I've made them with everything from chopped dried figs to orange zest, and each variation feels like discovering a new recipe entirely.
Serving Suggestions
These deserve real Irish butter if you can find it, and good jam is non negotiable at my house. They're also perfect alongside a bowl of soup for lunch, or just split and toasted the next day.
Storage and Freezing
Like most quick breads, these are absolute perfection the day they're baked when that crust is still crisp. If you have leftovers (which rarely happens here), wrap them well and freeze for up to a month, then rewarm in the oven.
- Freeze unbaked wedges on a baking sheet first, then transfer to a bag
- Bake frozen scones straight from the freezer, adding a few minutes
- Reheat day old scones at 350°F for about 5 minutes
 Save to Pinterest
 There's something deeply satisfying about turning the simplest ingredients into something so comforting and warm. Hope these find their way into your kitchen and your heart.
Recipe Questions & Answers
- → What gives these scones their tender texture?
-
The combination of buttermilk and baking soda helps create a tender, crumbly interior by activating the leavening and adding moisture.
- → Can I substitute the dried fruit used in the scones?
-
Yes, raisins can be replaced with currants, dried cranberries, or chopped dried apricots for variation.
- → How should I store the baked scones?
-
Store cooled scones in an airtight container at room temperature for up to two days or freeze for up to a month.
- → Is there a way to make these scones savory?
-
Omit sugar and dried fruit, then add herbs or grated cheese to the dough for a savory twist.
- → What is the purpose of brushing with buttermilk before baking?
-
Brushing with buttermilk creates a golden, slightly crisp crust and helps any sprinkled sugar adhere on top.
