 Save to Pinterest
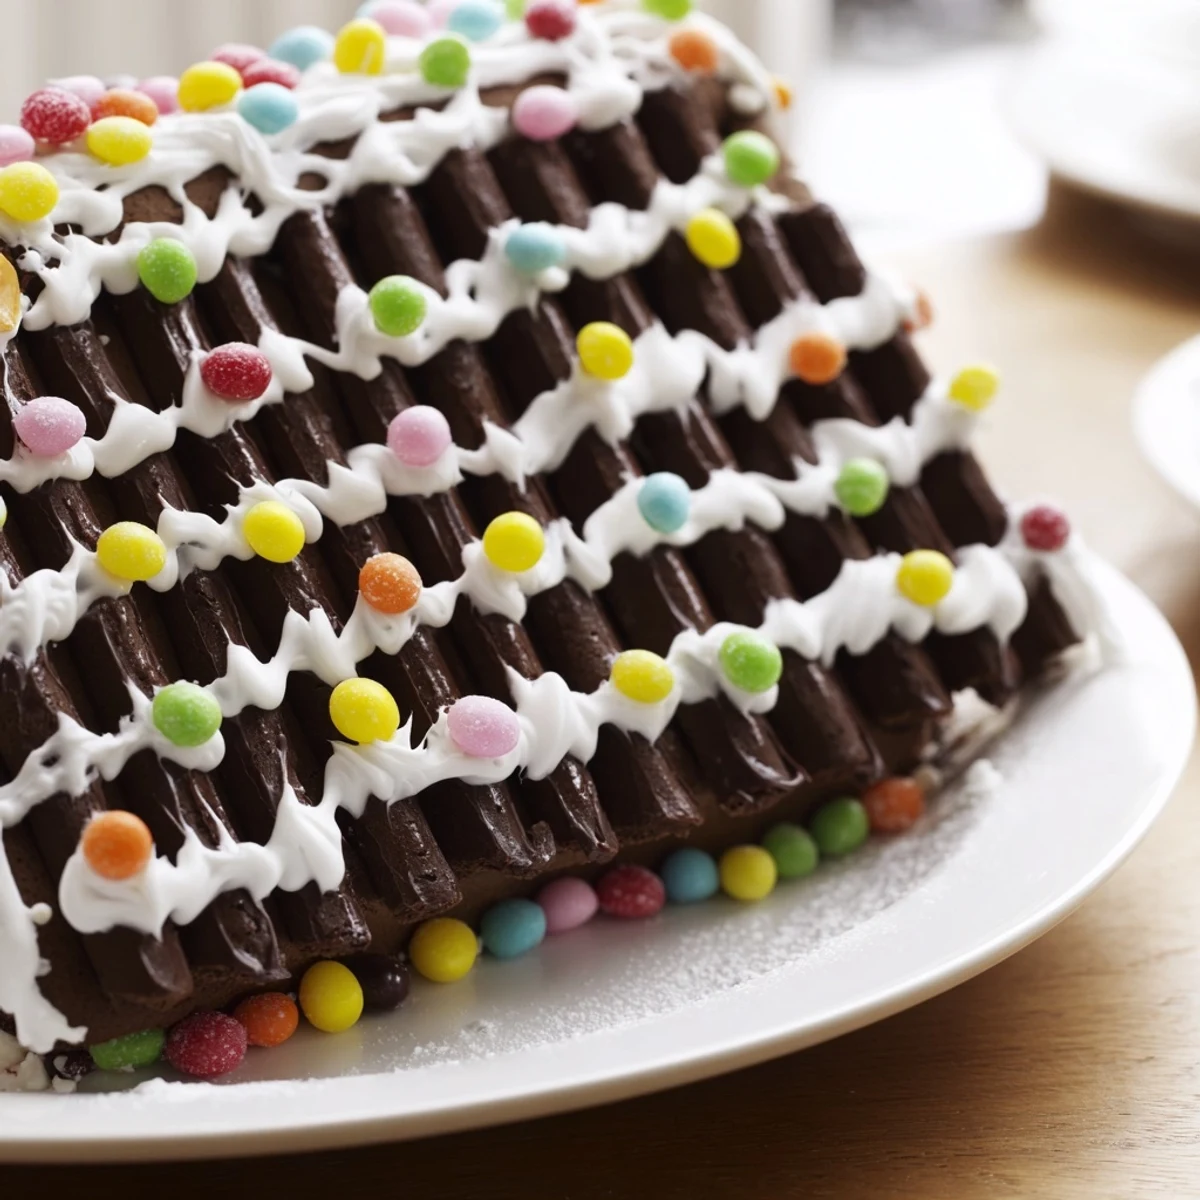
 Create a festive gingerbread house using spiced dough, royal icing, and a variety of colorful candies. Chill dough before rolling and baking precise cut-outs for walls and roof. Use royal icing to assemble and decorate with gumdrops, chocolate candies, and peppermint rounds. Allow the structure to dry completely for a sturdy, edible centerpiece perfect for holiday celebrations and family enjoyment.
My sister and I used to argue over who got to place the gumdrops on the roof every December, our fingers sticky with icing and our aprons dusted with powdered sugar. Those gingerbread houses never looked like the ones in magazines, but they smelled like cinnamon and cloves and tasted like pure childhood joy. I still bake the dough a day ahead because Mama taught me that patience makes the walls stand taller. Now I teach my own kids the same lesson, though they still sneak candy before assembly.
I made my first gingerbread house the winter I moved into my apartment, alone and craving something that felt like home. The walls collapsed twice before I learned to let the icing set properly, but when it finally stood on its own, I felt ridiculously proud. I decorated it with whatever candy I had in the pantry and set it on the windowsill where the streetlights made the sugar pearls glow. It became my little edible lighthouse that season.
Ingredients
- All-purpose flour: The backbone of your walls and roof, so measure carefully and spoon it into the cup instead of scooping to avoid dense dough.
- Baking soda: Just enough to give the dough a slight lift without puffing it into softness.
- Ground ginger: This is the soul of gingerbread, warm and a little spicy, the scent that makes December feel real.
- Ground cinnamon: Adds a sweet earthiness that balances the sharpness of ginger and cloves.
- Ground cloves: A tiny amount goes a long way, lending depth and that nostalgic holiday fragrance.
- Salt: Wakes up all the spices and keeps the sweetness from overwhelming your palate.
- Unsalted butter, softened: Use room temperature butter so it creams smoothly with the sugar and creates a tender crumb.
- Dark brown sugar: The molasses in brown sugar deepens the color and flavor, making every bite richer.
- Molasses: This is what makes gingerbread dark, chewy, and unmistakably festive.
- Large egg: Binds everything together and adds structure so your walls do not crumble.
- Egg whites: The base of royal icing, beaten stiff to create the strongest edible glue you will ever use.
- Powdered sugar, sifted: Sifting prevents lumps and makes the icing smooth enough to pipe cleanly.
- Lemon juice: A drop of acid stabilizes the icing and gives it a slight sheen when it dries.
- Gumdrops: Classic and colorful, perfect for roof tiles or garden stones.
- Mini chocolate candies: Bright and cheerful, they stick easily and add pops of color to every surface.
- Candy canes, crushed: Peppermint shards make beautiful fence posts or walkway borders.
- Jelly beans: Fun for windows, doors, or scattered like cobblestones.
- Sugar pearls: Tiny and elegant, they catch the light and add a touch of magic.
- Licorice laces: Flexible and easy to shape into railings, vines, or window frames.
- Peppermint rounds: Sturdy enough to become stepping stones or decorative medallions on the roof.
Instructions
- Prepare Your Workspace:
- Preheat your oven to 180°C and line your baking sheets with parchment so nothing sticks. Clear a big space on your counter because this dough likes to sprawl.
- Mix the Dry Ingredients:
- Whisk together flour, baking soda, ginger, cinnamon, cloves, and salt until the spices are evenly distributed and the bowl smells like a holiday candle. Set this aside while you work on the butter and sugar.
- Cream the Butter and Sugar:
- Beat softened butter and brown sugar together until the mixture turns pale and fluffy, like soft clouds with a caramel tint. Scrape down the sides of the bowl so nothing gets left behind.
- Add Molasses and Egg:
- Pour in the molasses and crack in the egg, then mix until everything is smooth and glossy. The batter will darken beautifully and smell rich and sweet.
- Combine Wet and Dry:
- Gradually fold the flour mixture into the wet ingredients, stirring just until a cohesive dough forms. Divide it in half, wrap each piece in plastic, and chill for 30 minutes so it firms up and becomes easier to roll.
- Roll and Cut the Dough:
- Roll chilled dough to about 5 mm thickness on a lightly floured surface, then use cardboard templates to cut out walls, roof panels, a door, and chimney pieces. Transfer shapes carefully to your prepared baking sheets.
- Bake the Pieces:
- Bake for 12 to 15 minutes until the edges are firm and the centers no longer look wet. Let them cool completely on wire racks because warm gingerbread is fragile and will crack if you rush.
- Make the Royal Icing:
- Beat egg whites until foamy, then gradually add sifted powdered sugar and lemon juice, beating until stiff peaks form. Transfer to piping bags fitted with small round tips for precision work.
- Assemble the House:
- Pipe thick lines of icing along the edges of your gingerbread pieces and press them together gently, holding each join for a few seconds until it sets. Let the whole structure dry for at least 30 minutes before decorating so it stands strong.
- Decorate with Candy:
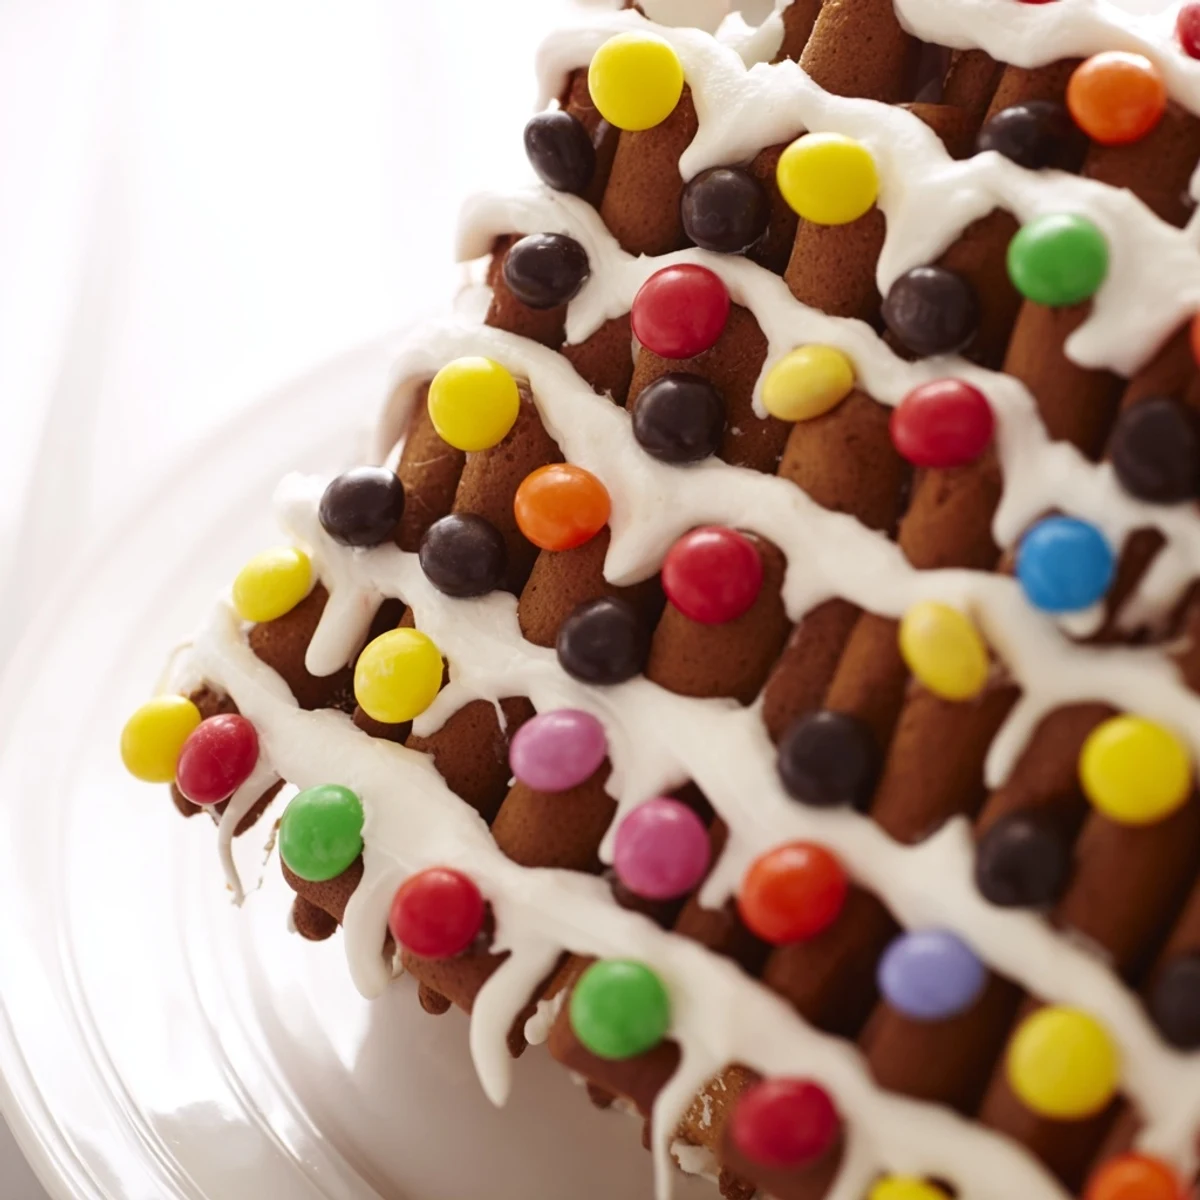
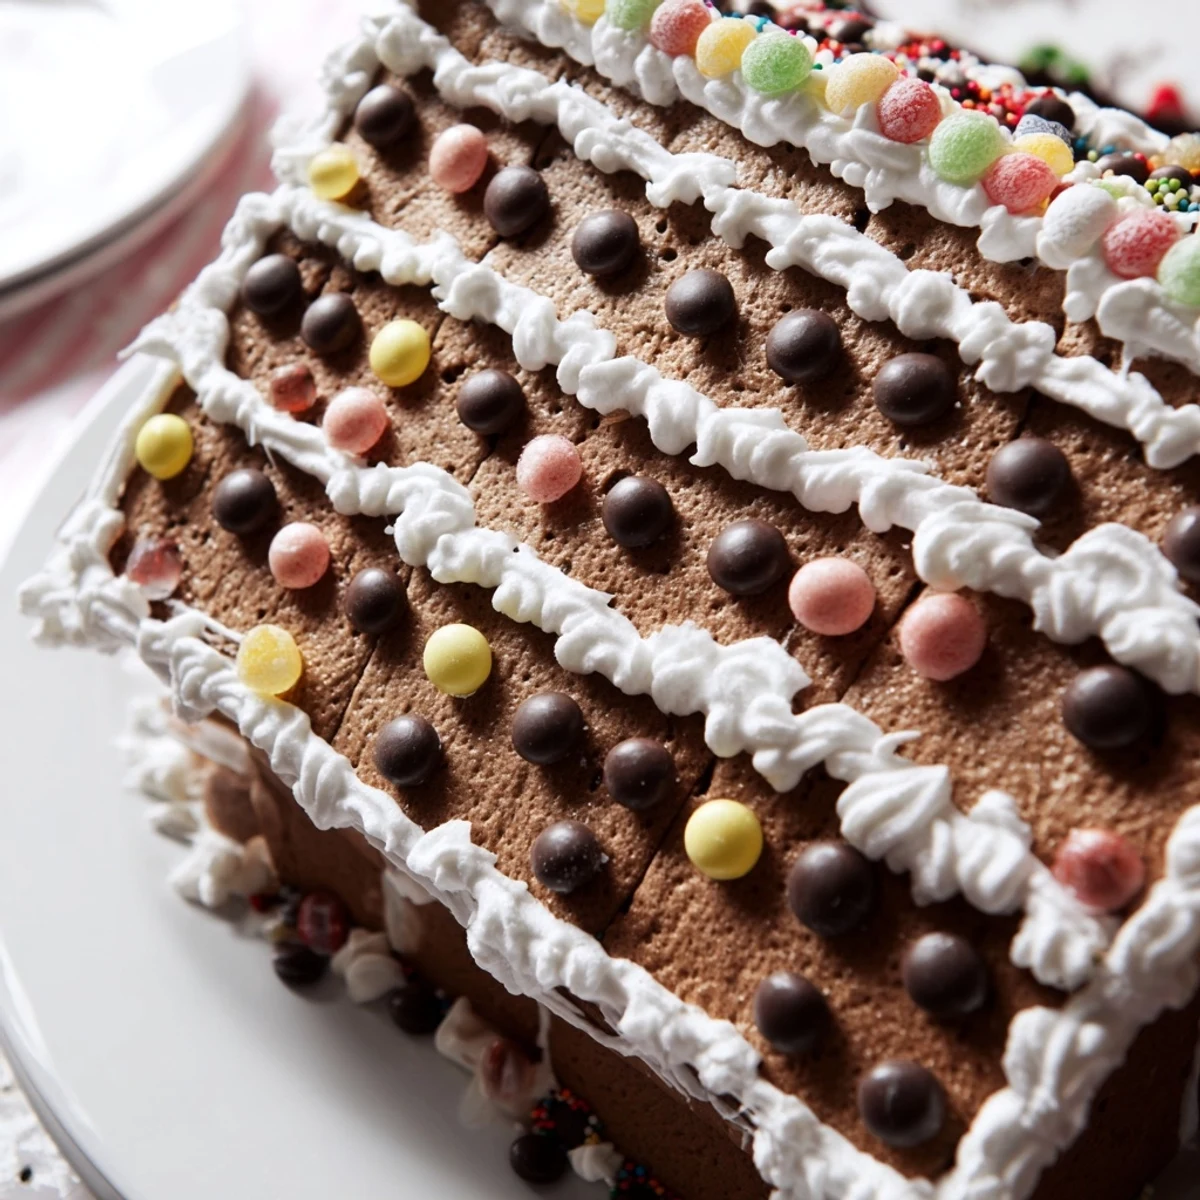
- Use royal icing as glue to attach gumdrops, chocolate candies, crushed candy canes, jelly beans, sugar pearls, licorice laces, and peppermint rounds wherever your imagination leads. Allow everything to set fully before moving or serving your edible masterpiece.
 Save to Pinterest
 The year my nephew turned five, he insisted on decorating an entire gingerbread village by himself. He glued candy canes sideways, stacked gumdrops like tiny towers, and used so much icing that the roofs looked like they were buried in snow. We displayed it on the dining table for two weeks, and every time he visited, he would point at it and say proudly, I made that. That house was lopsided and chaotic, but it was also the most beautiful thing in the room.
Choosing Your Candies
I used to stress about buying the perfect candies, but now I just grab whatever looks cheerful at the store. Gumdrops and chocolate rounds are my staples because they stick easily and come in every color. Crushed candy canes add peppermint sparkle, and licorice laces bend into any shape you need. Sugar pearls are my secret weapon for making even a wonky house look elegant.
Making It Ahead
Baking the gingerbread a day or two in advance is the smartest move I ever learned. The pieces dry out slightly and become sturdier, which means fewer cracked walls and a house that stands tall without leaning. I stack them carefully between sheets of parchment and leave them on the counter overnight. When assembly day comes, everything clicks together like a puzzle that actually wants to cooperate.
Storing and Displaying
Once your house is fully decorated and dry, it can sit on the counter for weeks as long as you keep it away from humidity and curious hands. I like to set mine on a cake board dusted with powdered sugar to look like fresh snow. If you want to eat it later, the walls stay crunchy and delicious, though the icing hardens into sweet cement.
- Cover it loosely with plastic wrap if you live somewhere humid to prevent the icing from softening.
- For long term display, skip the egg white icing and use meringue powder icing, which holds up better over time.
- Photograph it from every angle before anyone starts picking off the candy, trust me on this one.
 Save to Pinterest
 Every gingerbread house tells a story, whether it is perfectly symmetrical or charmingly crooked. The real magic is not in the icing or the candy, it is in the time spent building something sweet together.
Recipe Questions & Answers
- → How do I ensure the dough is easy to work with?
-
Chill the dough for 30 minutes before rolling to make cutting shapes easier and prevent sticking.
- → What is the best way to assemble the house pieces?
-
Use royal icing as edible glue, piping along edges and holding pieces in place briefly until set.
- → Can I customize the candy decorations?
-
Absolutely, use your favorite candies or sprinkles to personalize the appearance.
- → How long should I let the assembled house dry?
-
Allow at least 30 minutes for the royal icing to dry and hold the structure firmly.
- → Are there alternatives to egg-based royal icing?
-
Yes, use aquafaba or commercial meringue powder for egg-free royal icing alternatives.
