
 Save to Pinterest
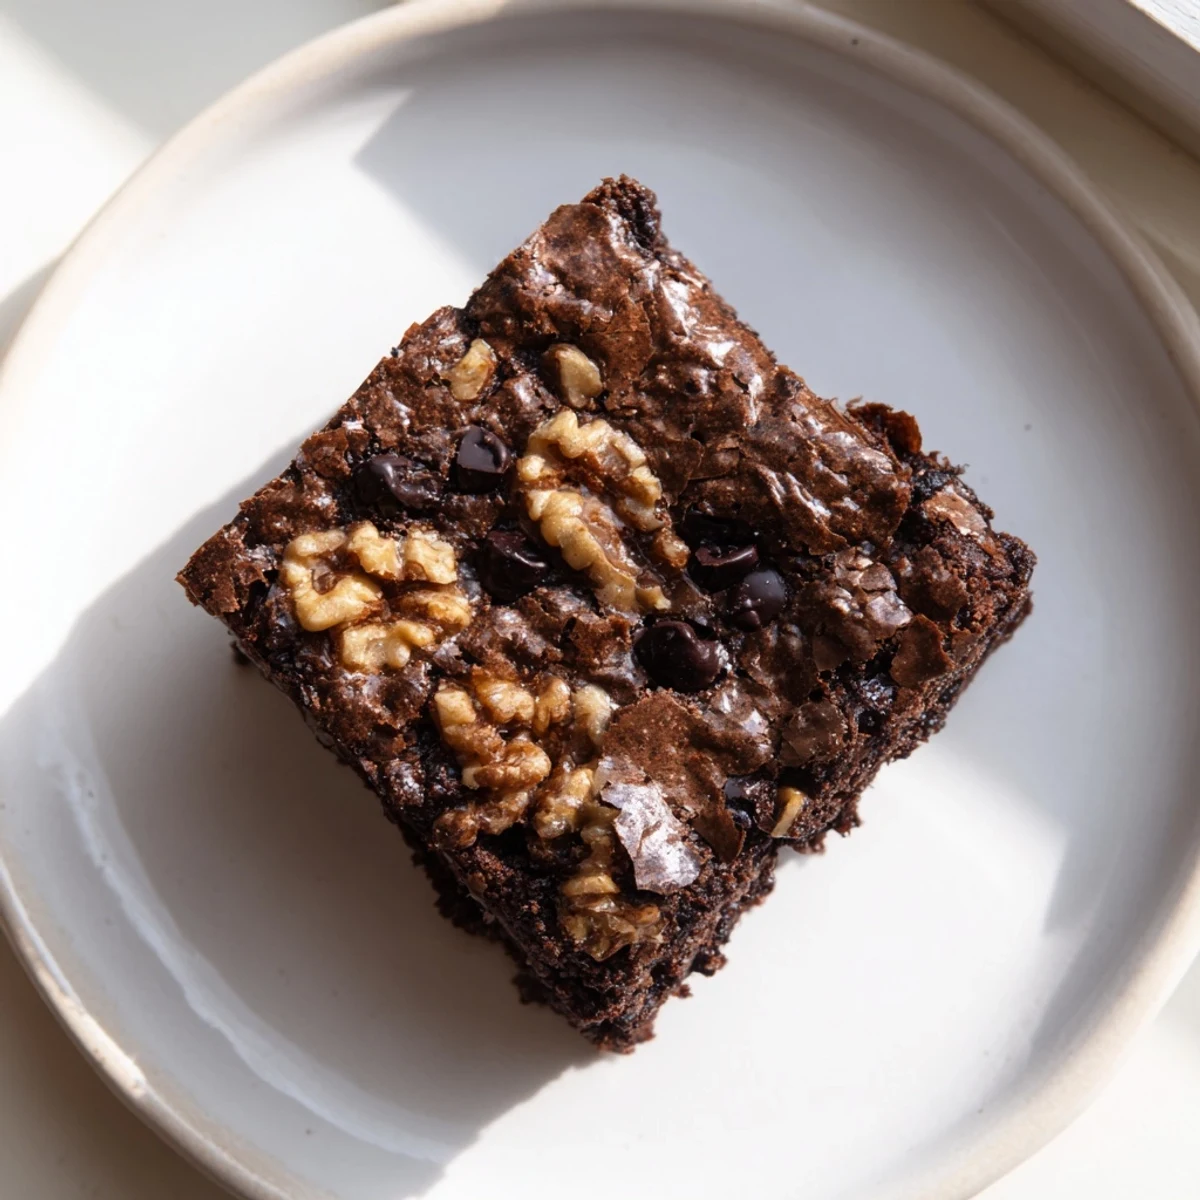
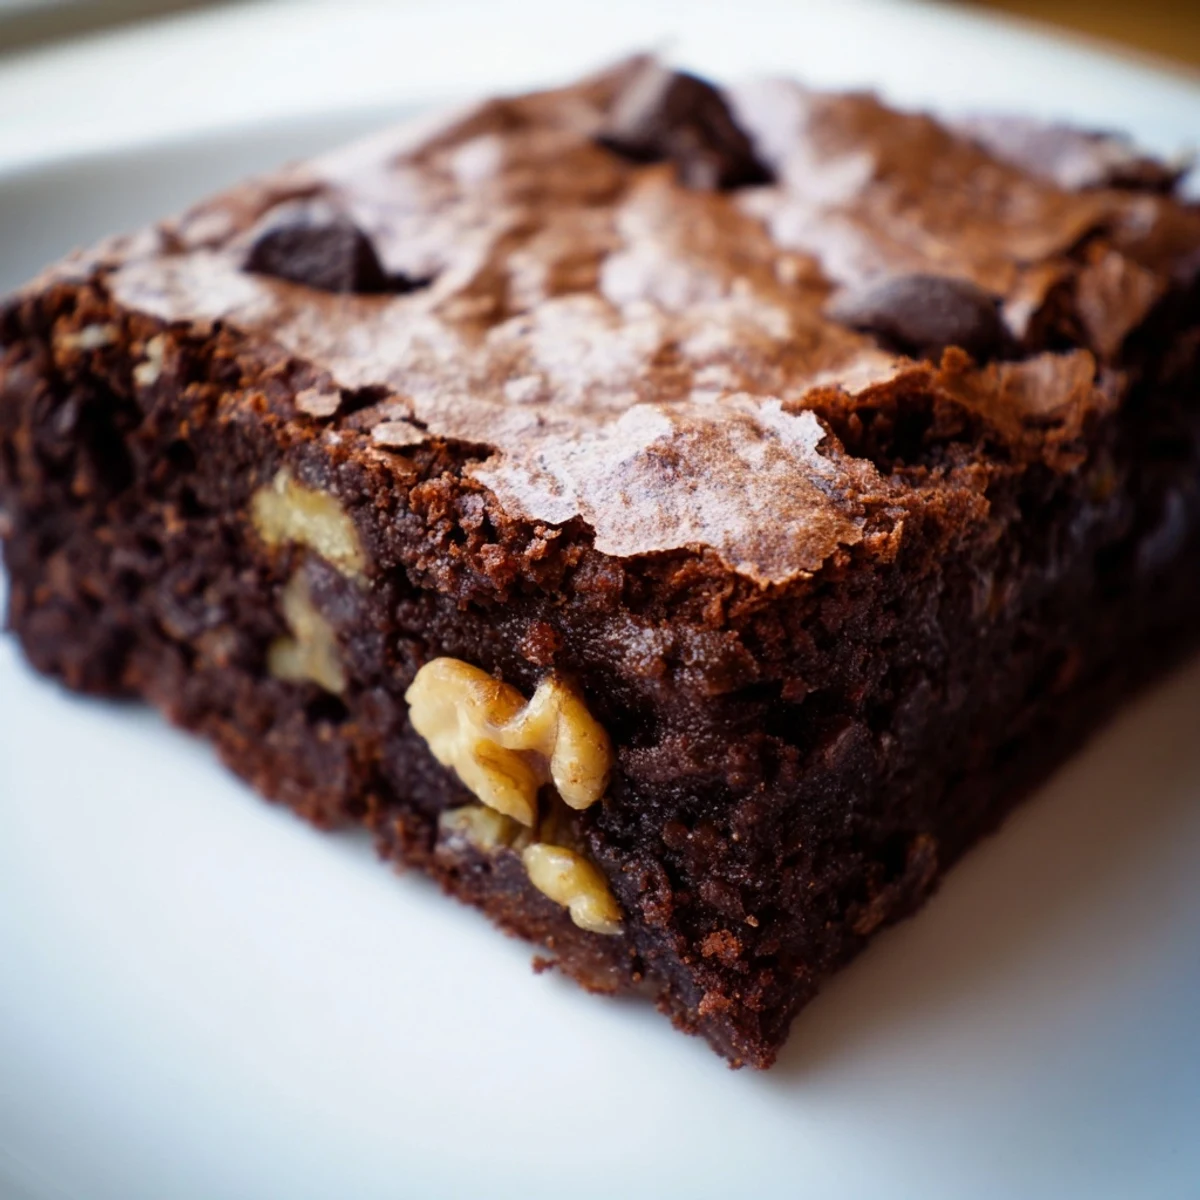
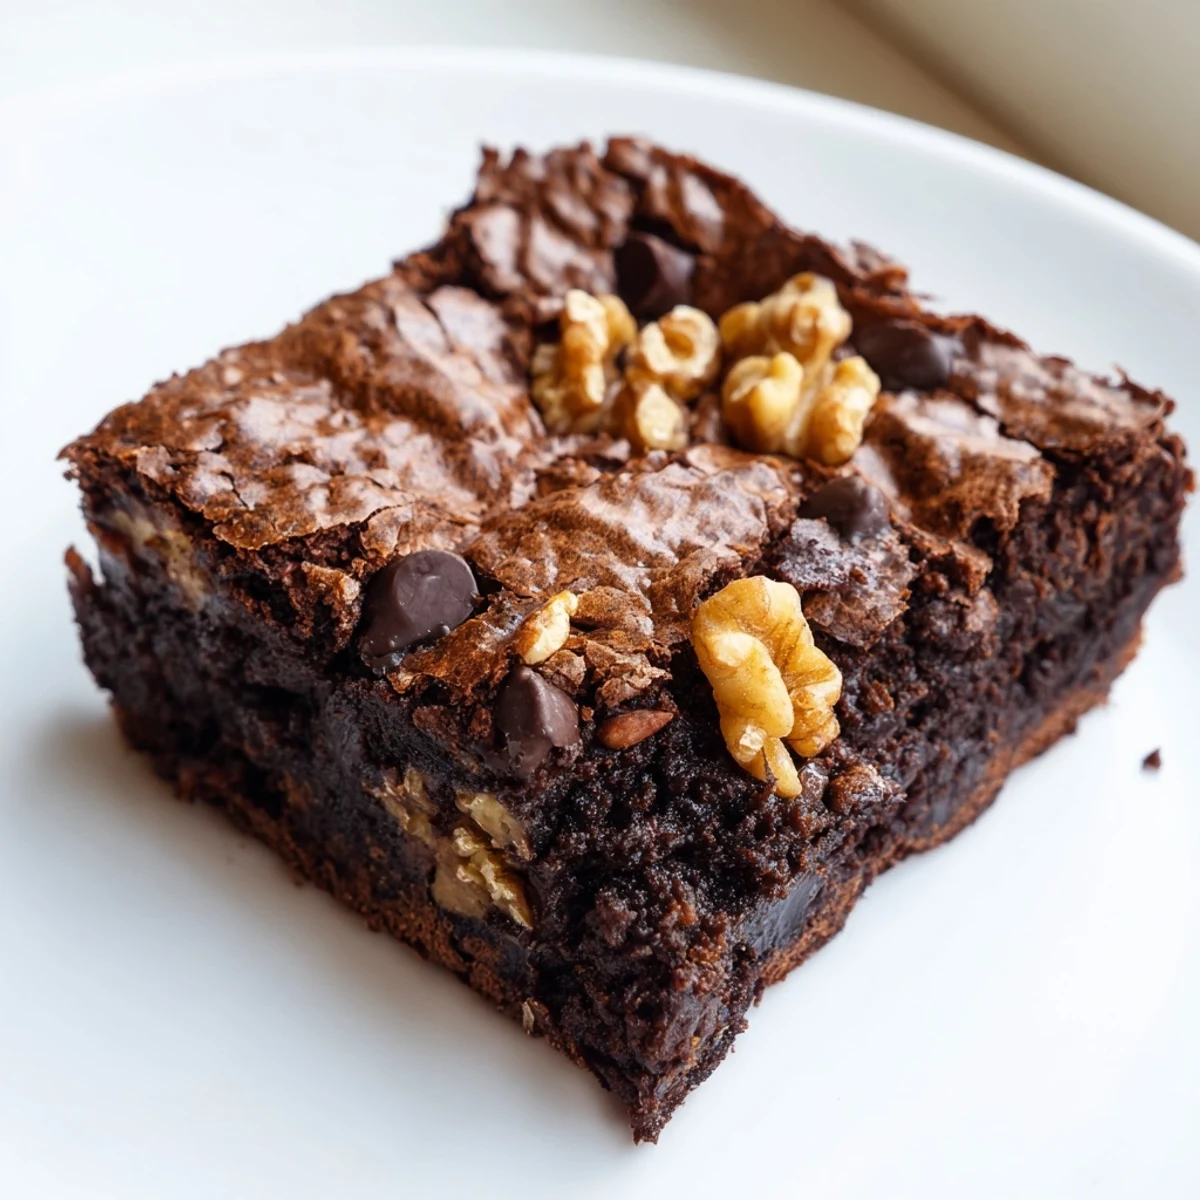
 These brownies deliver a rich, fudgy chocolate experience with a signature crackly top and a moist, dense interior. Using high-quality dark chocolate and a simple melting method, they come together in just 40 minutes from start to finish.
The key to their irresistible texture lies in gently folding sifted dry ingredients into the melted chocolate mixture without overmixing, and slightly underbaking for maximum fudginess. Customize with walnuts, pecans, or extra chocolate chips for added indulgence.
The rain was hammering against the kitchen window the afternoon I burned my first batch of brownies, and the smell of scorched chocolate lingered for days, but something about that failure hooked me completely.
My neighbor Sarah once knocked on my door at ten at night holding a pint of milk, asking if the smell coming from my apartment was for sale.
Ingredients
- Unsalted butter (150 g): Good butter is the backbone here, and I learned the hard way that margarine turns the texture grainy and sad.
- Dark chocolate (200 g, at least 60% cocoa): Chop it yourself rather than buying chips, because the uneven pieces melt into gorgeous little pockets.
- Granulated sugar (125 g) and light brown sugar (100 g): The brown sugar adds moisture and a gentle caramel note that white sugar alone simply cannot give.
- Large eggs (3): Room temperature eggs blend more smoothly into the warm chocolate mixture without seizing.
- Pure vanilla extract (1 tsp): A small amount rounds out the bitterness of dark chocolate beautifully.
- All-purpose flour (90 g): Measure by weight if you can, because even a couple extra tablespoons will make them cakey instead of fudgy.
- Unsweetened cocoa powder (30 g): This deepens the chocolate flavor without adding extra fat or sweetness.
- Fine salt (1/2 tsp): Salt is not optional here, it is what makes the chocolate taste like itself.
- Chopped walnuts or pecans (60 g, optional): Toast them lightly first and you will never go back to raw nuts in brownies again.
- Dark chocolate chips (75 g, optional): These create molten little surprise pockets throughout every single square.
Instructions
- Set the stage:
- Preheat your oven to 180 degrees Celsius (350 degrees Fahrenheit) and line a 20 by 20 cm baking pan with parchment paper, letting the edges hang over like handles for easy removal later.
- Melt the magic:
- Set a heatproof bowl over a saucepan of barely simmering water and stir the butter and chopped chocolate together until glossy and smooth, then pull it off the heat to cool slightly.
- Sweeten the deal:
- Whisk both sugars into the warm chocolate mixture until everything looks unified and silky, with no gritty spots remaining.
- Bind it together:
- Drop in the eggs one at a time, whisking with purpose after each until the batter turns thicker and slightly lighter in color, then stir in the vanilla.
- Fold with care:
- Sift the flour, cocoa powder, and salt directly over the bowl and fold gently with a spatula until you barely see dry streaks, stopping the moment everything is combined.
- Add the extras:
- If you are using nuts or chocolate chips, fold them in now with just two or three turns, no more, so the batter stays airy.
- Pour and smooth:
- Scrape every last bit of batter into your prepared pan and use the spatula to nudge it into the corners and smooth the top.
- Watch the jiggle:
- Bake for 22 to 25 minutes, checking at 22, when the edges should be set and the center has just a slight wobble when you gently shake the pan.
- Patience pays off:
- Let the brownies cool completely in the pan before lifting them out with the parchment overhang and slicing into twelve squares.
 Save to Pinterest
 The tray I brought to a friends potluck vanished in under ten minutes, and someone actually asked if I had bought them from a bakery, which remains one of my proudest kitchen moments.
Serving Ideas Worth Trying
A warm square with a scoop of vanilla bean ice cream slowly melting over the top is dangerously good on a cold evening.
Storage That Actually Works
They stay wonderfully fudgy for up to four days in an airtight container at room temperature, and the texture somehow improves overnight as the crumb settles.
Variations I Keep Coming Back To
Swapping the nuts for white chocolate chunks or swirling a spoonful of raspberry jam through the batter before baking are both moves worth trying at least once.
- A pinch of flaky sea salt on top right before baking makes every bite more interesting.
- Letting the melted chocolate cool for five minutes before adding eggs prevents scrambled brownie batter.
- Always use the parchment overhang trick because nothing is sadder than brownies stuck to the pan.
 Save to Pinterest
 Keep this recipe close, because once people know you can make brownies this good, they will ask for them at every gathering.
Recipe Questions & Answers
- → How do I know when brownies are done baking?
-
The top should look set and slightly cracked, but the center should still have a gentle jiggle when you shake the pan. A toothpick inserted in the center should come out with moist crumbs, not clean. This ensures a fudgy texture rather than a cakey one.
- → Can I use milk chocolate instead of dark chocolate?
-
Yes, you can substitute milk chocolate, but the brownies will be sweeter and less intensely chocolatey. For the best balance of richness and depth, stick with dark chocolate containing at least 60% cocoa.
- → Why did my brownies turn out cakey instead of fudgy?
-
Cakey brownies usually result from overmixing the batter or overbaking. Fold the dry ingredients in gently until just combined, and pull them from the oven while the center still has a slight wobble. Using too much flour can also cause a cakier texture.
- → Should I let brownies cool before cutting?
-
Absolutely. Let them cool completely in the pan before slicing. Warm brownies will crumble and fall apart. For the cleanest cuts, chill them briefly in the refrigerator and use a sharp knife wiped clean between each slice.
- → How should I store leftover brownies?
-
Store brownies in an airtight container at room temperature for up to 4 days. For longer storage, wrap them tightly and freeze for up to 3 months. Thaw at room temperature or warm briefly in the microwave for that fresh-baked taste.
- → Can I add espresso powder to enhance the chocolate flavor?
-
Yes, adding 1 teaspoon of espresso powder to the dry ingredients intensifies the chocolate flavor without making the brownies taste like coffee. It's a classic baker's trick for deepening and enriching any chocolate dessert.