 Save to Pinterest
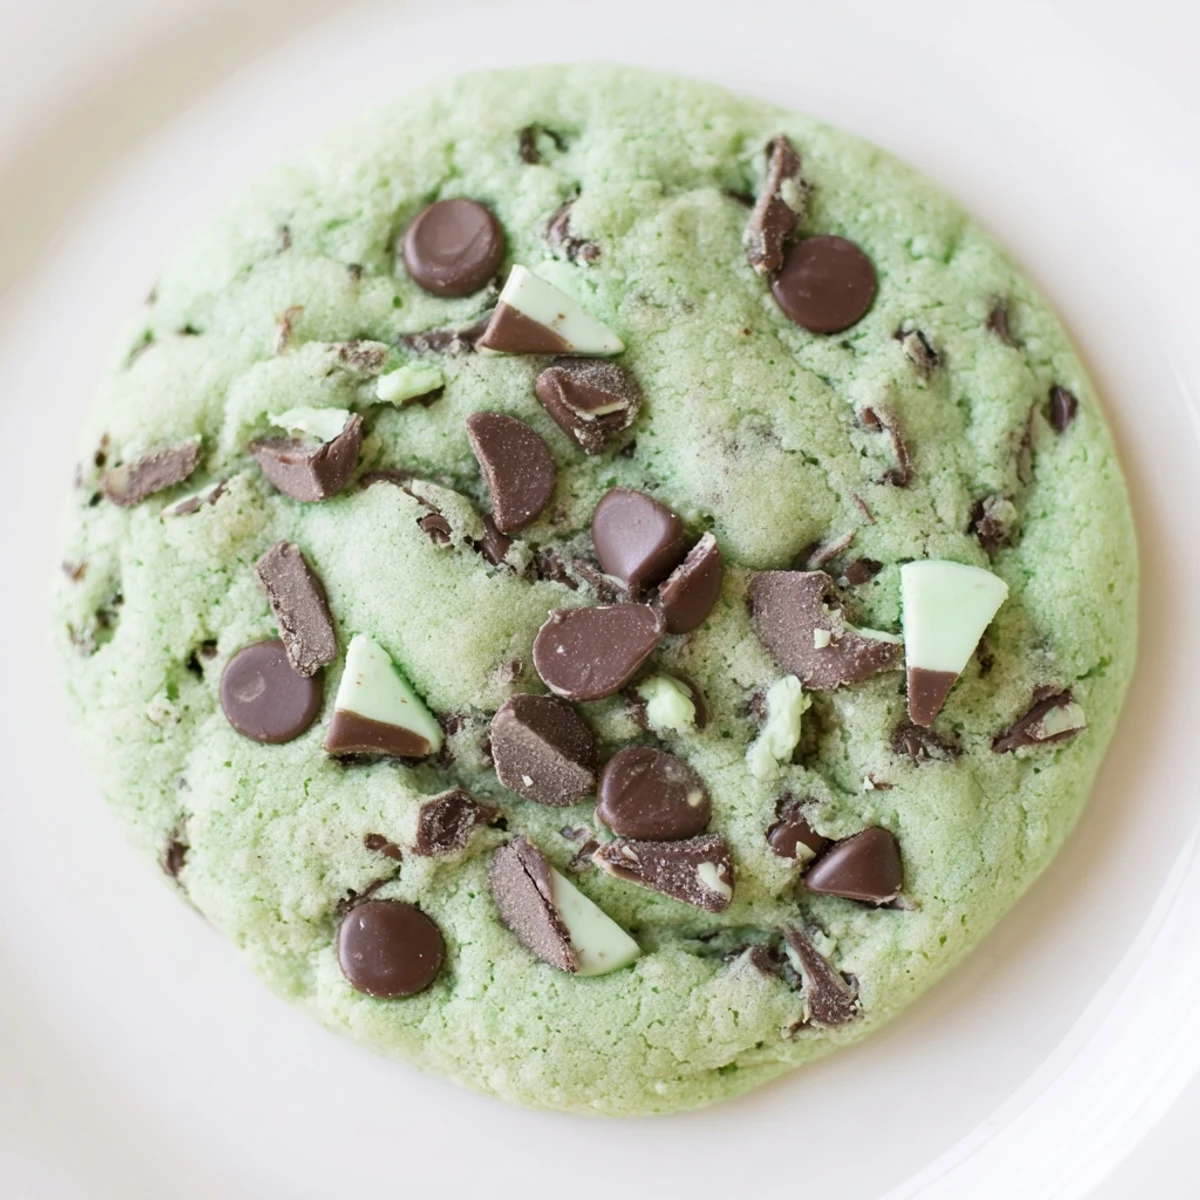
 Indulge in delightful Emerald Isle Mint Chocolate Chip treats. These soft, chewy baked goods are a celebration of cool mint and rich chocolate, bringing to mind lush landscapes.
Crafting them is an easy process: cream butter and sugars, then incorporate eggs, mint, and vanilla. Gradually mix in dry ingredients before folding in generous amounts of chocolate chips and optional Andes mints. Baked until edges are set, they promise a tender center. This batch yields about 24 satisfying portions, perfect for sharing or savoring.
The scent of damp earth and fallen leaves always brings me back to that one blustery October afternoon when these cookies first came to life in my kitchen. I'd been yearning for something cozy, but with a surprising twist, something that whispered of both comfort and a touch of magic. Puttering through my pantry, a little green bottle of mint extract caught my eye, and suddenly, the vision of these vibrant, dreamy cookies just clicked. The gentle hum of the stand mixer quickly filled the quiet house, promising something truly special.
I remember making a double batch for a friend's St. Patrick's Day potluck years ago. The kitchen was absolutely buzzing with the sweet, fresh aroma of mint and melting chocolate, and I worried for a moment if the green color was a bit too much. But when I arrived, their vibrant hue and unique flavor were an instant hit; everyone kept asking for the "secret ingredient" in those mysteriously delicious green treats.
Ingredients
- All-Purpose Flour: This is the backbone of our cookie, giving it just the right structure without making it tough, ensuring that wonderful chewiness.
- Baking Soda: Our little leavening agent, it helps the cookies spread perfectly and contributes to that desirable soft texture we're aiming for.
- Salt: Don't skip this; it's crucial for balancing the sweetness and truly highlighting the chocolate and mint flavors, making everything taste brighter.
- Unsalted Butter: Softened butter is key for creaming properly, creating pockets of air that result in a light and tender crumb.
- Granulated Sugar & Packed Light Brown Sugar: The combination gives us the best of both worlds – crisp edges from the granulated and that irresistible chewiness and depth of flavor from the brown sugar.
- Large Eggs: They bind everything together and add richness, contributing to the cookies' structure and moisture.
- Pure Mint Extract: This is where the magic happens! Start with the recommended amount and adjust to your preference, as a little goes a long way for that refreshing minty kick.
- Pure Vanilla Extract: A touch of vanilla always rounds out the flavors beautifully, enhancing both the mint and chocolate without overpowering them.
- Green Food Coloring (optional): A few drops can transform these into truly festive "Emerald Isle" cookies, but they taste just as delicious without the color, so don't fret if you don't have it.
- Semisweet Chocolate Chips: These melt into delightful pockets of rich, bittersweet chocolate throughout each bite, a classic pairing with mint.
- Chopped Andes Mints or Mint Chocolate Chunks (optional): For an extra layer of minty chocolate goodness, these little gems add a wonderful texture and another dimension of flavor.
Instructions
- Get Ready to Bake:
- First things first, let's get that oven warmed up to 350°F (175°C) and line two baking sheets with parchment paper; this ensures easy cleanup and prevents sticking.
- Whisk the Dry Goodies:
- In a medium bowl, give the flour, baking soda, and salt a good whisk together until they're perfectly combined, then set this aside for a moment.
- Cream the Sugars and Butter:
- Now, in a large bowl, use your electric mixer to cream together the softened butter, granulated sugar, and brown sugar until the mixture is beautifully light and fluffy, which usually takes about two to three minutes.
- Add the Wet Flavor Boosters:
- Beat in the eggs one at a time, ensuring each is fully incorporated before adding the next, then mix in both the vibrant mint extract, the comforting vanilla extract, and any green food coloring you might be using until the color is even.
- Combine Wet and Dry:
- Slowly add the whisked dry ingredients to your wet mixture, mixing gently until everything is just combined and no streaks of flour remain; be careful not to overmix here.
- Fold in the Chocolatey Minty Bits:
- With a spatula, carefully fold in the semisweet chocolate chips and, if you're using them, those delightful chopped Andes mints until they are evenly distributed throughout the dough.
- Portion and Place:
- Drop rounded tablespoons of the cookie dough onto your prepared baking sheets, making sure to leave about two inches of space between each one so they have room to spread.
- Bake to Perfection:
- Pop them into the preheated oven for about 10 to 12 minutes, or until the edges are nicely set and slightly golden, but the centers still look delightfully soft and slightly underbaked.
- Cool Down:
- Let those gorgeous cookies cool on the baking sheet for about five minutes to firm up slightly before carefully transferring them to a wire rack to finish cooling completely.
 Save to Pinterest
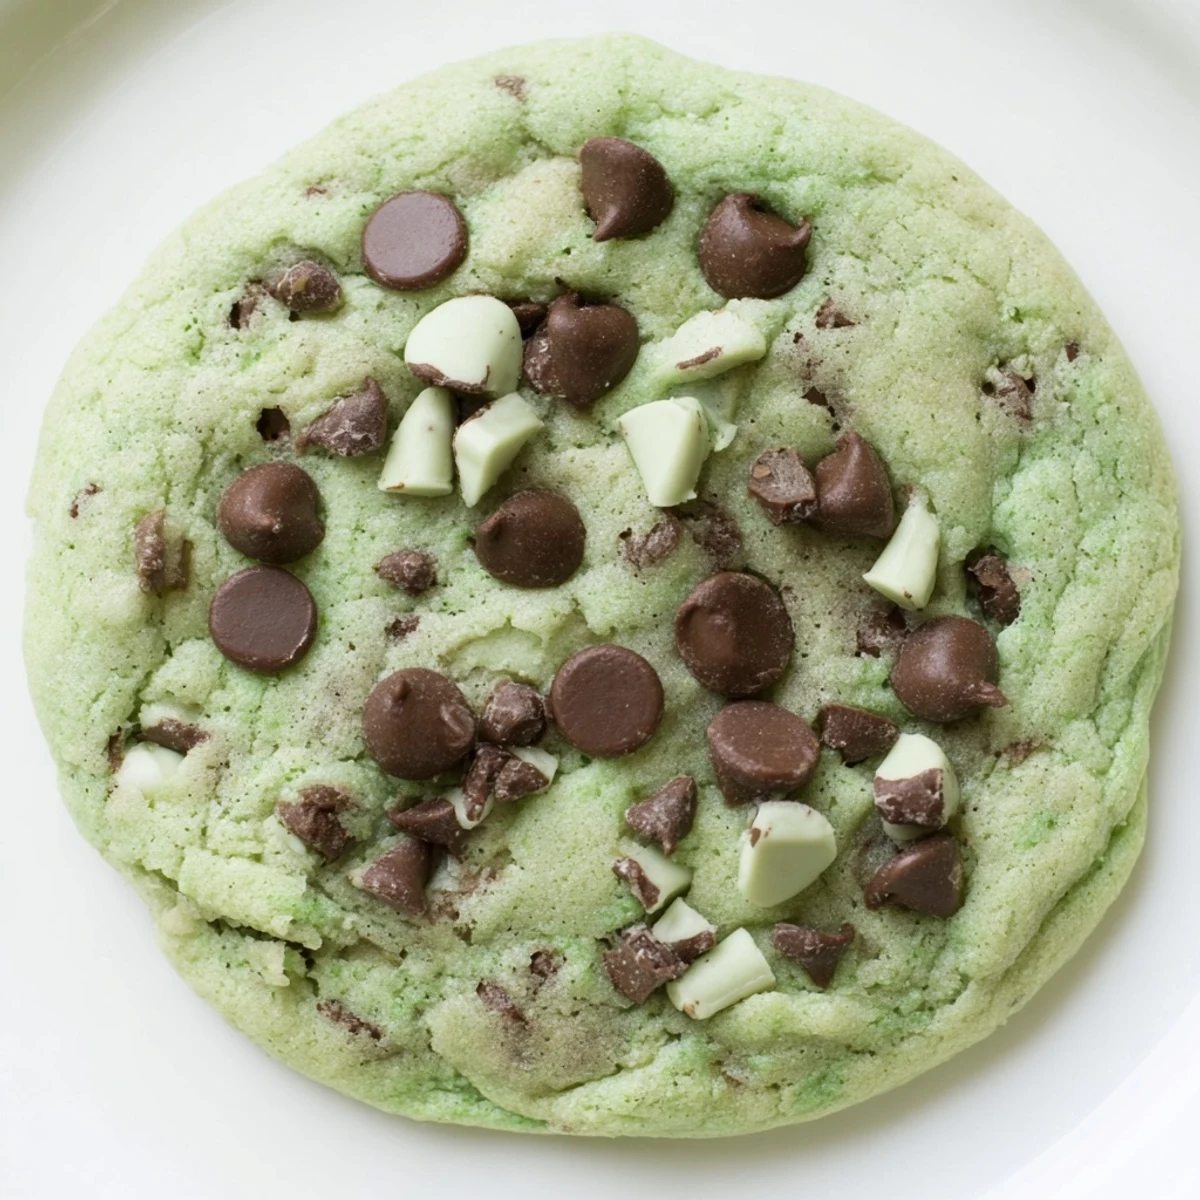
 These cookies have become a quiet ritual in my home, especially during the darker, colder months. There’s something so comforting about the warmth emanating from the oven, mingling with the cool mint scent, creating a little pocket of hygge. They're more than just a dessert; they’re a small act of self-care, a reminder to pause, enjoy a simple pleasure, and share a sweet moment.
The Art of Softened Butter
Getting your butter to the perfect "softened" stage is crucial for a great cookie. It shouldn't be melted or greasy, but pliable enough to leave a slight indent when pressed. If it's too cold, it won't cream properly, leading to a denser cookie, and if it's too warm, your dough will be oily and hard to manage.
Minty Balance is Key
When it comes to mint extract, tread lightly at first! Pure mint extract is potent, and too much can make your cookies taste like toothpaste. I always start with the recommended amount and then, if I'm feeling brave and want more intensity, I'll add just a tiny extra drop after tasting a sliver of raw dough.
Storage and Longevity Secrets
I've found these cookies actually get even better the day after baking, as the flavors meld together beautifully. Storing them properly means enjoying that freshness for longer. For freezing, layering parchment paper between cookies in an airtight container keeps them from sticking and maintains their quality perfectly.
- Keep baked cookies in an airtight container at room temperature for up to 3-4 days to maintain their softness.
- To refresh slightly stale cookies, pop them in the microwave for 10-15 seconds; they'll taste freshly baked.
- Dough can be frozen as well; simply scoop onto a baking sheet, freeze until solid, then transfer to a freezer bag for future baking.
 Save to Pinterest
 So go ahead, whip up a batch of these Emerald Isle Mint Chocolate Chip Cookies. They’re a little taste of magic, perfect for sharing, or simply savoring by yourself with a quiet cup of tea.
Recipe Questions & Answers
- → Can I adjust the mint intensity in these baked goods?
-
Yes, for a stronger mint flavor, you can increase the pure mint extract to 2 teaspoons. However, be mindful not to overpower the other delightful notes in the treat.
- → What gives these baked goods their vibrant green hue?
-
The vibrant green color comes from optional green food coloring, typically 4–6 drops. You can omit it if you prefer a natural, uncolored look.
- → How should I store leftover chocolate chip delights?
-
These treats keep well in an airtight container at room temperature for several days. They also freeze exceptionally well for up to two months, perfect for enjoying later.
- → What makes these baked goods so soft and chewy?
-
The combination of softened butter, both granulated and brown sugars, and precise baking time (10-12 minutes until edges are set but centers are soft) contributes to their delightful soft and chewy texture.
- → What are the key flavor components in these treats?
-
The primary flavors are refreshing cool mint from mint extract and rich semisweet chocolate chips, with an optional boost from chopped Andes mints, creating a balanced and indulgent taste.
