 Save to Pinterest
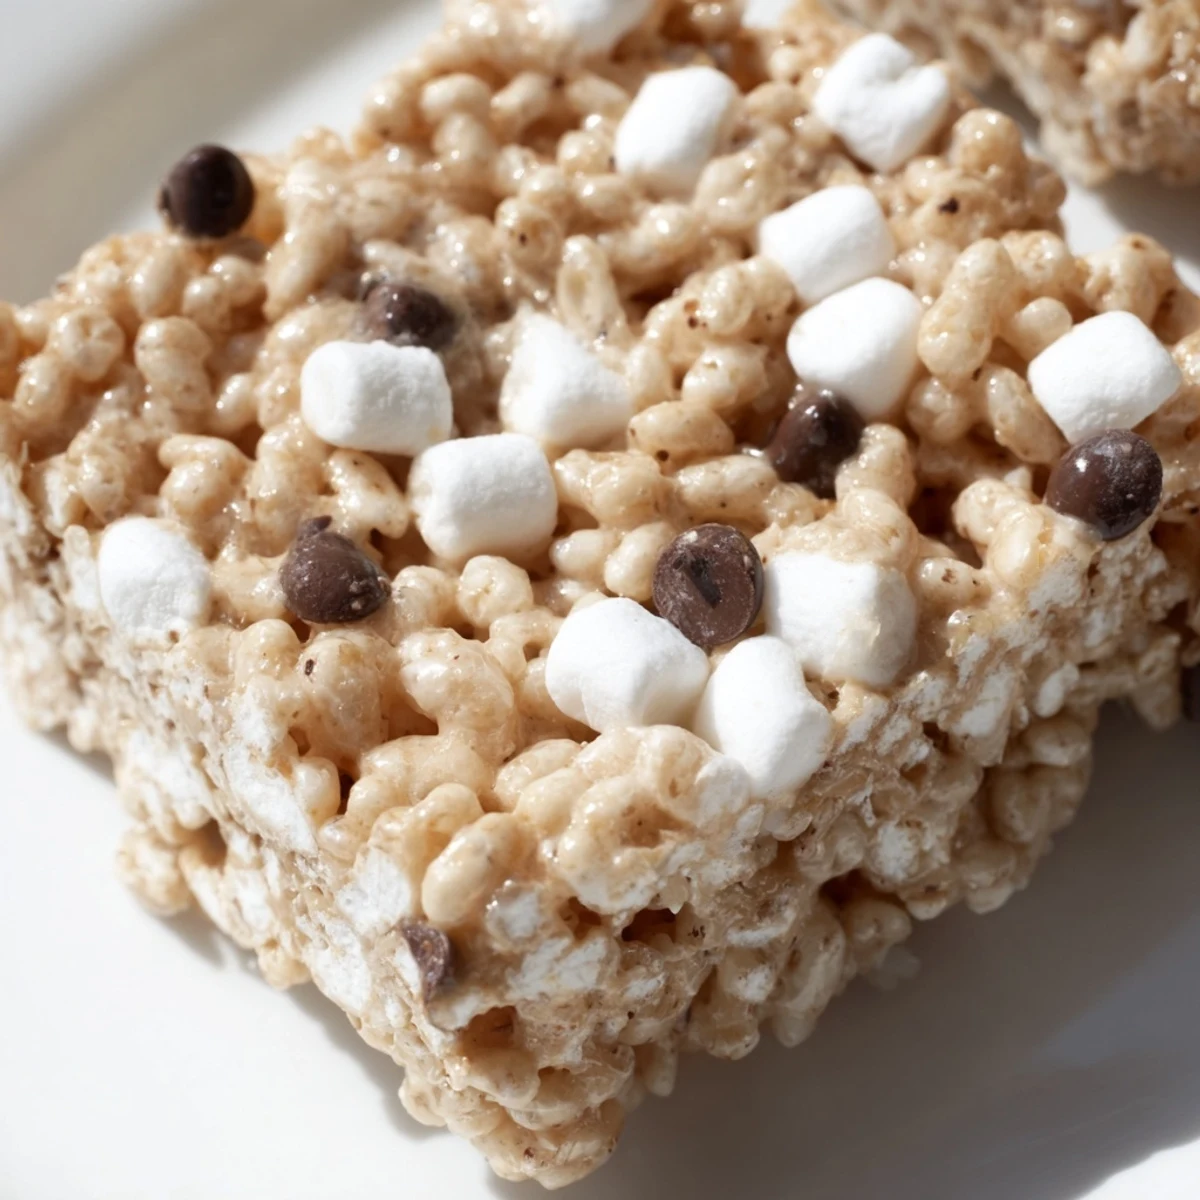
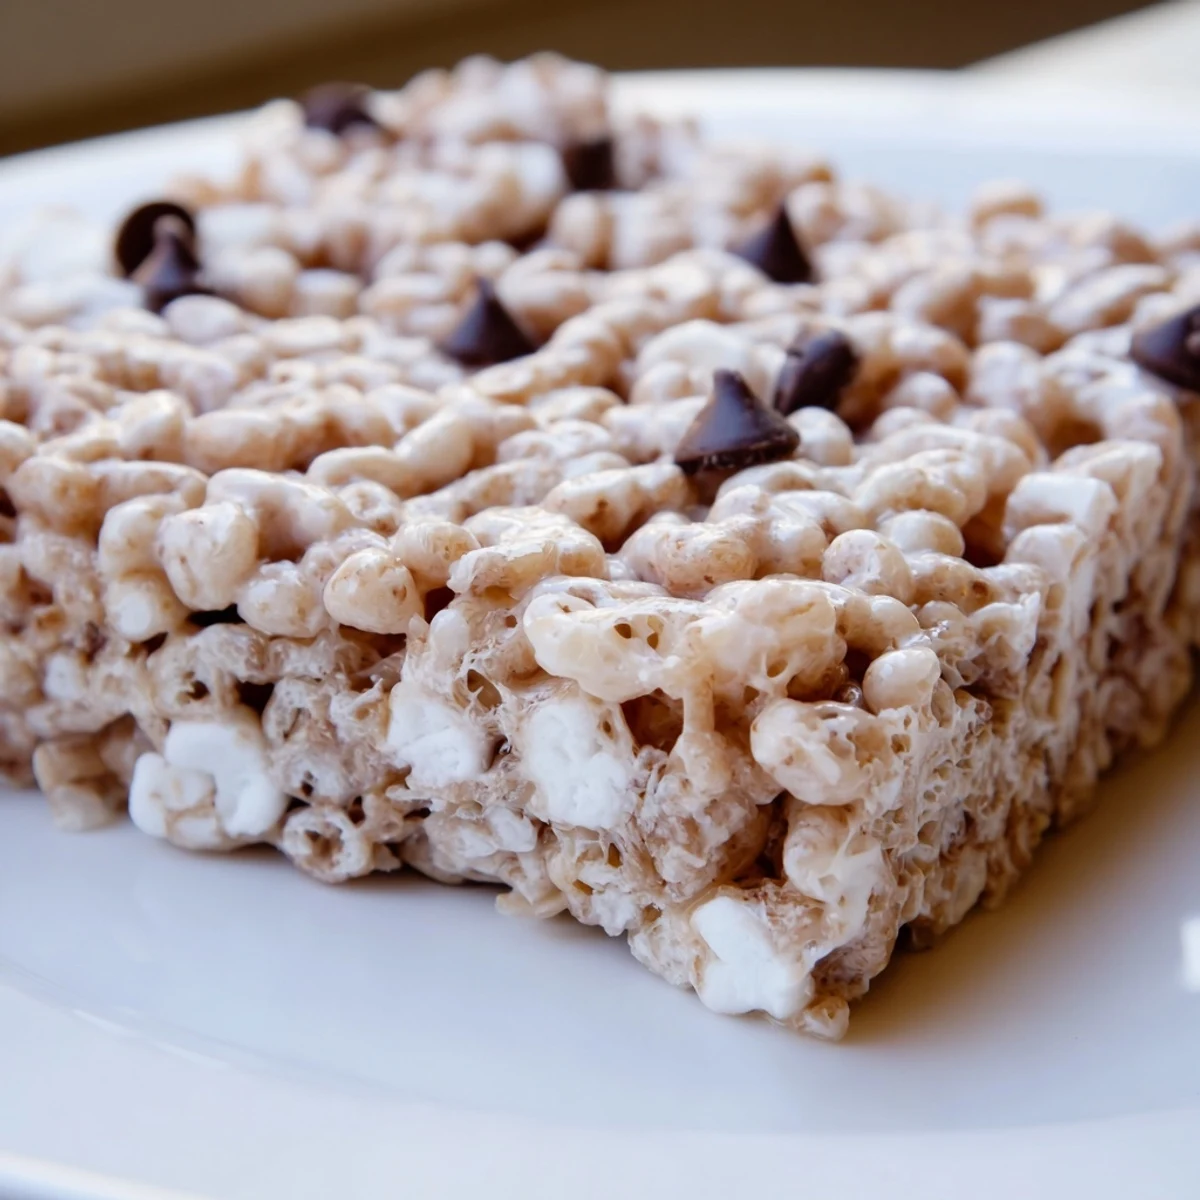
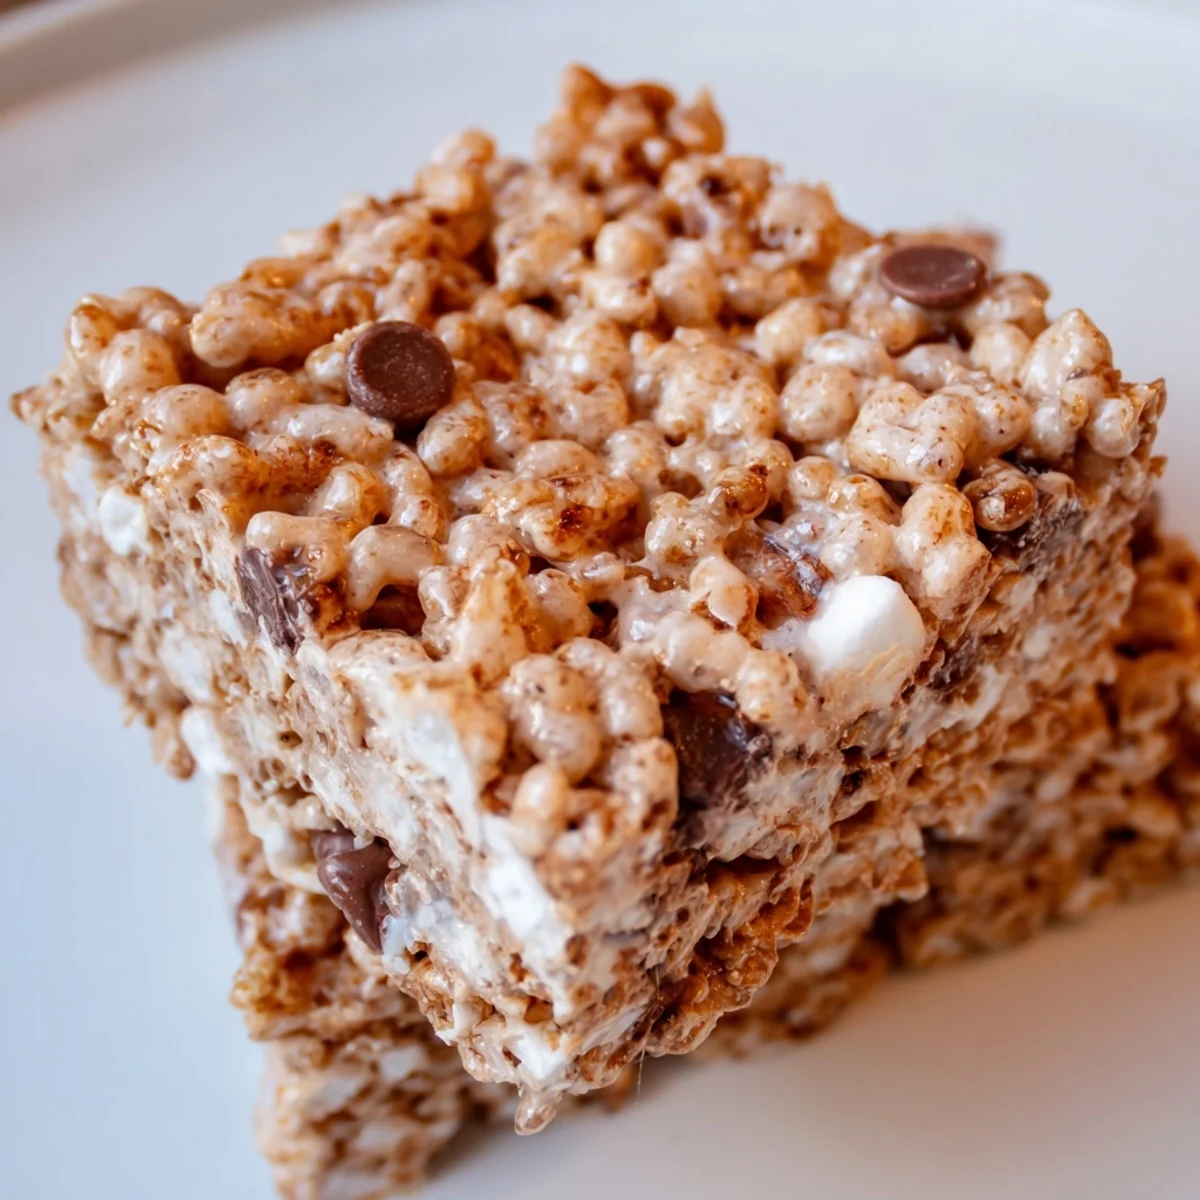
 These chewy and crunchy bars blend crispy rice cereal with melted marshmallows and butter, coming together quickly on the stovetop. Optional vanilla and chocolate chips add depth, while chilling helps firm their texture. Ideal for casual snacking or gatherings, they pair well with milk or coffee. Simple preparation and minimal ingredients make them a delightful treat in under 20 minutes.
My neighbor brought over a batch of these at midnight during a storm, and I realized right then why they've been a staple at potlucks for decades. There's something almost meditative about folding that warm cereal into melted marshmallows, watching it transform from two separate things into something irresistible. The best part isn't even the eating—it's that moment when you press it into the pan and the whole kitchen smells like toasted grain and sweetness. These bars became my go-to when I needed comfort food that actually came together in minutes.
I made these for my daughter's classroom bake sale, and three parents asked for the recipe before I even left the parking lot. What got me wasn't that they disappeared—it was watching kids bite into them and their eyes light up at that perfect snap followed by the marshmallow give. That's when I understood this isn't nostalgia or simplicity; it's just genuinely good.
Ingredients
- Crispy rice cereal: Six cups gives you that signature crunch and toasted flavor that makes these bars craveable. Don't pack it down in the measuring cup; just level it off naturally.
- Mini marshmallows: Four cups melt more evenly and coat the cereal faster than large ones, plus they distribute sweetness throughout every bite.
- Unsalted butter: Three tablespoons is enough to help the marshmallows melt smoothly and add richness without making them greasy.
- Mini chocolate chips: Optional but they add a subtle depth that keeps you reaching back for another bar.
- Vanilla extract and salt: Just pinches of each, but they brighten the marshmallow flavor in a way people notice without knowing why.
Instructions
- Prepare your pan:
- Line a 9x13-inch baking pan with parchment paper or give it a light grease. This step saves you from the sticky frustration of trying to pry bars out later.
- Melt the butter:
- In a large saucepan over low heat, let the butter soften until it's almost liquid. You want gentle heat here—rushing it or turning up the flame just makes cleanup harder.
- Add marshmallows:
- Dump in all four cups and stir continuously until they're completely smooth and melted, about two to three minutes. Keep the heat low so they melt evenly rather than browning at the edges.
- Finish the mixture:
- If you're using vanilla and salt, stir them in now. The aroma that rises up is a hint of what's coming.
- Combine with cereal:
- Pour the crispy rice cereal into the marshmallow mixture and fold gently but thoroughly until every piece is coated. This isn't a race—take your time so the coating stays even.
- Press into the pan:
- Work quickly while it's still warm and pliable, transferring it to your prepared pan. Use a buttered spatula or wax paper to press it down evenly, about half an inch thick, without crushing the cereal into submission.
- Add toppings:
- If using chocolate chips, sprinkle them on top right away and press gently so they stick.
- Cool completely:
- Let it sit at room temperature for about thirty minutes. This is crucial—cutting it too early means a gooey mess.
- Cut and serve:
- Using a sharp knife (dip it in hot water and wipe between cuts), divide into sixteen pieces and enjoy.
 Save to Pinterest
 My mom told me these reminded her of Saturday mornings as a kid, and suddenly I understood why she'd make them every other week in summer. Food like this bridges generations without trying.
Storage and Make-Ahead Tips
Stored in an airtight container at room temperature, these bars stay crispy for up to five days. I've learned the hard way that leaving them uncovered makes them stale by day two, so a covered container really does make the difference. If you want them firmer before cutting, pop the whole pan in the refrigerator for fifteen to twenty minutes—the marshmallow firms up just enough to slice cleanly without falling apart.
Flavor Variations and Mix-Ins
Once you've made the basic version a few times, the real fun begins. I've swapped in chocolate cereal, added a teaspoon of almond extract instead of vanilla, or mixed chopped pretzels into the cereal for a sweet-salty thing that's honestly dangerous. Crushed candy canes work in December, and peanut butter mixed into the marshmallow layer changes everything. The structure stays the same; you're just playing with what flavor story you want to tell.
Why This Recipe Works
The simplicity is intentional, not a limitation. You're relying on just a few quality ingredients and technique rather than complexity to create something memorable. The contrast between crispy and chewy is what makes your mouth happy, and the fact that you can make it on a weeknight or bring it to a potluck on a Saturday means it actually gets made instead of staying a vague intention. The best recipes are the ones you actually reach for, and this one has earned that spot in kitchens for good reason.
- Invest in good butter and cereal—they're the backbone of flavor.
- Let it cool fully before cutting or you'll be scraping up crumbles instead of bars.
- Make a double batch because the first one will disappear faster than you expect.
 Save to Pinterest
 These bars remind me why some recipes don't need to be complicated to be loved. Make them for yourself, make them for others, and watch how something so simple becomes the thing people actually remember.
Recipe Questions & Answers
- → How do I make the bars firmer?
-
Refrigerate the bars for 15 to 20 minutes before cutting to help them set and hold their shape better.
- → Can I add chocolate chips to the bars?
-
Yes, sprinkle mini chocolate chips on top after pressing the mixture into the pan, then gently press them in.
- → What can I use instead of regular marshmallows?
-
You can swap regular marshmallows for vegan or flavored varieties depending on your preference.
- → Are these bars vegetarian-friendly?
-
The bars generally suit a vegetarian diet, but check marshmallow ingredients for gelatin if this is a concern.
- → What tools are needed to prepare these bars?
-
A large saucepan, wooden spoon or spatula, baking pan (9x13-inch), parchment paper or nonstick spray, and a knife for cutting are required.
- → Can nuts or dried fruits be added for texture?
-
Yes, chopped nuts or dried fruit can be mixed into the base for extra crunch and flavor.
