 Save to Pinterest
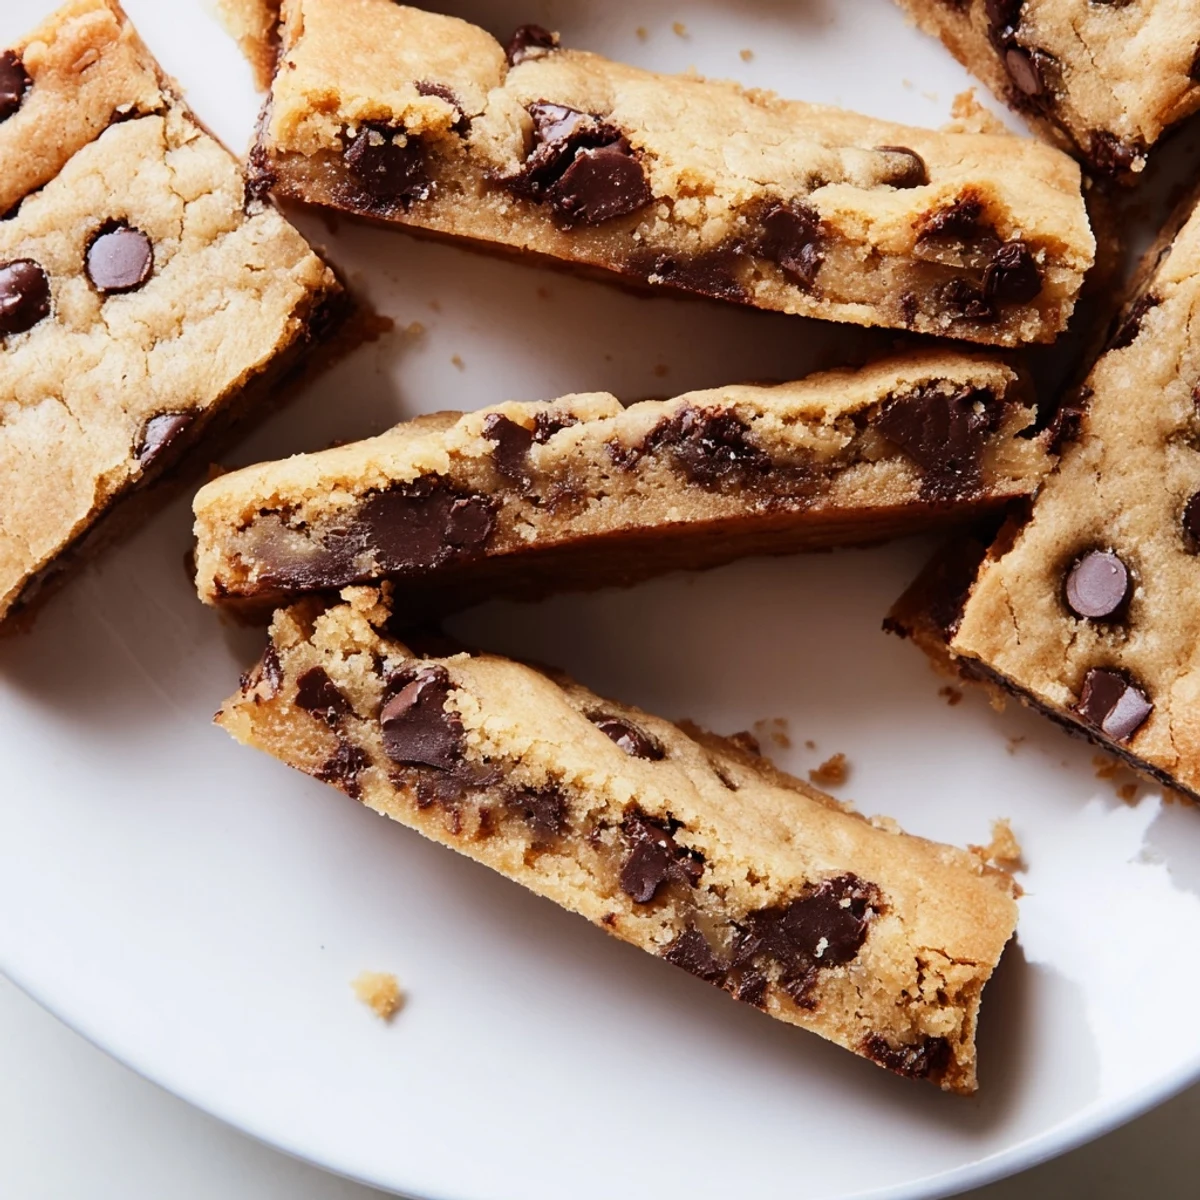
 These rich, chewy chocolate chip cookie bars deliver all the classic cookie flavor you love in an easy bar format. Loaded with semisweet chocolate chips throughout, they feature perfectly golden edges and a tender, gooey center that everyone will adore.
The simple dough comes together quickly with melted butter, brown sugar for extra chewiness, and vanilla for warmth. Just spread in a pan, bake until golden, and cool before slicing into 16 generous bars.
Perfect for bake sales, potlucks, or after-school treats, these bars stay fresh for days in an airtight container. Try adding flaky sea salt on top or swapping in your favorite chocolate varieties.
Last winter, my apartment smelled like a bakery every weekend because I couldn't stop experimenting with bar cookies. Theres something so satisfying about pressing cookie dough into a pan instead of scooping individual mounds, especially when youre craving something sweet but dont want to stand at the oven for hours.
I brought these to a potluck when I was running late and forgot to cut them beforehand. Watching people break off warm, chocolate-studded squares while standing around the kitchen island made me realize dessert doesnt always need to be fancy.
Ingredients
- All-purpose flour: The foundation that gives these bars their structure without making them cakey
- Baking soda: Helps the dough rise just enough for that perfect chewy texture
- Salt: Balances the sweetness and makes the chocolate flavor pop
- Unsalted butter, melted: Using melted butter instead of creamed creates denser, chewier bars
- Light brown sugar: Adds moisture and deep caramel notes
- Granulated sugar: Creates crisp edges and balances the brown sugar
- Eggs: Bind everything together while adding richness
- Pure vanilla extract: Dont skip this, it makes the kitchen smell incredible
- Semisweet chocolate chips: Classic choice that holds its shape while getting melty
Instructions
- Preheat your oven:
- Get it to 350°F (175°C) and line a 9x13-inch pan with parchment paper, letting some hang over the sides for easy lifting later.
- Mix the dry ingredients:
- Whisk together the flour, baking soda, and salt in a medium bowl until well combined.
- Combine the sugars and butter:
- Whisk the melted butter with both sugars in a large bowl until the mixture looks smooth and glossy.
- Add the eggs and vanilla:
- Whisk them into the butter mixture until everything is blended and you can smell the vanilla.
- Combine the mixtures:
- Gently fold in the dry ingredients with a spatula just until the flour disappears, being careful not to overwork the dough.
- Add the chocolate:
- Fold in the chocolate chips until theyre evenly distributed throughout the dough.
- Spread and bake:
- Press the dough evenly into your prepared pan, smooth the top, and bake for 22 to 25 minutes until the edges turn golden.
- Cool completely:
- Let the bars cool completely in the pan on a wire rack before lifting them out and cutting into squares.
 Save to Pinterest
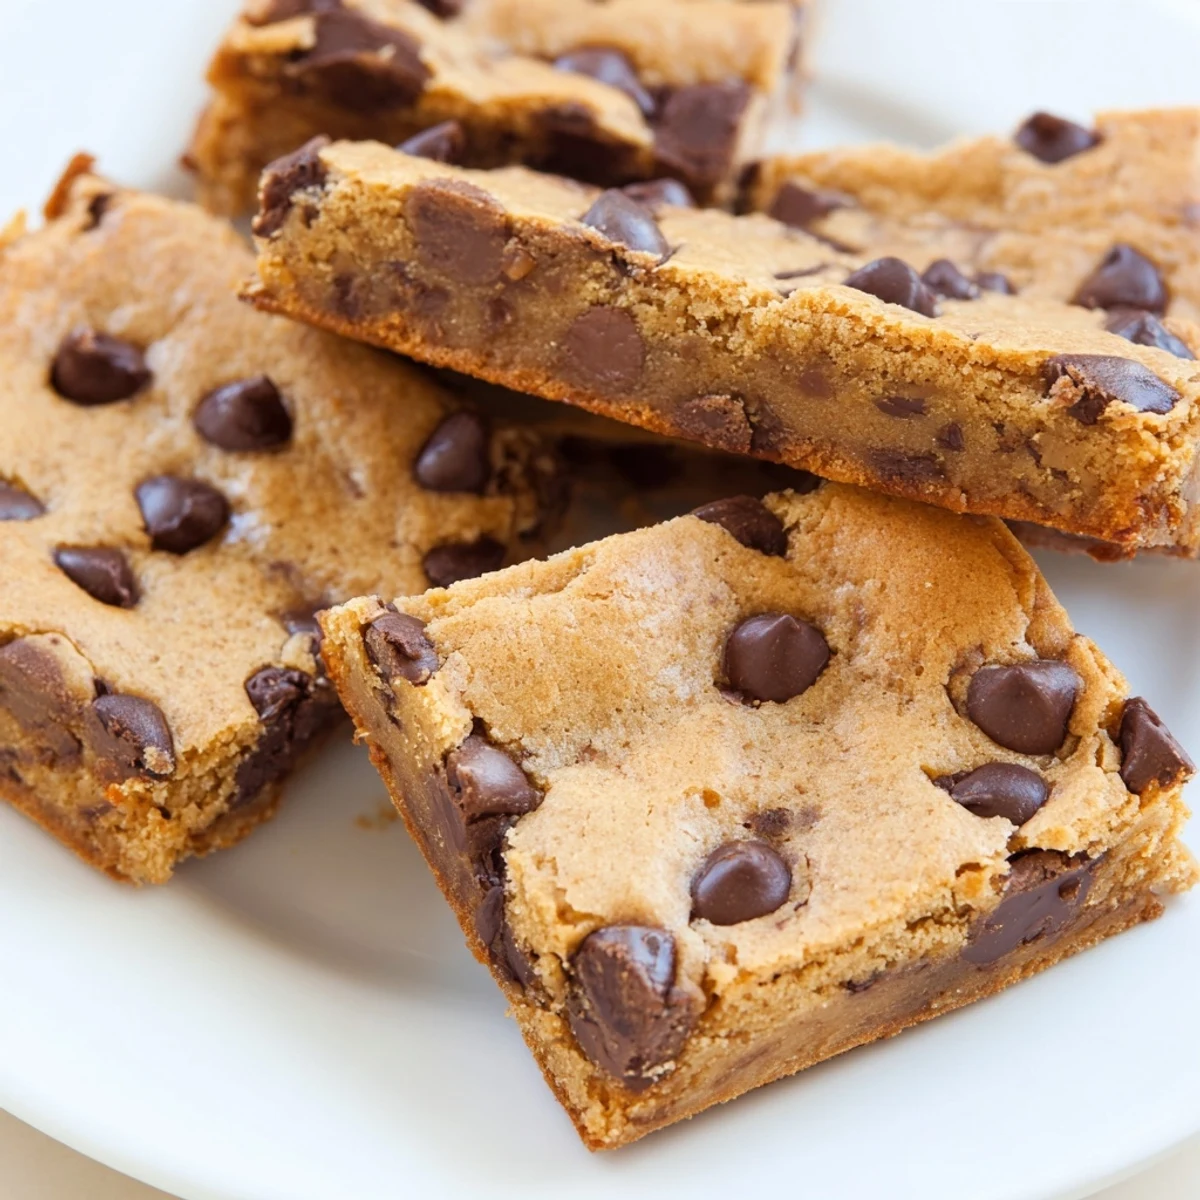
 My roommate walked in while these were cooling and immediately hovered over the pan, waiting for that first taste. We ate them warm with milk, and I knew this recipe was staying in my regular rotation.
Getting That Perfect Texture
The melted butter technique is what makes these bars different from typical cookies. It creates a denser, fudgier texture that reminds people of cookie dough but with that baked-through satisfaction.
Customization Ideas
Sometimes I throw in chopped walnuts for crunch or swap half the chocolate chips for white chocolate chunks. My sister likes adding dried cherries, which tartly cuts through all that sweetness.
Storage and Serving
These actually taste better on day two when the flavors have had time to meld together. Cut them into small squares since theyre quite rich, and serve at room temperature for the best texture.
- Wrap the uncut slab tightly in plastic if making ahead for a party
- Freeze individual portions wrapped in foil for up to three months
- Reheat in the microwave for 15 seconds to recreate that fresh-baked taste
 Save to Pinterest
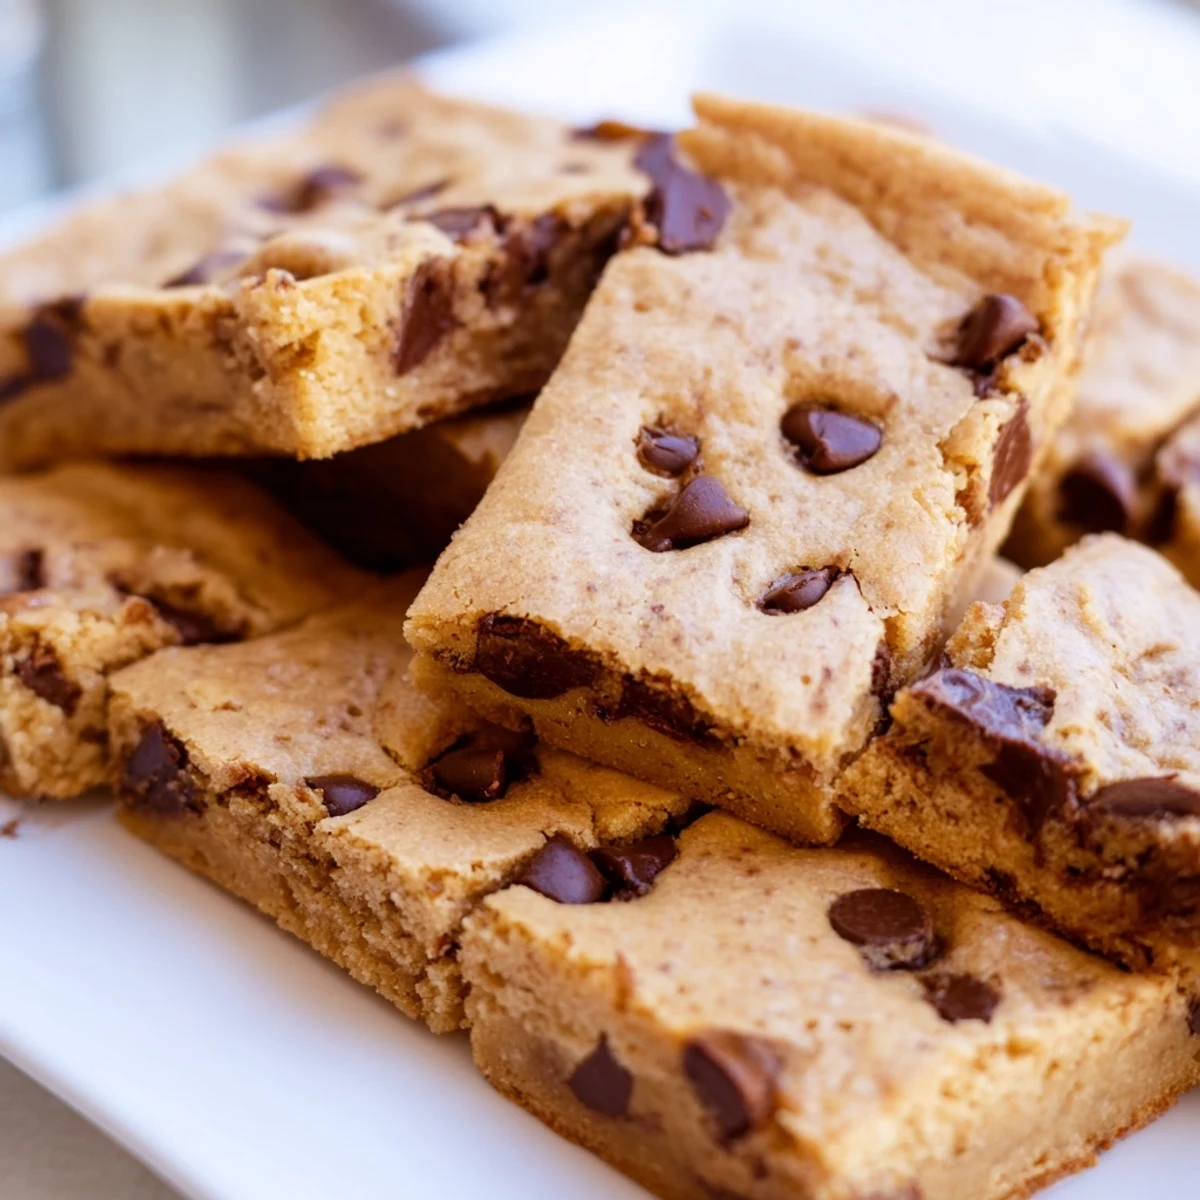
 Hope these become your go-to when you need something comforting and chocolatey without all the fuss.
Recipe Questions & Answers
- → Why are my cookie bars hard?
-
Overbaking is the most common cause. Remove from the oven when edges are golden and a toothpick shows moist crumbs—they'll continue cooking slightly as they cool.
- → Can I use salted butter?
-
Yes, simply reduce the added salt to 1/4 teaspoon. The bars will still taste delicious with this easy substitution.
- → How do I know when they're done?
-
Look for golden edges and a set center. A toothpick inserted in the middle should come out with a few moist crumbs, not completely clean.
- → Can I freeze these bars?
-
Absolutely! Wrap cooled bars tightly in plastic wrap and freeze for up to 3 months. Thaw at room temperature for best texture.
- → Why use melted butter instead of creamed?
-
Melted butter creates denser, chewier bars with crisp edges. Creamed butter produces fluffier, cakier results—both delicious, just different textures.
- → What size pan works best?
-
A 9x13-inch pan is ideal for proper thickness. Using an 8x8 will make thicker bars needing longer bake time, while a larger pan yields thinner ones.
